Taking care of our feet is important for both our health and appearance. Unfortunately, with our busy lives, it can be challenging to find the time and money to go to a salon for a pedicure.
This is where an at-home pedicure comes in handy. Not only is it cost-effective, but it can also be a relaxing and rewarding experience.
In this article, we will share tips for an at-home pedicure that will help you get beautiful, healthy-looking feet.
Preparing for the At-Home Pedicure
Before starting your at-home pedicure, it’s important to gather all the necessary tools and supplies. This will ensure that you don’t have to stop in the middle of your pedicure to grab something you forgot. Some of the tools you’ll need include:
- Nail clippers
- Nail file
- Cuticle pusher
- Foot scrubber
- Foot file
- Pumice stone
- Cotton balls or pads
- Nail polish remover
- Base coat and top coat
- Nail polish
Once you have all your tools and supplies, it’s time to set up a comfortable workspace. Choose an area that has good lighting, a comfortable chair, and a flat surface to work on. It’s also important to soak your feet to soften the skin and make it easier to remove any dead skin.
Step-by-Step Guide for an At-Home Pedicure

Now that you have all the necessary tools and supplies and have set up a comfortable workspace, it’s time to start your at-home pedicure. Here’s a step-by-step guide to follow:
1. Remove old polish
Use a cotton ball or pad soaked in nail polish remover to gently remove any old nail polish. Be sure to get all the polish off, especially in the corners and around the cuticles.
2. Trim and shape nails
Use nail clippers to trim your nails to the desired length. Be careful not to cut them too short, as this can lead to ingrown nails. Use a nail file to shape your nails and smooth out any rough edges.
3. Clean under nails
Use a cuticle pusher to gently push back the cuticles. Then use a nail brush or the edge of the cuticle pusher to clean under your nails and remove any dirt or debris.
4. Exfoliate feet and remove calluses
Apply foot scrub to your feet and gently massage in a circular motion to exfoliate the skin. Pay extra attention to the heels and balls of your feet, as these areas tend to be the driest. Use a foot file or pumice stone to remove any calluses or rough patches.
5. Moisturize feet and cuticles
Apply a thick layer of foot cream to your feet and massage it in, paying extra attention to the heels and balls of your feet. Use a cuticle oil or cream to moisturize your cuticles.
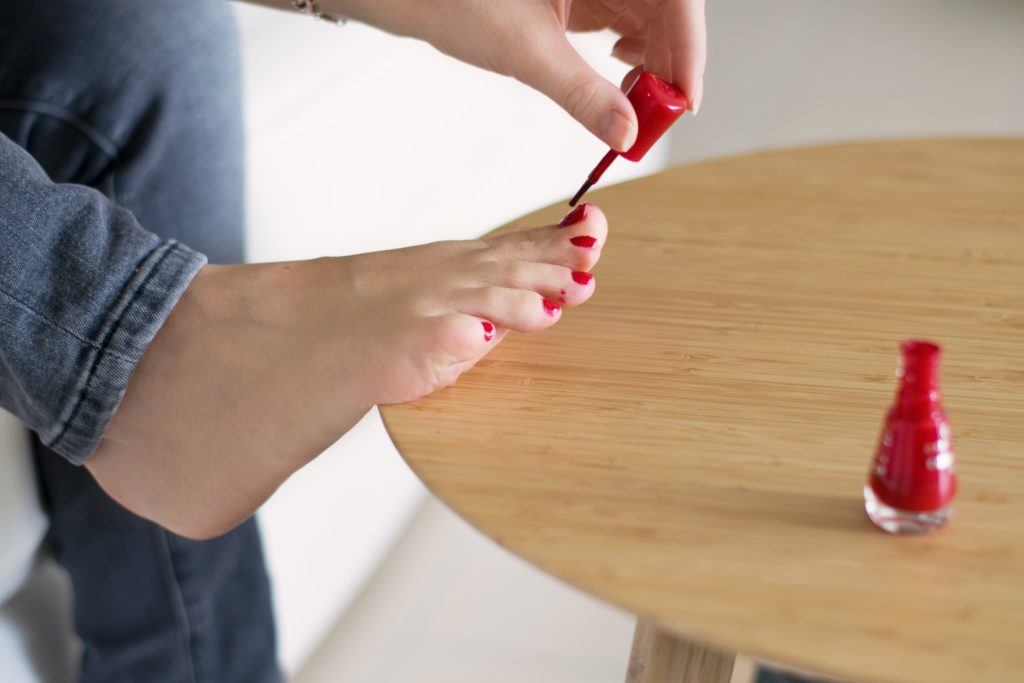
6. Apply new polish
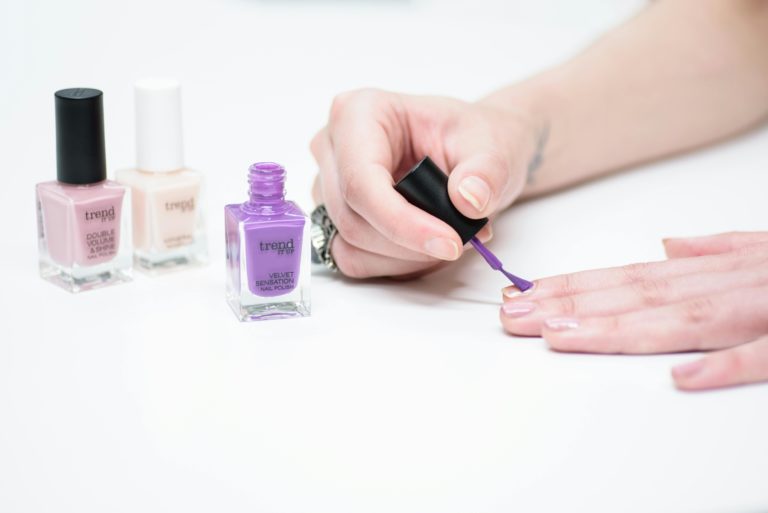
Apply a base coat to your nails, followed by your chosen nail polish color. Be sure to apply two coats of polish for even coverage. Finally, apply a top coat to seal in the color and add shine.
Tips for a Successful At-Home Pedicure
Now that you know the steps to follow for an at-home pedicure, here are some additional tips to make sure your pedicure is a success:
- Use proper techniques to prevent injury: Be gentle when using tools like the cuticle pusher and foot file to avoid injuring yourself. If you’re not comfortable using a certain tool, skip it or seek help from a professional.
- Choose the right polish and products for your needs: If you have dry, cracked feet, choose a moisturizing foot cream. If you’re prone to ingrown nails, be sure to trim your nails straight across instead of rounded. When choosing a nail polish, opt for one that is free from harmful chemicals like formaldehyde and toluene.
- Take your time and be patient: Rushing through your at-home pedicure can lead to mistakes and an uneven finish. Take your time and enjoy the process.
- Don’t hesitate to seek professional help if needed: If you’re unsure about how to use a certain tool or product, don’t hesitate to seek help from a professional. It’s better to be safe than sorry.
Conclusion
An at-home pedicure is a great way to take care of your feet without having to spend a lot of money. With the right tools and supplies, you can create a relaxing and rewarding experience that will leave your feet looking and feeling great. Remember to take your time, use proper techniques, and choose the right products for your needs. With these tips, you’ll be on your way to beautiful, healthy-looking feet.
FAQs
1. How often should I do an at-home pedicure?
It’s recommended to do an at-home pedicure once a week, especially during the summer months when we tend to wear sandals and expose our feet more.
2. Can I use regular lotion instead of a foot cream?
While regular lotion can work, it’s best to use a foot cream as it’s specifically formulated to moisturize the thicker skin on our feet.
3. How do I avoid smudging my nail polish?
Be sure to let each coat of polish dry completely before applying the next coat. You can also use quick-drying top coats to speed up the process.
4. How can I make my at-home pedicure last longer?
Be sure to apply a top coat to seal in the color and add shine. Also, avoid wearing tight shoes or socks right after your pedicure, as this can cause smudging or chipping.


