Have you ever found yourself staring enviously at someone’s gorgeous, intricate nail design, wondering how they created such a masterpiece? Nail art has become a popular way to express one’s creativity, and it’s not just for professional nail technicians anymore.
With the right tools, supplies, and a bit of practice, you, too, can create stunning nail art designs in the comfort of your own home. In this guide, we’ll walk you through the steps to get started with nail art and help you unleash your inner artist. So grab your nail polish, and let’s get started!
Gather Your Tools and Supplies
Gathering the necessary tools and supplies is the first step in getting started with nail art. The right tools and supplies are crucial in creating beautiful and long-lasting nail art designs. Here are some of the essential tools and supplies that you will need:
- Nail polish – You will need various nail polish colors to create different designs. Choose high-quality brands for a better finish.
- Base coat and topcoat – The base coat provides a smooth surface for your nail polish and protects your nails from staining, while the topcoat seals in your design and adds shine.
- Nail file and buffer – These tools will help you shape and smooth your nails.
- Cuticle pusher and nipper – These tools will help you push back your cuticles and trim any excess skin around your nails.
- Nail art brushes – You will need a range of nail art brushes to create different designs, such as a fine brush for details and a striper brush for lines.
- Dotting tools – These tools are perfect for creating dots of various sizes.
- Glitter and rhinestones – These embellishments can add sparkle and dimension to your designs.
- Acetone and cotton balls – You will need acetone to remove any mistakes and cotton balls to wipe away excess polish.
You can find these tools and supplies at your local beauty store or online. It’s important to invest in quality tools and supplies to ensure the longevity of your nail art. Once you have all your supplies, you’ll be ready to move on to the next step in creating your stunning nail art designs.
Prepare Your Nails
Preparing your nails is a crucial first step in getting started with nail art. Before you start creating your nail art, you must ensure that your nails are clean, healthy, and ready to be decorated. Here are some tips on how to prepare your nails for your nail art:
- Remove any old nail polish: If you have any old nail polish on your nails, remove it using a nail polish remover. Use a non-acetone remover if your nails are brittle, dry, or damaged.
- Trim and shape your nails: Trim your nails to the desired length and shape. You can use a nail clipper or a nail file to shape your nails. File your nails in one direction, rather than back and forth, to prevent nail splitting.
- Push back your cuticles: Use a cuticle pusher to push back your cuticles gently. Don’t cut your cuticles, as this can cause infections.
- Buff your nails: Use a nail buffer to smooth out any ridges on your nails. This will help your nail polish adhere better to your nails and give you a smoother surface.
- Moisturize your nails and hands: Apply a good quality hand cream or cuticle oil to moisturize your nails and hands. This will help to prevent dry, cracked skin and keep your nails healthy.
By following these steps, you can prepare your nails for your nail art and create a smooth and clean surface to work with. Taking care of your nails before and after your nail art will help keep them healthy and beautiful.
Choose Your Design
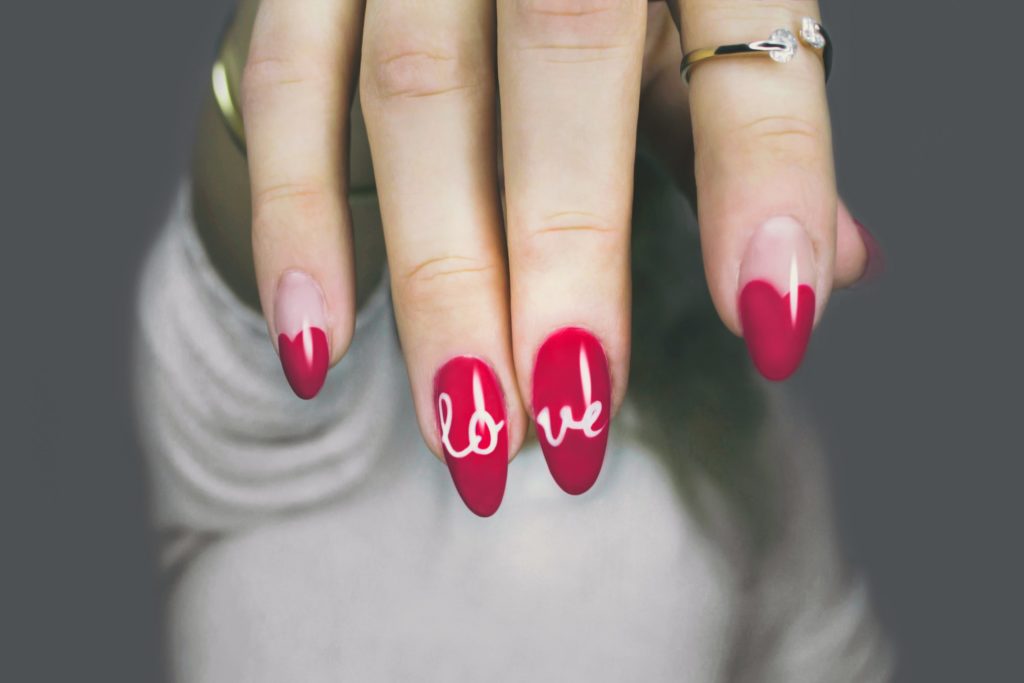
Choosing a design is an important first step in getting started with nail art. There are countless designs, and the options can be overwhelming. When choosing a design, it’s important to consider your personal style and preferences and the occasion for which you will be wearing the nail art.
There are a variety of nail art designs to choose from, including geometric patterns, floral designs, abstract art, ombre effects, and more. It’s a good idea to look for inspiration online, on social media platforms like Instagram and Pinterest, or by browsing nail art books or magazines.
Choosing a design that is achievable for your skill level is important. If you’re new to nail art, start with a simple design, such as a single accent nail with a simple pattern or design. You can move on to more complex designs as you become more confident.
When selecting a design, it’s also important to consider the colors you want to use. Choose colors that complement each other and fit the occasion or event. You can also experiment with different finishes, such as matte or glitter, to create a unique look.
Ultimately, the design you choose should reflect your personal style and be something that you enjoy wearing. By selecting a design that suits you, you’ll be more motivated to create beautiful nail art and be proud to show it off.
Learn Basic Nail Art Techniques
Learning basic nail art techniques is an essential first step in getting started with nail art. Nail art techniques are the fundamental skills that every nail artist must master to create beautiful and intricate designs on their nails.
There are many basic nail art techniques to learn, including:
- Applying base coat: Applying a base coat to your nails before starting your nail art helps to protect your nails and provide a smooth surface for your nail art design.
- Applying nail polish: Knowing how to apply nail polish properly is important for achieving a professional-looking nail art design.
- Creating straight lines: Creating straight lines on your nails is an important skill for many nail art designs, such as French tips and stripes.
- Creating dots: Dots are a simple but effective design element that can be used in various nail art designs.
- Using striping tape: Striping tape is a helpful tool for creating straight lines and geometric designs on your nails.
- Stamping: Stamping is a technique that allows you to transfer designs onto your nails using a stamping plate and stamping tool.
- Applying top coat: Applying a top coat to your nails after you’ve finished your nail art design helps to protect them and make them last longer.
There are many resources available to help you learn basic nail art techniques, including online tutorials, books, and classes. Practice is also key when learning nail art techniques, so be patient and avoid making mistakes. With time and practice, you will become more confident and skilled in your nail art abilities.
Practice, Practice, Practice
Nail art requires a lot of precision and attention to detail, and the more you practice, the better you will become at creating intricate designs.
To begin practicing, start with some simple designs that are easy to create. You can start with a basic French tip or a simple polka dot pattern and then work up to more complex designs as you become more comfortable with the techniques.
It’s also important to be patient with yourself and not expect perfection right away. Nail art can take time to master, so be willing to make mistakes and learn from them. You can watch tutorials or take classes to learn new techniques and get inspiration for new designs.
Another tip is to keep your nail art supplies organized and within reach. This will help you to avoid frustration and wasting time searching for what you need, allowing you to focus more on your practice.
Ultimately, the more you practice, the more your skills will improve, and you’ll be able to create more intricate and beautiful designs. So, don’t be afraid to practice, practice, practice to get started with nail art!
Experiment With Colors and Patterns
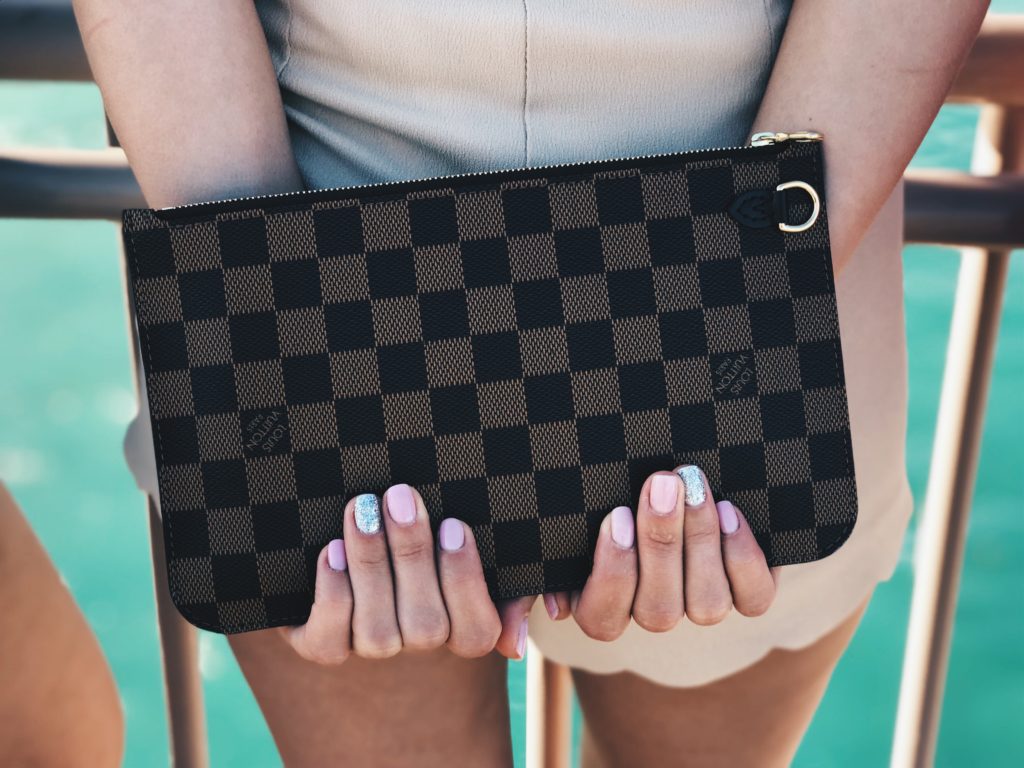
This step allows you to explore your creativity and find a style that suits your personality and preferences.
To experiment with colors, select your favorite shades or colors that complement your skin tone. You can also opt for classic colors like red, nude, or black to create elegant designs. After selecting the colors, you can mix and match them to create unique designs.
Try simple designs such as polka dots, stripes, or geometric shapes when experimenting with patterns. You can use stencils, tape, or brushes to create precise lines and shapes. As you become more confident, you can move on to more intricate designs, such as floral prints or abstract art.
It is important to keep in mind that not all colors and patterns will work well together. Sticking to a color scheme and limiting the number of patterns used in a single design is advisable. This will help create a cohesive look that is pleasing to the eye.
When you share your nail art with others, you’ll receive feedback and encouragement, which can help you improve your skills and inspire you to create new designs. Here are some tips on how to share your nail art:
Social Media
Social media platforms like Instagram, Pinterest, and Facebook are great places to share your nail art. You can create a dedicated account for your nail art or share your designs on your personal profile. Use relevant hashtags to make your posts more discoverable to others interested in nail art.
Online Communities
Many online communities are dedicated to nail art, where you can share your designs and connect with other nail art enthusiasts. Join these communities and engage with others by commenting on their posts, sharing tips, and asking for feedback on your own designs.
In-Person
Share your nail art with your friends and family. Show off your designs when you’re out and about, and be prepared to answer questions about your techniques and tools.
Remember, when sharing your nail art, it’s important to be open to feedback and critique. This can help you improve your skills and take your designs to the next level. Feel free to experiment with different techniques, colors, and patterns to create unique designs that reflect your style. With practice and patience, you can create beautiful, intricate nail art that will impress others and bring you joy.
Conclusion
Learning how to create stunning nail art can be a fun and rewarding experience. By gathering the right tools and supplies, preparing your nails, choosing a design that suits you, and practicing different techniques, you can improve your skills and create unique designs you can be proud of.
Feel free to experiment with different colors and patterns, and remember to share your creations with others. With a little practice and patience, you’ll soon be on your way to becoming a nail art pro! So, what are you waiting for? Grab your tools and get started on your nail art journey today.
