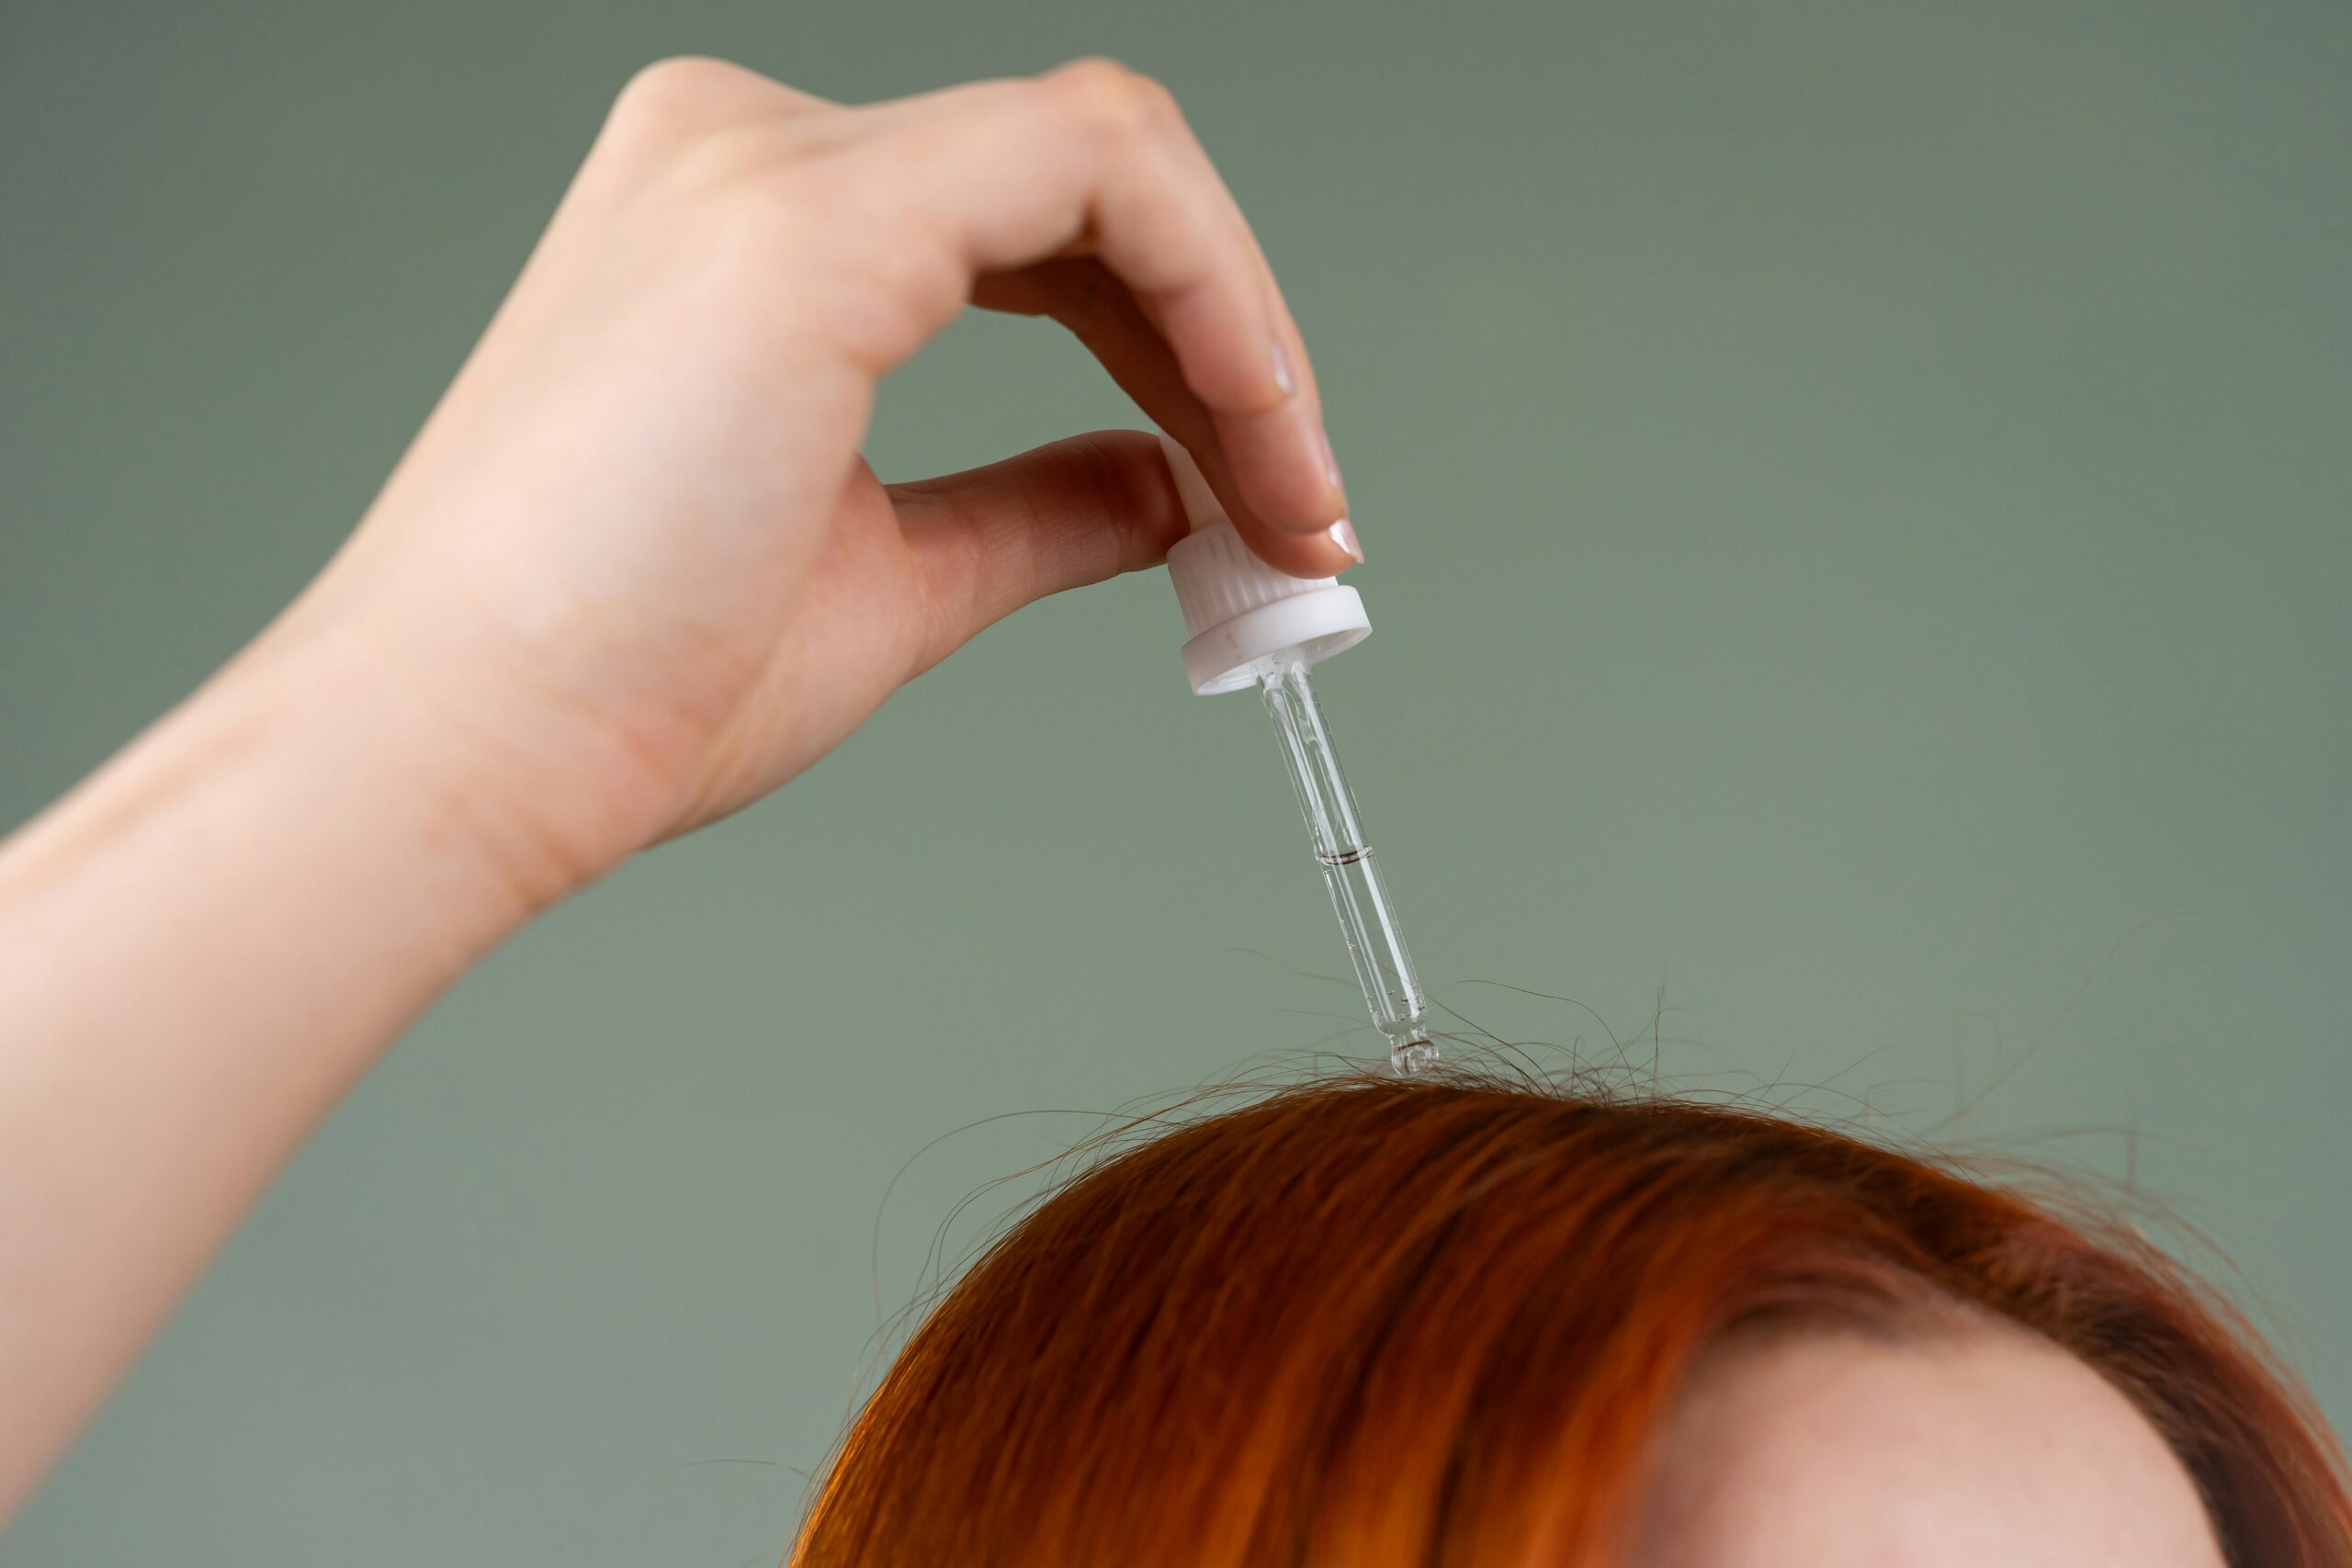
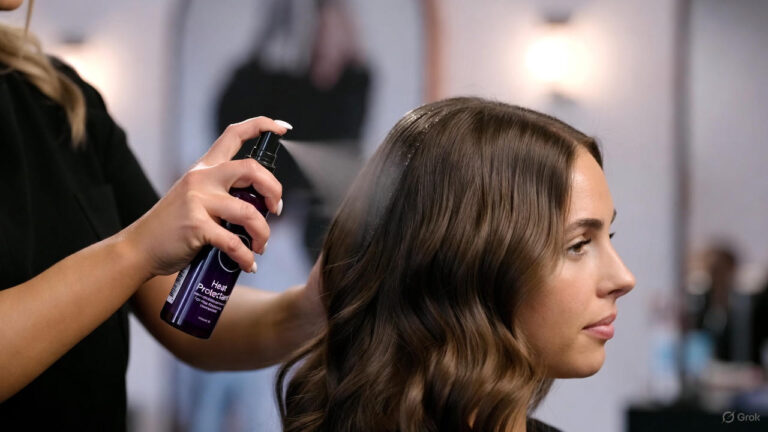
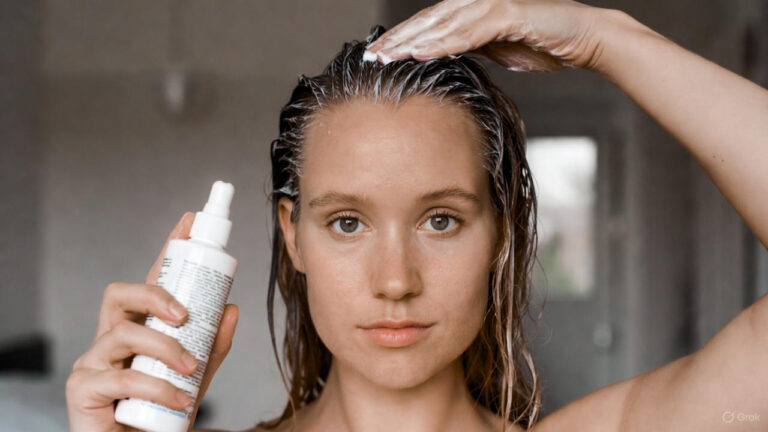
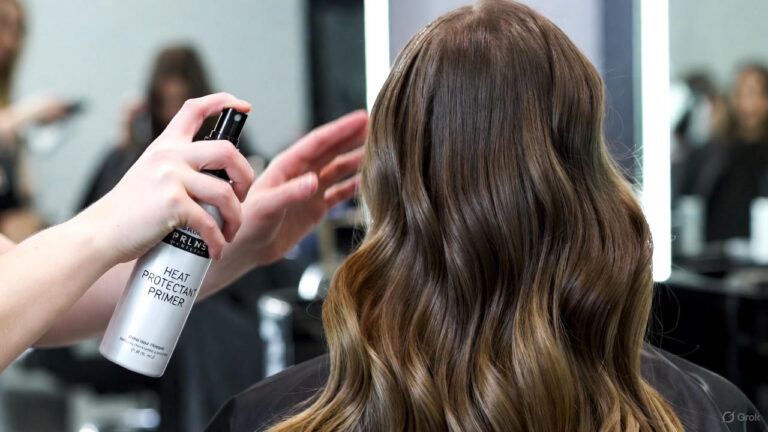
Hair glaze treatments are a simple and affordable way to improve the shine and vibrancy of your hair. They coat the hair shaft with a semi-permanent gloss, enhancing color and creating a polished, healthy look. While salon treatments can be expensive, DIY hair glazes allow you to achieve similar results with readily available products at home. Let’s explore how you can create and apply hair glaze treatments to achieve professional-quality results.
What is a Hair Glaze?
A hair glaze is a semi-permanent treatment that adds shine and enhances the natural or dyed color of your hair. Unlike hair dye, it doesn’t penetrate the hair shaft but instead coats it, creating a smooth, reflective surface.
Hair glazes can be clear or tinted. Clear glazes focus on adding shine, while tinted glazes enhance or refresh your current color. They’re a great way to maintain salon-treated hair or give your natural hair a boost.
Benefits of Hair Glaze Treatments
Hair glazes offer multiple benefits beyond just shine. Here’s how they can transform your hair:
1. Enhances Shine
Hair glazes smooth the hair cuticle, allowing light to reflect off the surface. This gives your hair a glossy, polished appearance.
2. Boosts Color Vibrancy
Tinted glazes can revive faded hair color, adding richness and depth without the commitment of permanent dye.
3. Reduces Frizz
The coating created by a hair glaze helps to seal the hair cuticle, reducing frizz and flyaways for a sleeker look.
4. Protects Hair
By forming a protective barrier, hair glazes shield your hair from environmental damage, such as pollution and UV rays.
5. Temporary and Gentle
Unlike permanent treatments, hair glazes are non-damaging and fade gradually, making them a low-risk option for improving your hair’s appearance.
How to Create DIY Hair Glaze Treatments
Creating a hair glaze at home is easier than you might think. You can use store-bought glaze products or make your own with natural ingredients. Here are two simple methods:
Store-Bought DIY Hair Glaze
- Choose the Right Product: Look for an over-the-counter hair glaze that suits your hair type and desired outcome (clear or tinted).
- Prep Your Hair: Wash your hair with a clarifying shampoo to remove buildup and ensure the glaze adheres properly.
- Apply the Glaze: Follow the product’s instructions, typically applying it evenly to damp hair and leaving it on for 10-20 minutes.
- Rinse and Style: Rinse thoroughly with cool water and style as usual.
Natural DIY Hair Glaze
For a natural alternative, you can make a glaze using ingredients like honey and apple cider vinegar:
- Ingredients: Mix 2 tablespoons of honey, 1 tablespoon of apple cider vinegar, and 1 cup of water.
- Application: After shampooing, pour the mixture over your hair, ensuring even distribution.
- Let It Sit: Leave the mixture on for 5-10 minutes, then rinse with cool water.
- Benefits: This natural glaze adds shine and smoothness while nourishing your hair.
Tips for Successful Hair Glaze Application
- Always apply to clean, damp hair for the best results.
- Use a wide-tooth comb to distribute the product evenly.
- Avoid applying the glaze to your scalp to prevent buildup.
- For tinted glazes, wear gloves to avoid staining your hands.
- Rinse with cool water to help seal the cuticle and enhance shine.
How Often Should You Use a Hair Glaze?
Hair glazes are semi-permanent and typically last 1-2 weeks. You can use them every two weeks or as needed to maintain shine and color vibrancy. Overusing them may lead to buildup, so moderation is key.
DIY vs. Salon Hair Glaze Treatments
While salon treatments provide professional-grade results, DIY glazes are more affordable and convenient. DIY options are ideal for quick touch-ups or if you’re experimenting with glazes for the first time. However, for long-lasting results or complex color corrections, a salon visit may be worth considering.
Conclusion
DIY hair glaze treatments are a quick and easy way to enhance your hair’s shine and color without committing to permanent changes. With options ranging from store-bought products to natural ingredients, you can achieve salon-quality results at home. Try incorporating a hair glaze into your routine to enjoy healthier, more vibrant hair.
Frequently Asked Questions (FAQs)
1. What is the difference between a hair glaze and a hair gloss?
A hair glaze coats the hair shaft for temporary shine and color enhancement, while a hair gloss penetrates the hair cuticle, offering more lasting results.
2. Can I use a hair glaze on all hair types?
Yes, hair glazes work well on all hair types, including natural, dyed, and chemically treated hair. Adjust your product choice based on your specific needs.
3. Will a hair glaze change my hair color permanently?
No, hair glazes are semi-permanent and gradually fade over 1-2 weeks. They enhance existing color without making permanent changes.
4. Can I use a hair glaze and a hair mask together?
Yes, but use them on different days. Apply the glaze first to enhance shine and color, and follow with a mask later to nourish and hydrate your hair.
5. How long should I leave a DIY hair glaze on my hair?
Follow the specific product’s instructions or, for natural DIY glazes, leave them on for 5-10 minutes to avoid over-coating the hair.


