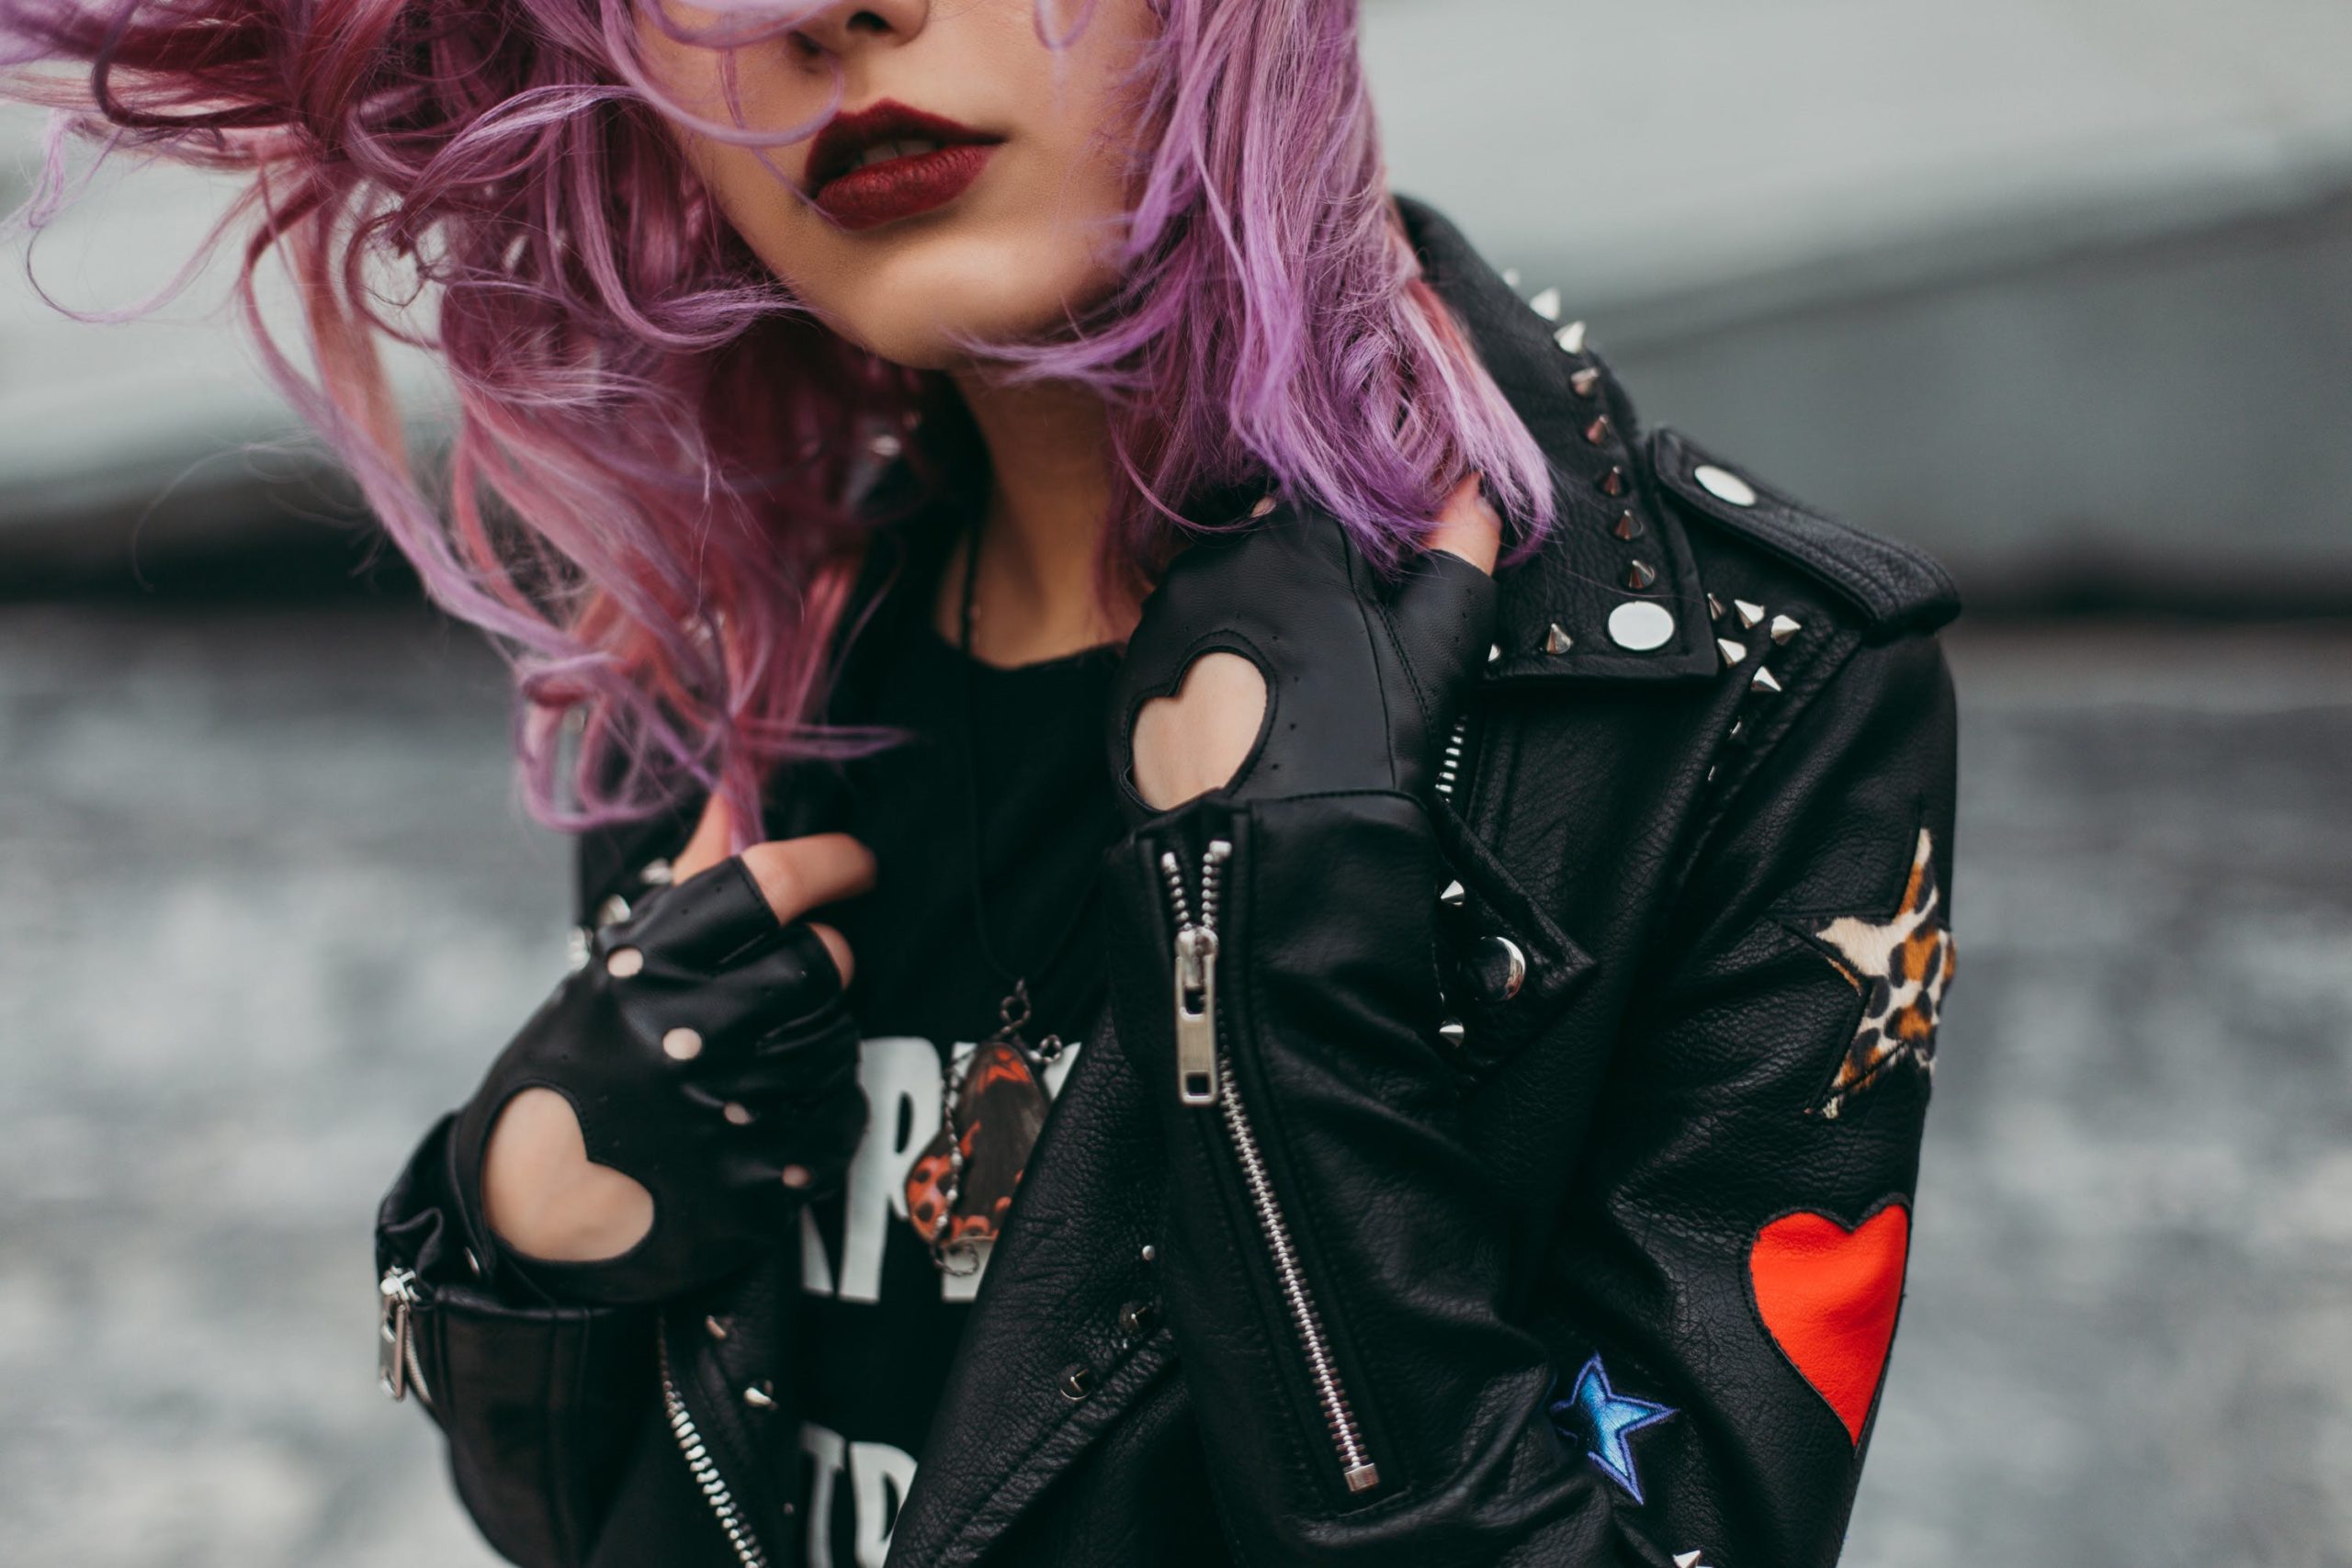
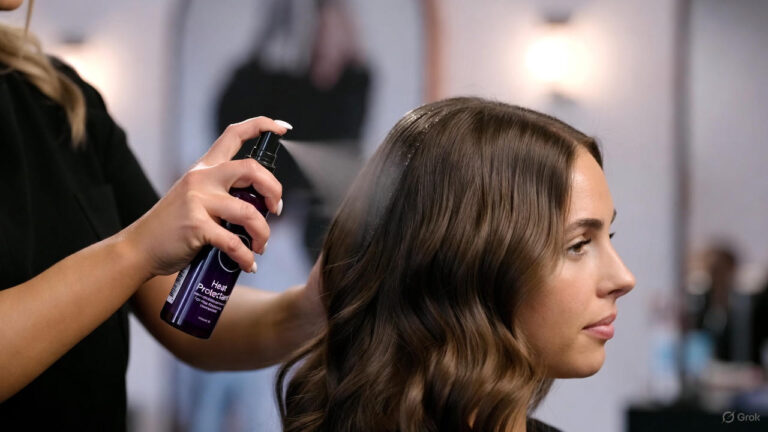
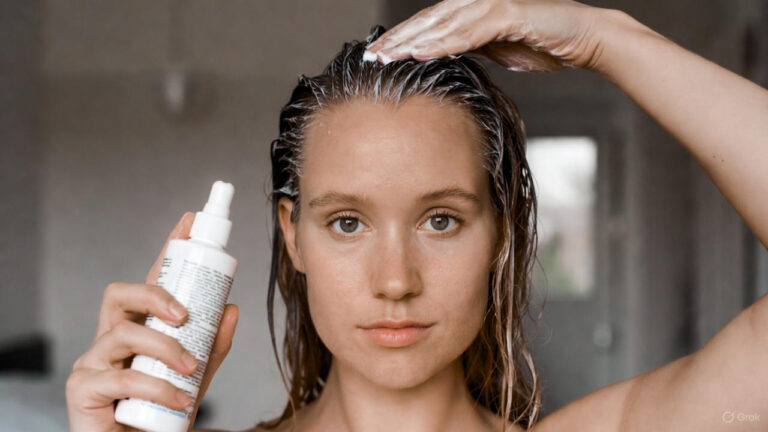
DIY hair color kits and techniques have become a popular avenue for individuals to unleash their creativity and personalize their style. Whether you’re aiming for subtle highlights, a vibrant ombre effect, or a complete color overhaul, experimenting with DIY hair color can be a thrilling adventure.
This comprehensive guide will delve into various techniques, offering detailed insights, practical tips, and precautions to ensure a successful and satisfying experience.
Balayage: Painting Your Way to Effortless Highlights
Balayage, a French term meaning “to sweep” or “to paint,” is a hair coloring technique that creates natural-looking, sun-kissed highlights. This method involves hand-painting color onto the hair, providing a softer and more gradual transition between hues than traditional foiling techniques.
To achieve a balayage effect at home:
- Select Your Colors: Choose hair dye shades that complement your base color and desired outcome. For a subtle look, opt for shades within a few tones of your natural color.
- Prepare Your Tools: You’ll need a brush or sponge applicator for painting the color onto your hair. A mixing bowl, gloves, and clips for sectioning are also essential.
- Section Your Hair: Divide your hair into manageable sections to ensure even application. Clip away the sections you’re not working on.
- Start Painting: Using your brush or sponge, apply the color to the mid-lengths and ends of the hair, focusing on the areas where the sun would naturally lighten your strands.
- Blend for Seamless Transitions: Use a comb or your fingers to blend the color into your natural hair, creating a seamless transition between the colored and natural sections.
- Process and Rinse: Follow the recommended processing time on the dye packaging. Once processed, rinse your hair thoroughly and apply a nourishing conditioner.
Tip: Balayage works best on unwashed hair, as natural oils can provide a protective barrier against potential irritation from the dye.
Ombre: Embracing the Fade
Ombre, a technique where hair color gradually fades from dark to light, has been a trendsetter in the world of hair color. It offers a bold and striking look with endless possibilities for color combinations.
To achieve an ombre effect at home:
- Choose Your Colors: Select two hair dye shades – one for the darker roots and another for the lighter ends. Consider the natural tones of your hair for a seamless transition.
- Prepare Your Tools: You’ll need brushes or applicators for each color, a mixing bowl, gloves, and clips for sectioning.
- Section Your Hair: Divide your hair into sections, securing the upper layers to focus on the lower sections first.
- Apply the Darker Color to Roots: Use one brush to apply the darker color to the roots, blending downwards for a natural transition.
- Apply the Lighter Color to Ends: With a separate brush, apply the lighter color to the mid-lengths and ends, blending where the two colors meet.
- Blend for a Gradient Effect: Use a comb or your fingers to blend the colors for a smooth gradient effect.
- Process and Rinse: Follow the processing time on the dye packaging, then rinse and condition your hair.
Tip: Ombre looks stunning on both short and long hair, offering versatility for various hair lengths and textures.
Highlights: Adding Dimension with Precision
Highlights are a classic way to add dimension and brightness to your hair. Whether you prefer subtle, face-framing highlights or a bolder look, mastering the technique can elevate your overall hairstyle.
To achieve highlights at home:
- Select Your Color: Choose a hair dye shade that contrasts with your natural color for a noticeable effect. You can opt for a single shade or a combination for added depth.
- Prepare Your Tools: Have a highlighting kit or a brush, mixing bowl, gloves, and clips for sectioning ready.
- Section Your Hair: Divide your hair into sections, focusing on the areas where you want to add highlights.
- Apply the Color: Use the brush or applicator to apply the color to small sections of hair. For a natural look, concentrate on the areas where the sun would naturally hit your hair.
- Wrap in Foil or Use a Cap: For a more controlled application, wrap each highlighted section in foil. Alternatively, use a highlighting cap for an overall scattered effect.
- Check the Processing Time: Keep an eye on the processing time, as leaving the color on for too long can result in overly lightened strands.
- Rinse and Condition: Once the color has been processed, rinse your hair thoroughly and apply a hydrating conditioner to maintain moisture.
Tip: When choosing the placement of highlights, consider your face shape and features for a flattering and personalized result.
Temporary Hair Chalk: Playful and Non-Commital
For those who love experimenting with color but want a temporary change, hair chalk is a fun and non-committal option. Hair chalk provides vibrant hues without the commitment of permanent dyes, making it an ideal choice for special occasions or spontaneous transformations.
To use hair chalk:
- Choose Your Colors: Hair chalk comes in various shades, allowing you to mix and match for a playful look.
- Dampen Your Hair: Hair chalk adheres better to slightly damp hair. Spritz water onto the sections you want to color.
- Apply the Chalk: Glide the hair chalk down small sections of your hair, starting from the top and working your way down.
- Seal with Heat: To set the color, use a flat iron or hair straightener on low heat. This helps seal the chalk and prevents transfer onto clothing.
- Style as Desired: Once the chalk is set, style your hair as usual. Avoid brushing too vigorously to maintain the vibrancy of the colors.
- Wash Out Easily: Hair chalk is temporary and washes out with a single shampoo. Experiment with different colors without a long-term commitment.
Tip: For a subtle look, focus on the ends or tips of your hair. To go bolder, apply the chalk to larger sections for a more dramatic effect.
Conclusion
DIY hair color techniques empower individuals to express their creativity and transform their look without a salon visit. Whether you choose balayage, ombre, highlights, or temporary hair chalk, understanding the techniques, selecting the right colors, and following proper application steps are essential for achieving salon-worthy results at home. Experimentation is encouraged, but it’s crucial to take the time to prepare, follow instructions, and prioritize hair health throughout the process.
FAQs
Q1: Can I achieve a professional-looking result with DIY hair color?
Yes, with proper preparation, technique, and attention to detail, achieving professional-looking results at home is entirely possible. Follow the instructions provided with your chosen hair dye and take your time to ensure even application.
Q2: How can I prevent damage to my hair when using DIY hair color?
To minimize damage, choose high-quality hair dye products, follow the recommended processing times, and use nourishing conditioners after coloring. Consider doing a patch test before applying color to your entire head to check for any adverse reactions.
Q3: Can I go from dark to light hair color with DIY techniques?
While achieving a drastic color change from dark to light may require multiple sessions, it is possible with DIY techniques. However, it’s essential to be patient, follow proper color lifting procedures, and prioritize hair health to prevent excessive damage. Consider consulting with a professional colorist for guidance, especially if you’re attempting a significant color transformation.


