Achieving lifted, voluminous lashes can transform your entire look. While mascara plays a significant role, the right eyelash curler technique is key to maximizing lift and volume. Eyelash curlers can seem intimidating at first, but when used correctly, they make a dramatic difference in how your lashes appear. Whether you prefer a subtle lift or full-on glam volume, mastering different techniques will help you get the most out of your curler. Let us explore various methods to enhance your lashes effortlessly.
How to Choose the Right Eyelash Curler
Before diving into techniques, it’s essential to select an eyelash curler that suits your needs. Not all curlers are created equal, and finding the right one can make all the difference.
Look for a curler that fits the shape of your eye. Some curlers are designed for smaller, rounder eyes, while others are better for wider or almond-shaped eyes. Additionally, opt for a curler with cushioned pads to prevent damage to your lashes.
Basic Eyelash Curling Technique
The basic curling technique is straightforward yet effective. It’s ideal for beginners or those who want a natural look.
- Start with Clean Lashes: Make sure your lashes are free of mascara. Curling them with mascara already applied can lead to breakage.
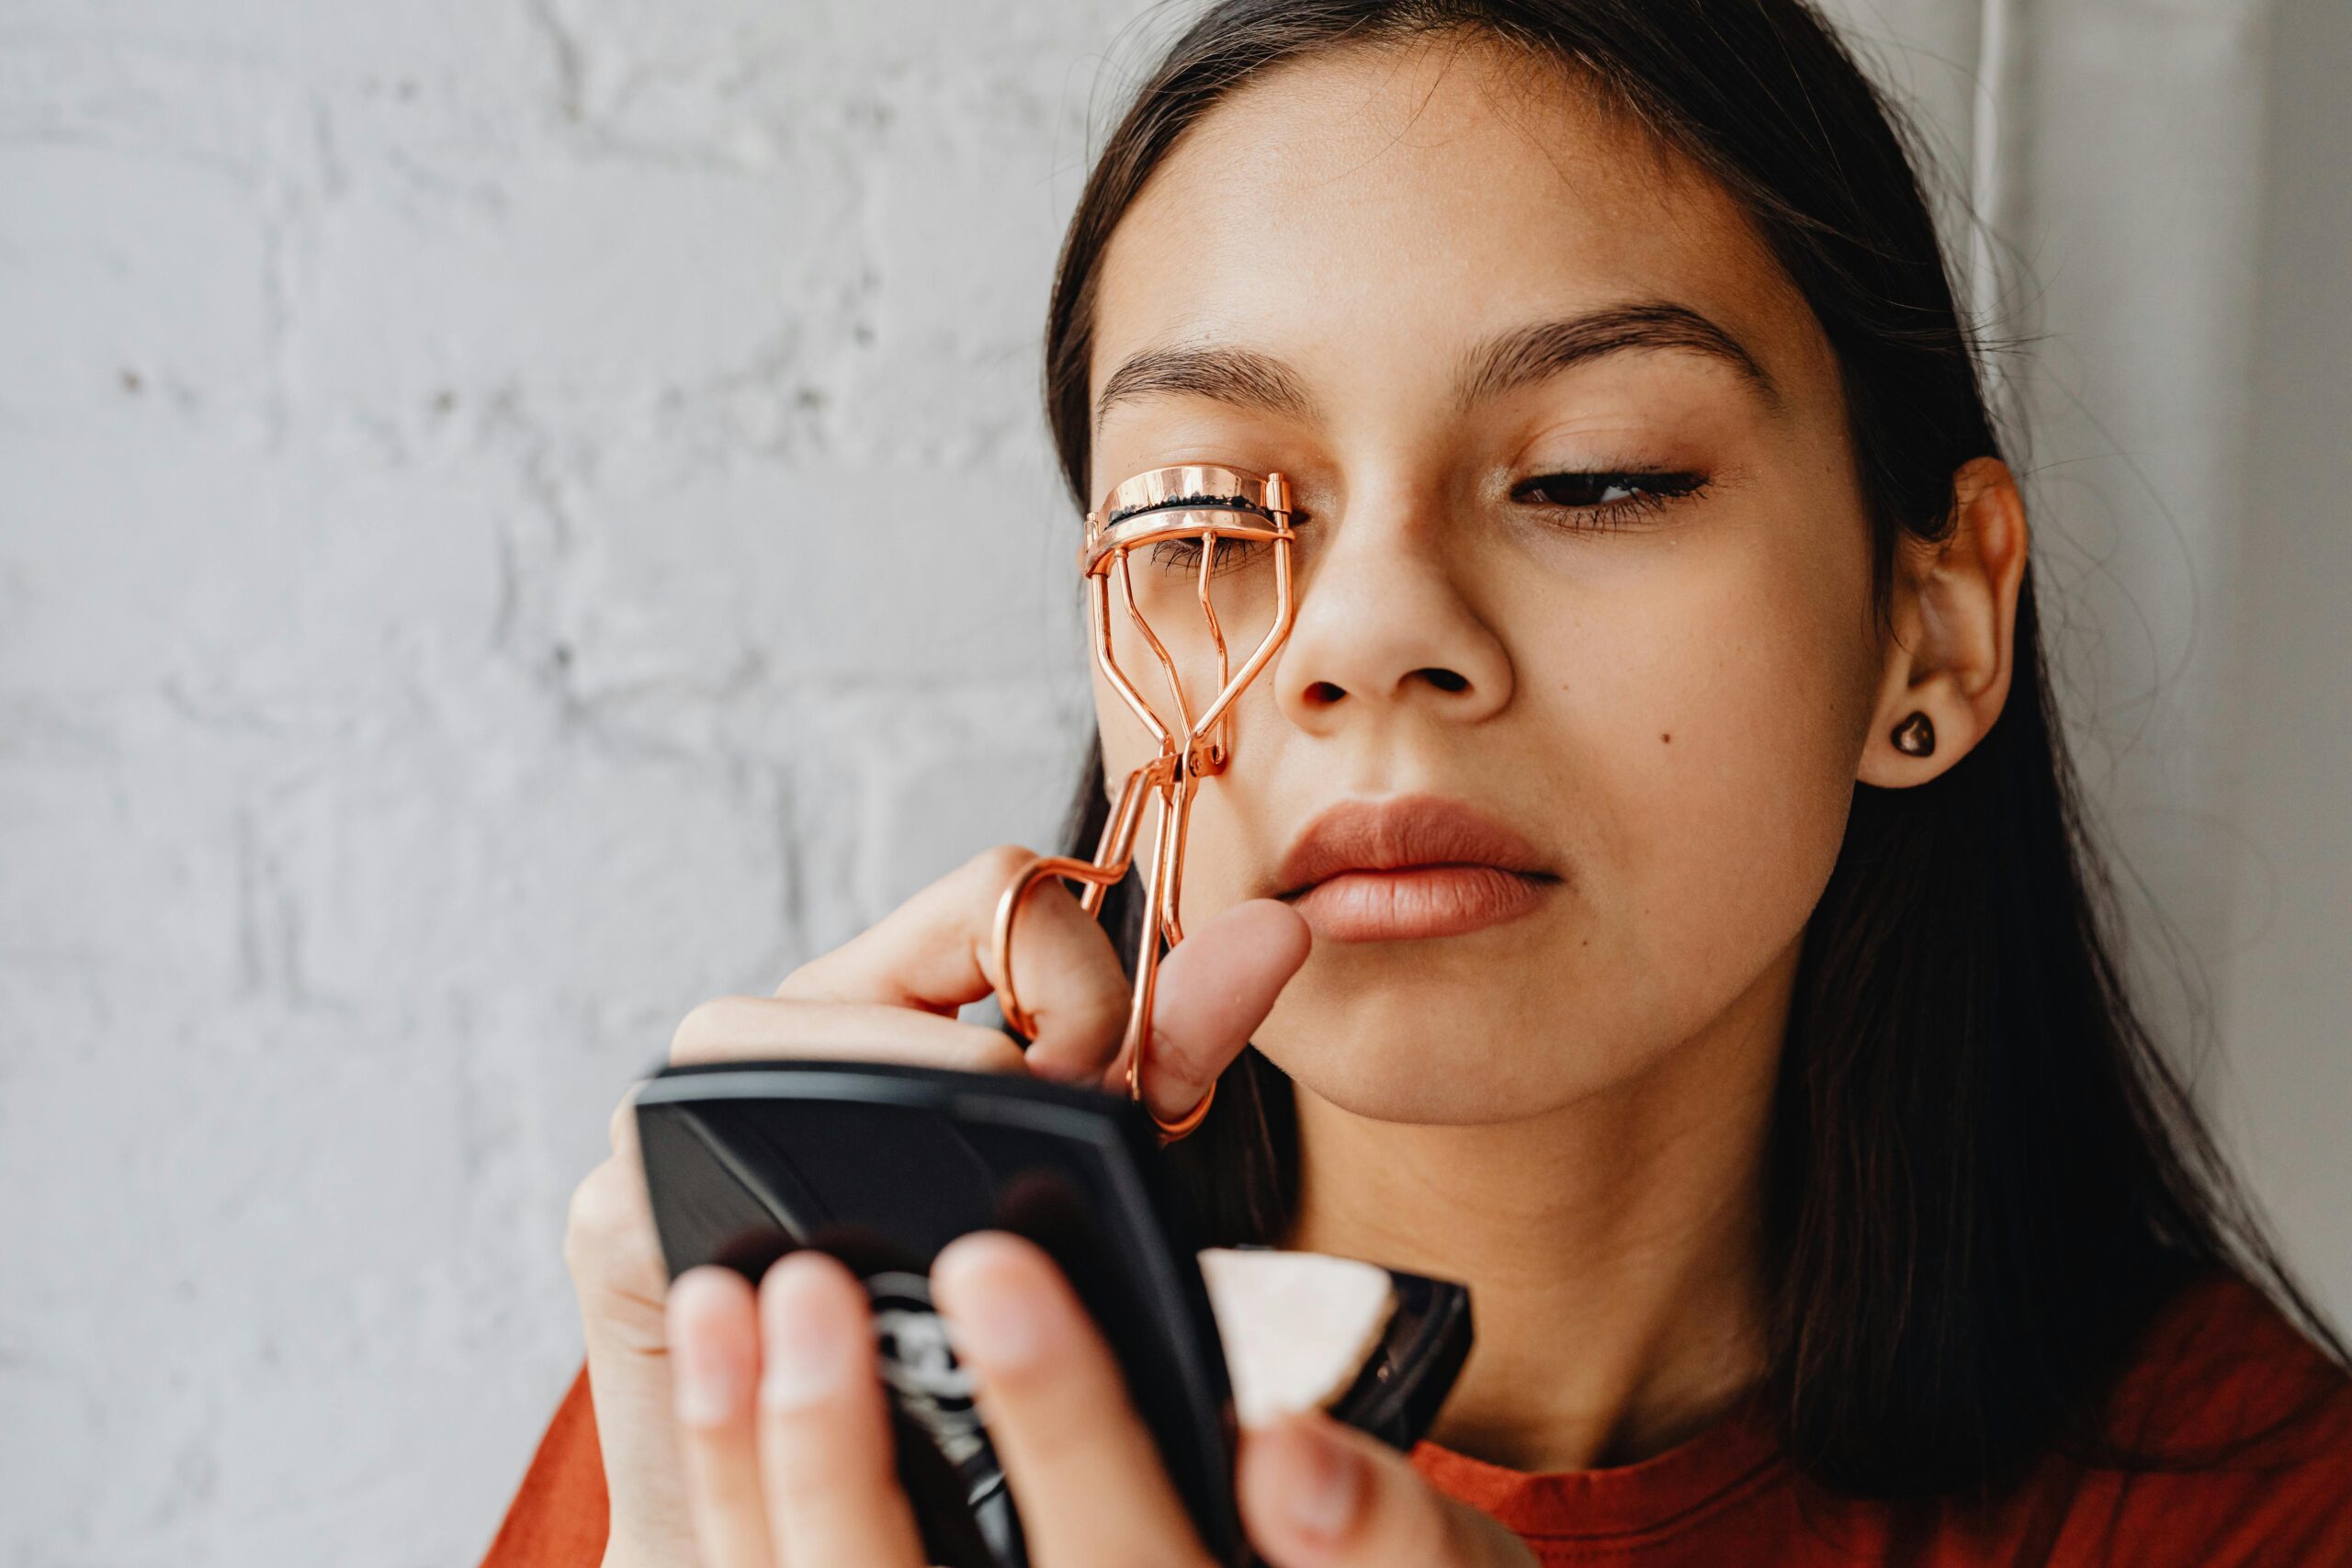
- Position the Curler: Open the eyelash curler and position it at the base of your lashes. Ensure that all your lashes fit between the curler’s pads.
- Press Gently: Gently press the curler together and hold for 10-15 seconds. Avoid tugging or applying too much pressure.
- Move Up the Lashes: For an even curl, move the curler halfway up your lashes and press again. Repeat near the tips for a lifted, natural look.
This technique works well for an everyday look, providing a gentle curl that opens up your eyes.
Pulse Curling Technique for Extra Volume
For those looking for more volume, the pulse curling technique offers an added lift. It’s perfect for those with stubborn lashes or anyone seeking a more dramatic effect.
- Warm the Curler (Optional): Warming the curler slightly with a hairdryer can help create a stronger curl. Be cautious to ensure the curler isn’t too hot.
- Pulse at the Base: Instead of holding the curler still, gently pulse the handles while at the base of your lashes. This action encourages more volume and curl.
- Move Up and Repeat: Continue pulsing as you move the curler up the length of your lashes, stopping at three key points: the base, middle, and tips.
This technique helps lift the lashes from the root, giving a fuller, more voluminous appearance.
Outer Corner Emphasis for Winged Lashes
If you love the winged eyeliner look, you can mimic this effect with your eyelash curler by emphasizing the outer lashes. This technique adds a slight cat-eye effect without needing makeup.
- Focus on Outer Lashes: Position the curler at the outer half of your lashes and curl as usual. Be sure to apply a bit more pressure here for a more pronounced lift.
- Angle the Curler: As you curl, tilt the curler outward. This helps the outer lashes flare out, creating a subtle winged shape.
- Hold Longer for Definition: Hold the curl at the outer corners for 5-10 seconds longer than the inner lashes to emphasize the lift.
This method works well when paired with a lengthening mascara to elongate the lashes further.
Reverse Curling Technique for Straight Lashes
If your lashes naturally grow straight, the reverse curling technique can help create a long-lasting, dramatic curl. It’s a great trick for stubborn lashes that don’t hold a curl well.
- Flip the Curler Upside Down: Position the eyelash curler upside down, so the curved part faces downward. This angle allows you to curl the lashes in the opposite direction.
- Curl in Sections: Start at the middle of your lashes and work your way to the base, pulsing gently as you go.
- Reposition Normally: After the reverse curl, turn the curler back to its normal position and curl as usual from the base.
The reverse curl technique helps break the straight pattern of stubborn lashes, making the final curl more pronounced.
Targeting Individual Sections for Precision
Sometimes, focusing on individual sections of your lashes can make a significant impact. Using this precision technique can help those with uneven lash growth or those who want to enhance specific areas.
- Use a Mini Curler: Mini lash curlers are perfect for targeting smaller sections of your lashes, like the inner and outer corners.
- Curl in Small Sections: Divide your lashes into sections and curl each one separately. This ensures that every lash gets a proper curl, especially those hard-to-reach areas.
- Reapply for Balance: After curling individual sections, use a regular curler to blend all the sections together for a cohesive look.
This technique works wonders for those with sparse or uneven lashes, giving them a uniform, lifted appearance.
Conclusion
Mastering different eyelash curler techniques can help you achieve the perfect lift and volume for any occasion. From basic curling to more advanced methods like the pulse technique or reverse curling, there’s a technique for every lash type. Experiment with these methods to find the one that works best for you, and don’t forget to take care of your lashes by using a quality curler and avoiding excess pressure. With the right approach, you’ll be able to enjoy beautifully lifted and voluminous lashes every day.
FAQs
1. How often should I clean my eyelash curler?
It’s best to clean your eyelash curler after each use. This prevents bacteria buildup and removes any leftover mascara or oils from your lashes. Use a gentle makeup remover or alcohol wipe to sanitize the pads.
2. Does warming the eyelash curler damage lashes?
Warming the curler can help create a stronger curl, but be cautious. Always test the heat on your wrist first to avoid burning your lashes or eyelids. Too much heat can damage your lashes, so moderation is key.
3. Can I curl my lashes with mascara on?
It’s not recommended to curl lashes with mascara on, as this can cause breakage. Always curl clean, dry lashes to avoid damage. Apply mascara afterward for the best results.
4. How long should I hold the eyelash curler?
Hold the curler at the base of your lashes for 10-15 seconds. For longer-lasting curls, move up the lashes and repeat the process at the middle and tips.
5. Are all eyelash curlers the same?
No, eyelash curlers vary in shape, size, and quality. Choose a curler that fits your eye shape and has cushioned pads to prevent damage. Investing in a good-quality curler can make a significant difference in the results.
6. How do I prevent my lashes from drooping after curling?
To prevent lashes from drooping, make sure to curl them before applying mascara. Additionally, you can try using a waterproof mascara to help hold the curl in place for longer.


