Benefits of Using Ice Rollers for Cooling and Depuffing
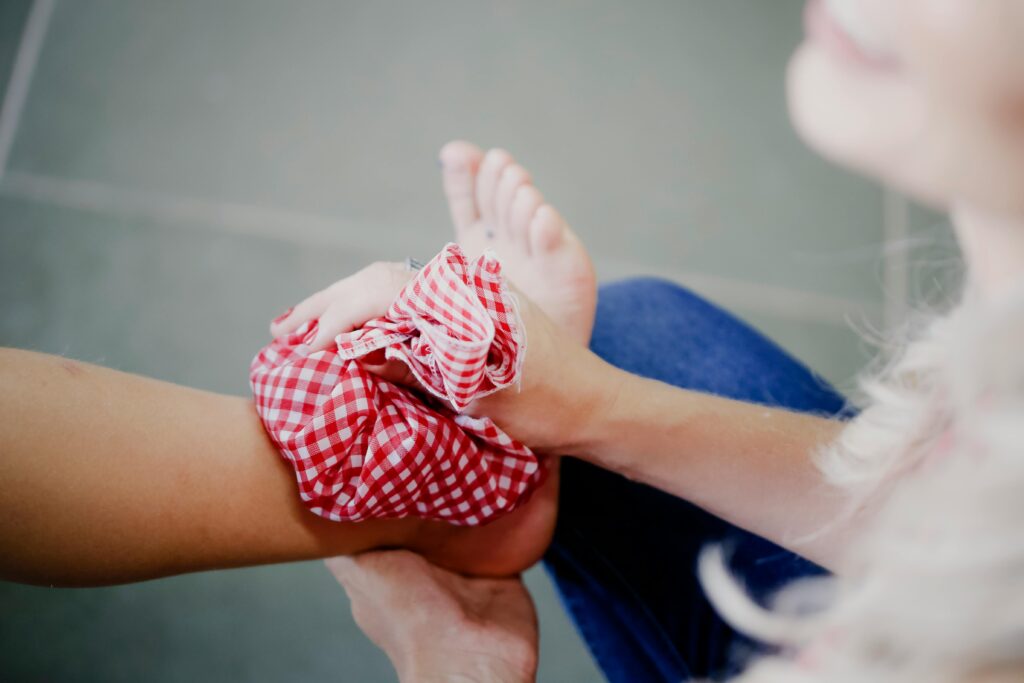
Ice rollers have become a go-to tool for skincare enthusiasts seeking an easy, effective way to refresh their skin. These […]
Benefits of Using Ice Rollers for Cooling and Depuffing Read More »
Ice rollers have become a go-to tool for skincare enthusiasts seeking an easy, effective way to refresh their skin. These […]
Benefits of Using Ice Rollers for Cooling and Depuffing Read More »
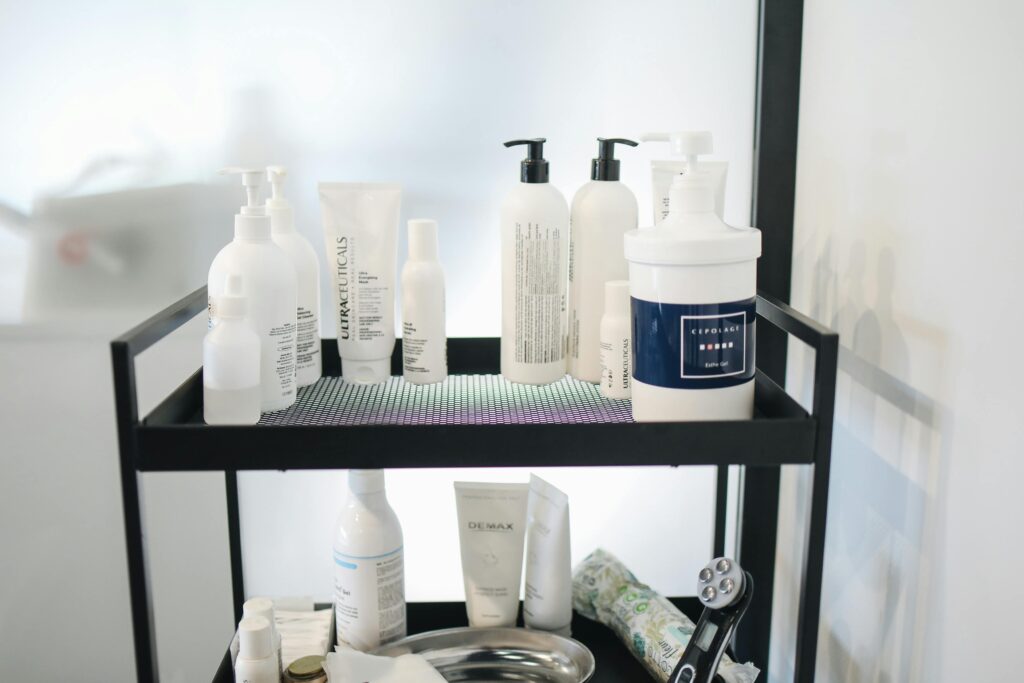
A beautifully organized skincare shelf isn’t just practical—it’s a work of art that can elevate your self-care routine. Skincare shelfies
How to Create a Skincare Shelfie for Instagram-Worthy Display Read More »

Hiking is an incredible way to connect with nature, but it can be harsh on your skin. Prolonged exposure to
Skincare Tips for Hikers: Protecting Against Sun and Wind Exposure Read More »
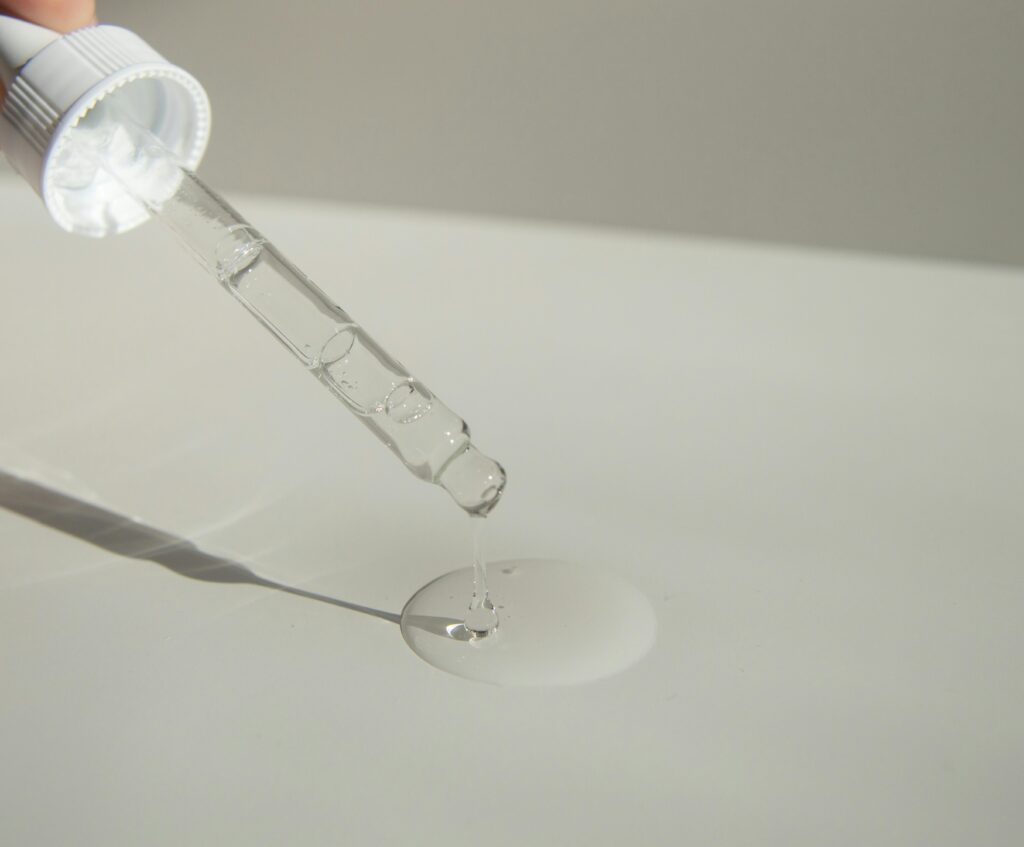
Tamanu oil, derived from the nuts of the tamanu tree, has been used for centuries as a natural remedy for
Benefits of Using Tamanu Oil for Healing and Regeneration Read More »
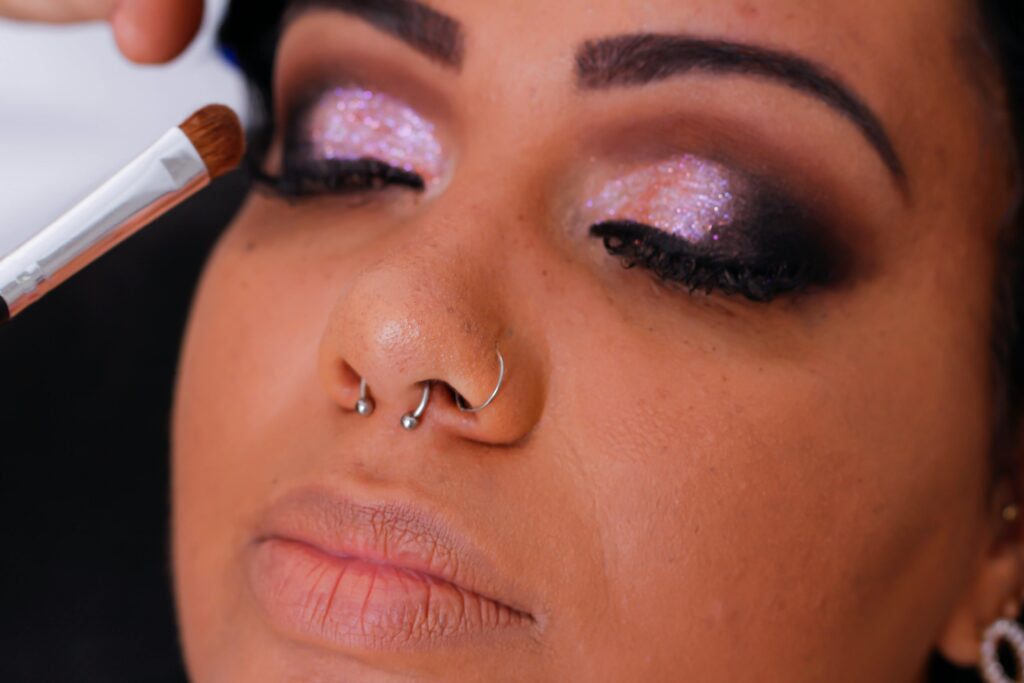
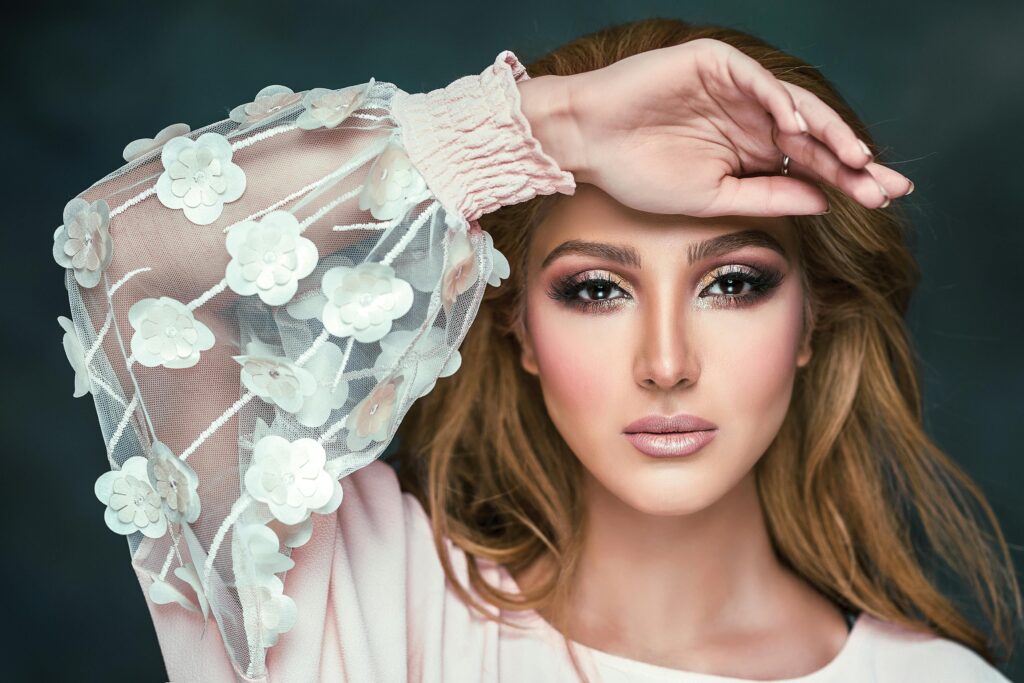
Metallic eye makeup is a showstopper, instantly adding drama and dimension to any look. Foil shadows, known for their intense
How to Create Metallic Eye Makeup Looks with Foil Shadows Read More »
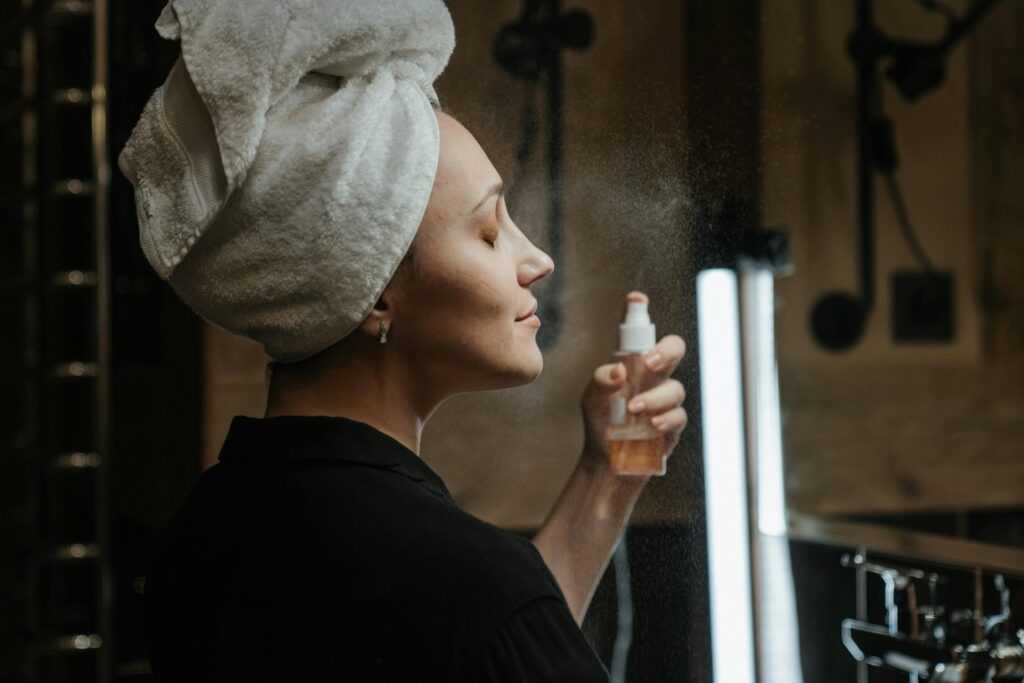
A flawless, dewy complexion is the ultimate makeup goal for many. Hydrating setting sprays are the secret weapon that combines
Benefits of Using Hydrating Setting Sprays for Dewy Skin Read More »
Art history has always been a source of inspiration for beauty trends. From the bold hues of the Renaissance to
Hair texturizing is a game-changer for anyone seeking more movement, volume, or definition in their hairstyle. This technique involves using
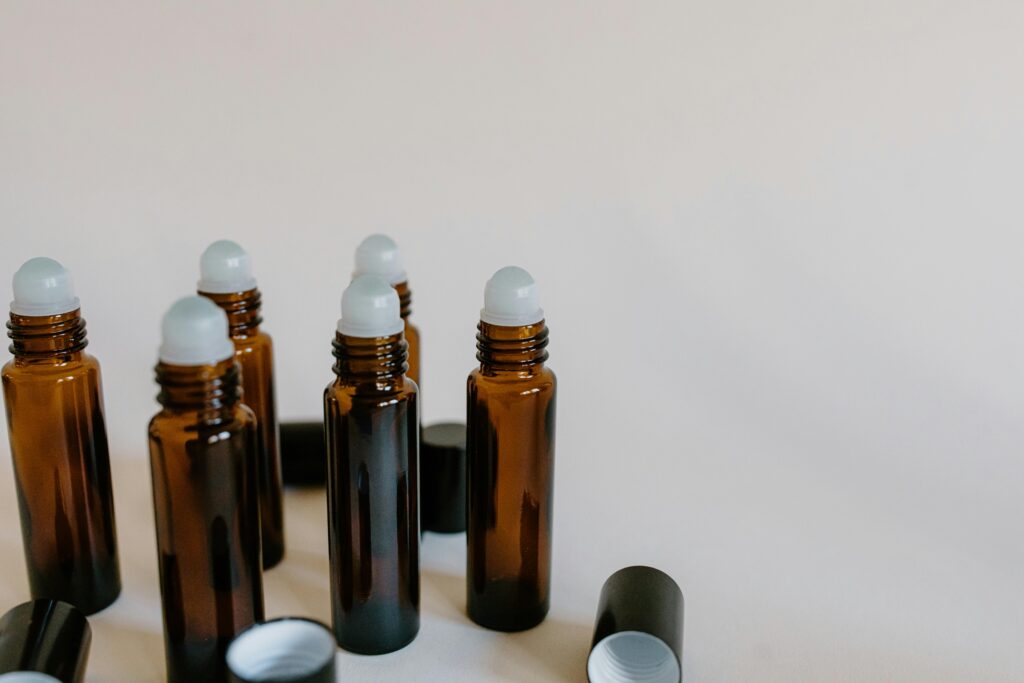
DIY hair perfume roll-ons are a great way to enjoy personalized scents while caring for your hair. Unlike store-bought hair
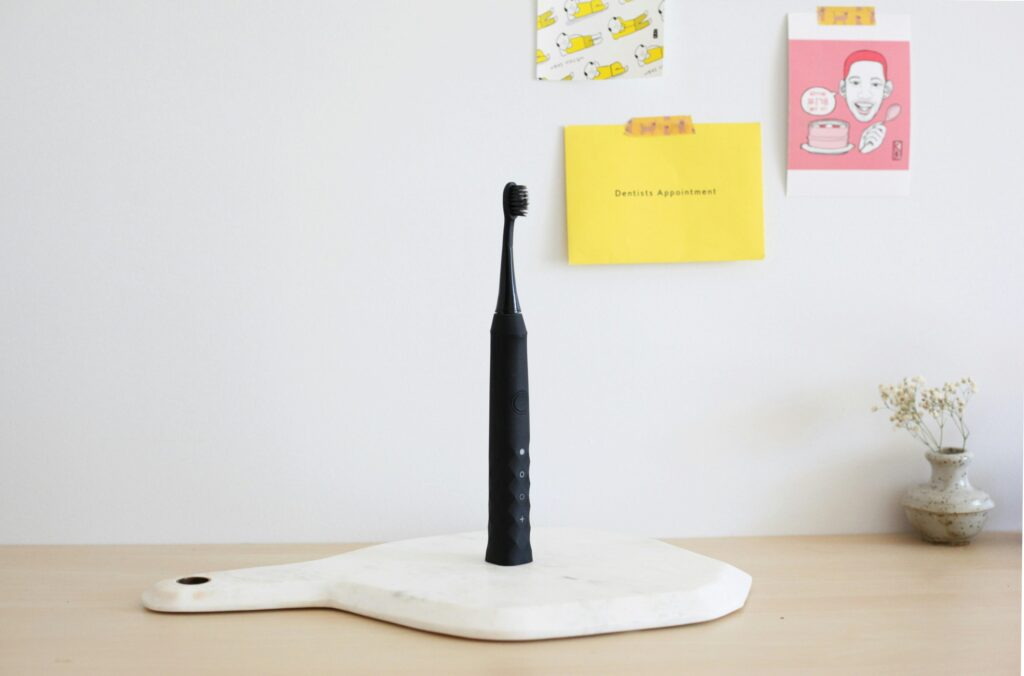
Electric toothbrushes with whitening modes have revolutionized oral care. These advanced devices combine effective cleaning technology with stain-removal features, offering
5 Benefits of Using Electric Toothbrushes with Whitening Modes Read More »
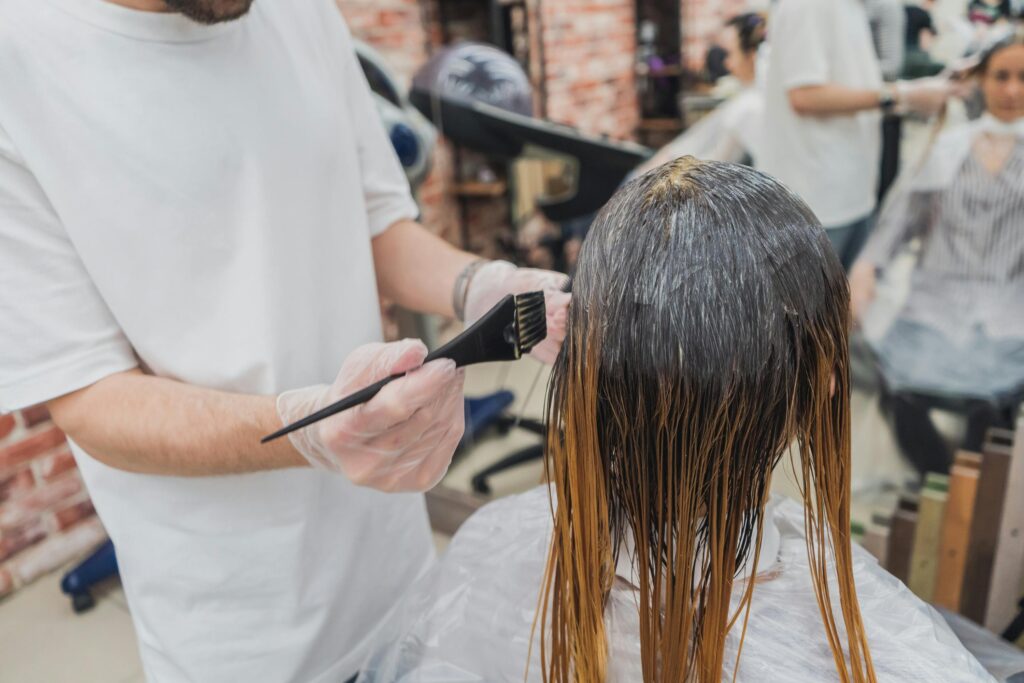
Olive oil is more than a kitchen staple; it’s a versatile beauty ingredient with exceptional benefits for hair. Packed with
Benefits of Using Olive Oil for Deep Conditioning and Shine Read More »
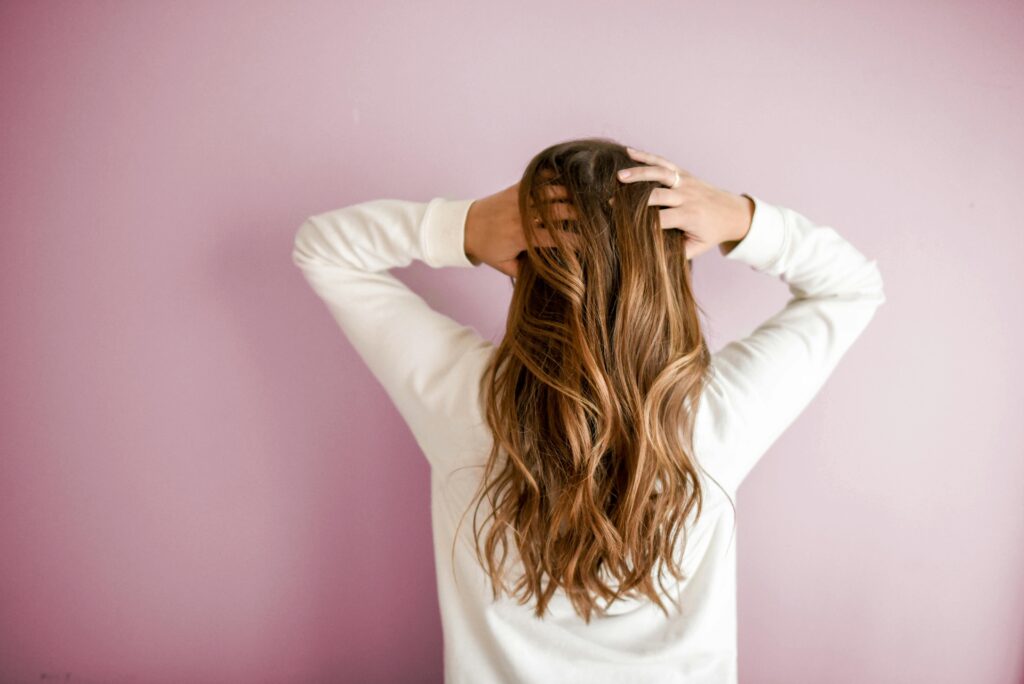
Hair tousling has become a go-to styling technique for achieving effortless, chic hairstyles. This method embraces texture, volume, and natural
Art of Hair Tousling: Effortlessly Chic Hairstyles Read More »

Hemp seed oil has emerged as a game-changer in the world of hair care. Packed with essential nutrients and fatty
Benefits of Using Hemp Seed Oil for Hair Growth and Strength Read More »
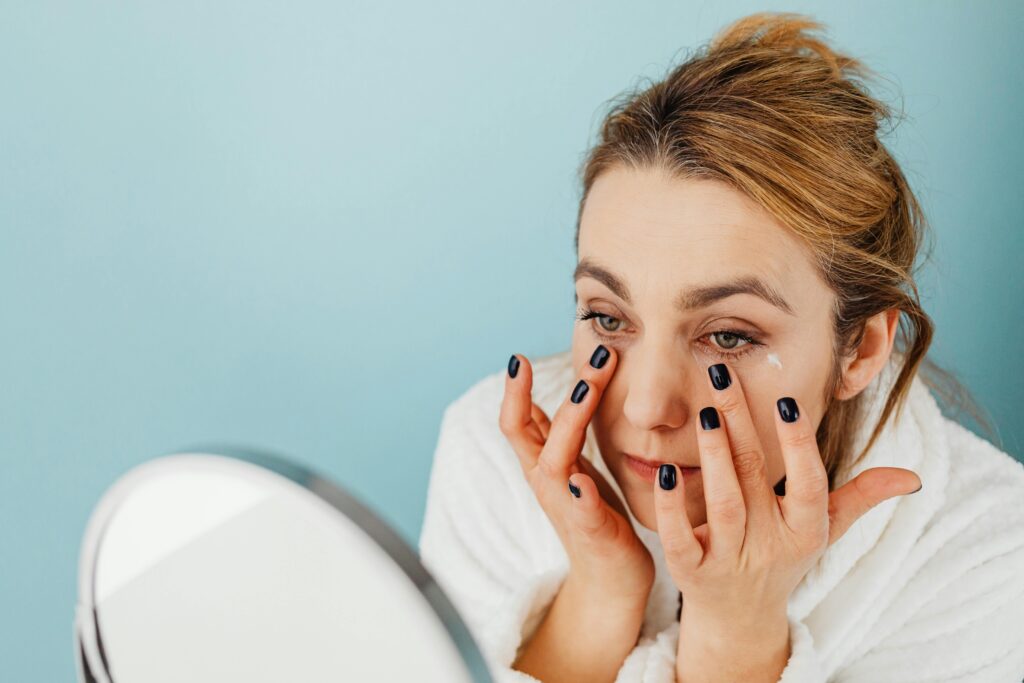
Eye creams with retinol have become a skincare staple for anyone looking to tackle signs of aging and fatigue. Retinol,
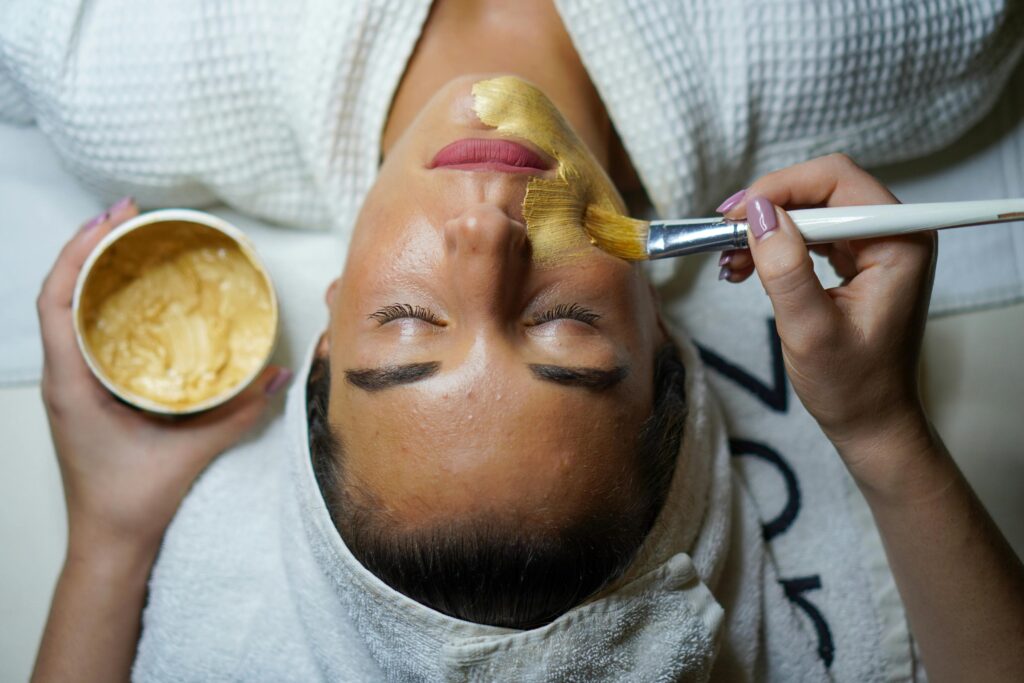
Creating a DIY skincare mask is an excellent way to address specific skin concerns without breaking the bank. With the
How to Create a DIY Skincare Mask for Targeted Treatment Read More »