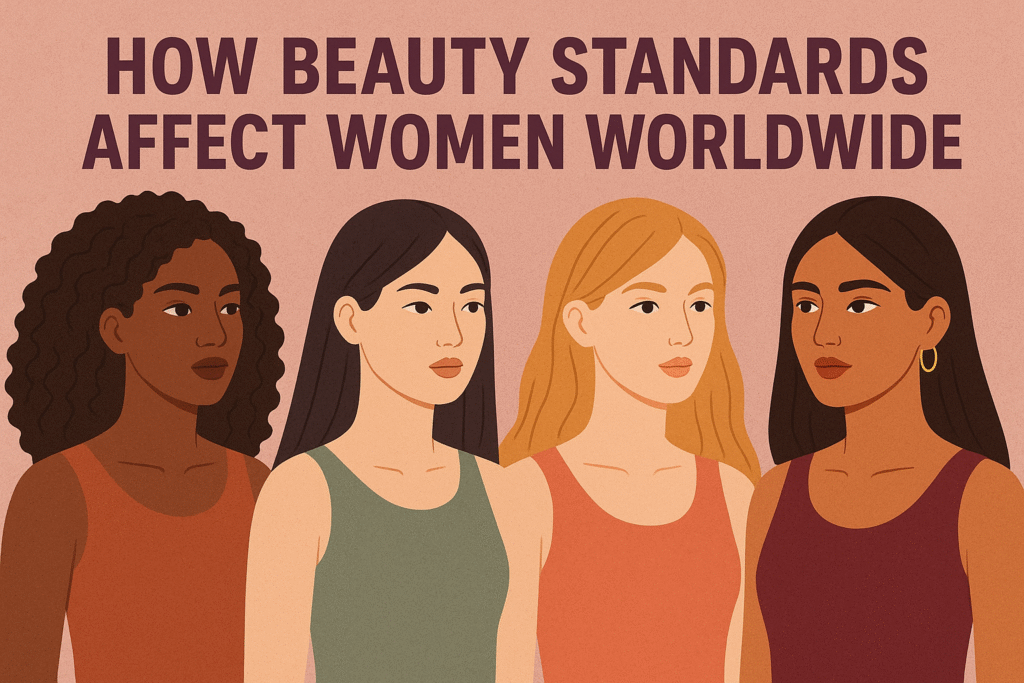
How Beauty Standards Affect Women Worldwide
How beauty standards affect women worldwide isn’t just about appearance. It touches identity, opportunity, and even safety. Across continents, women […]
How beauty standards affect women worldwide isn’t just about appearance. It touches identity, opportunity, and even safety. Across continents, women […]
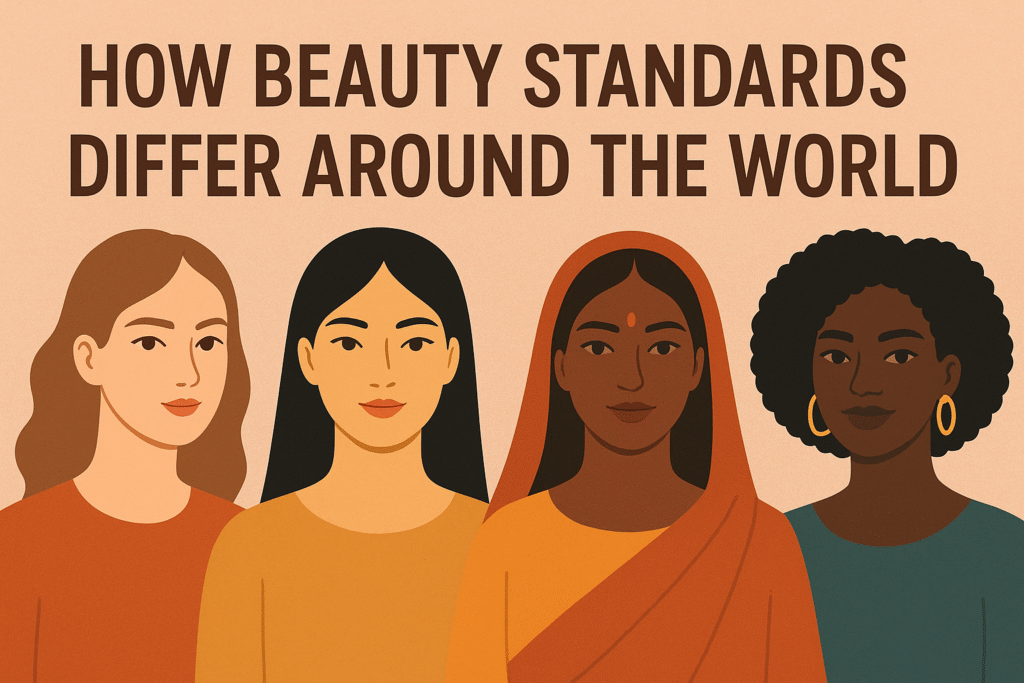
How beauty standards differ around the world is a fascinating topic because it shows how deeply culture shapes what we
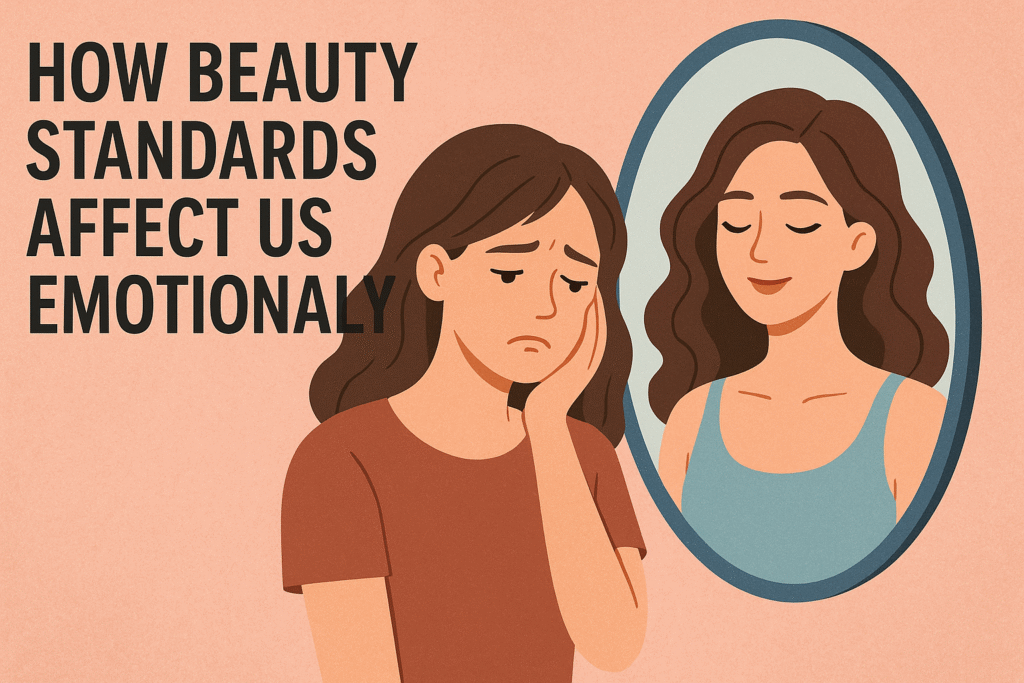
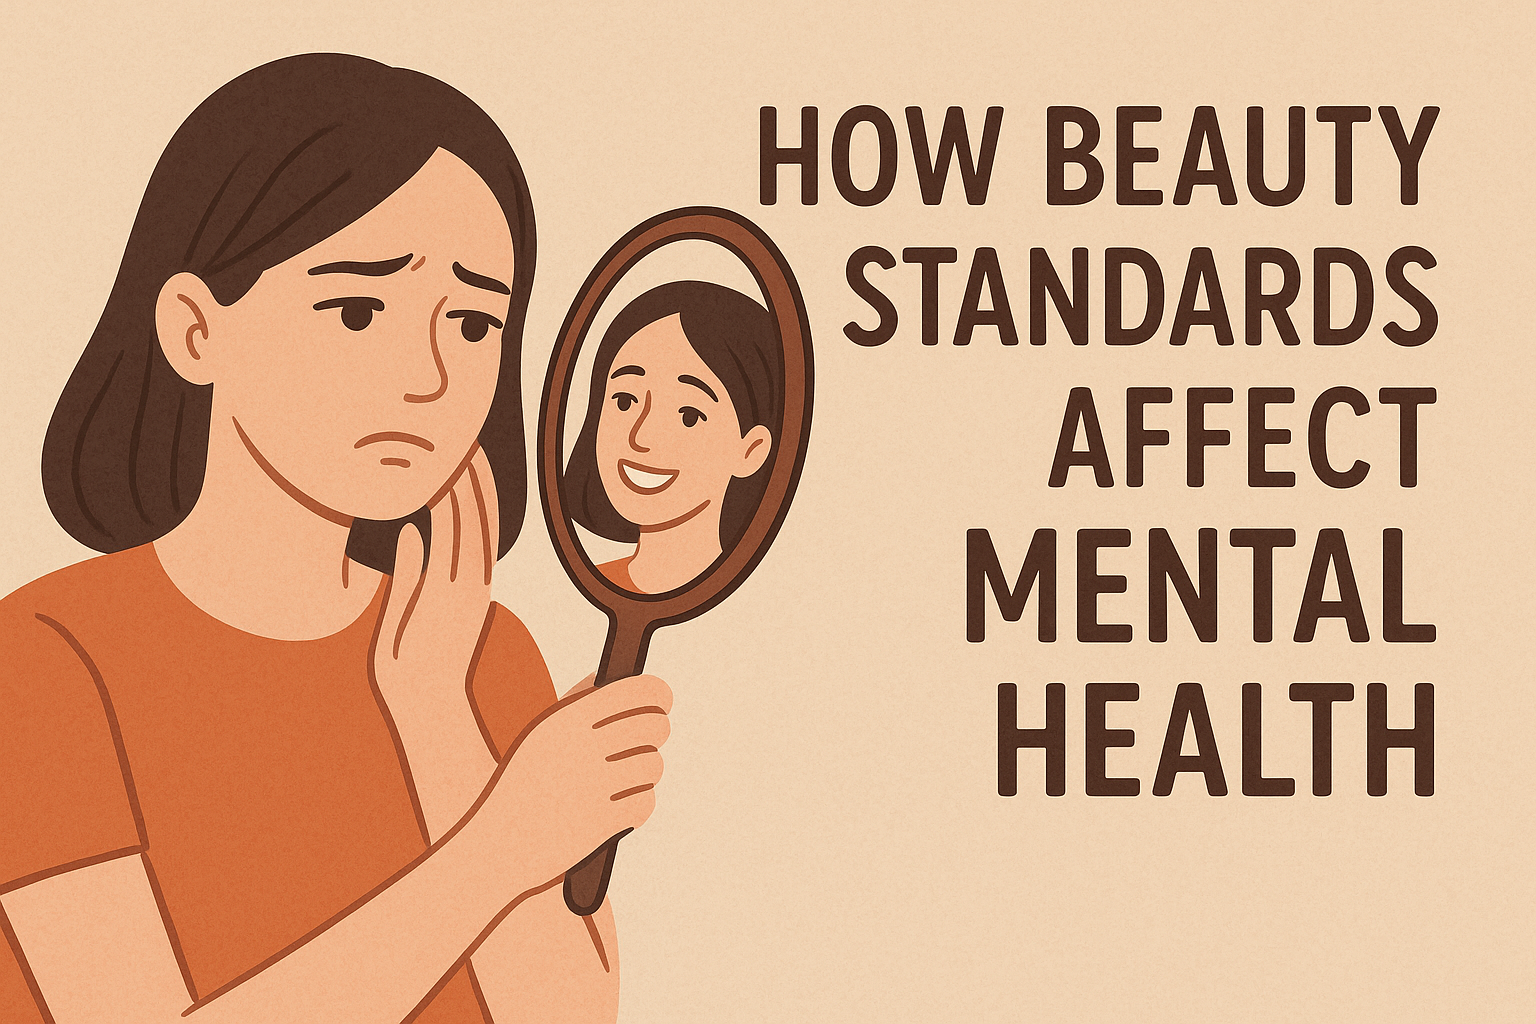
How beauty standards affect us emotionally isn’t just a philosophical question. It’s something you feel every time you scroll social
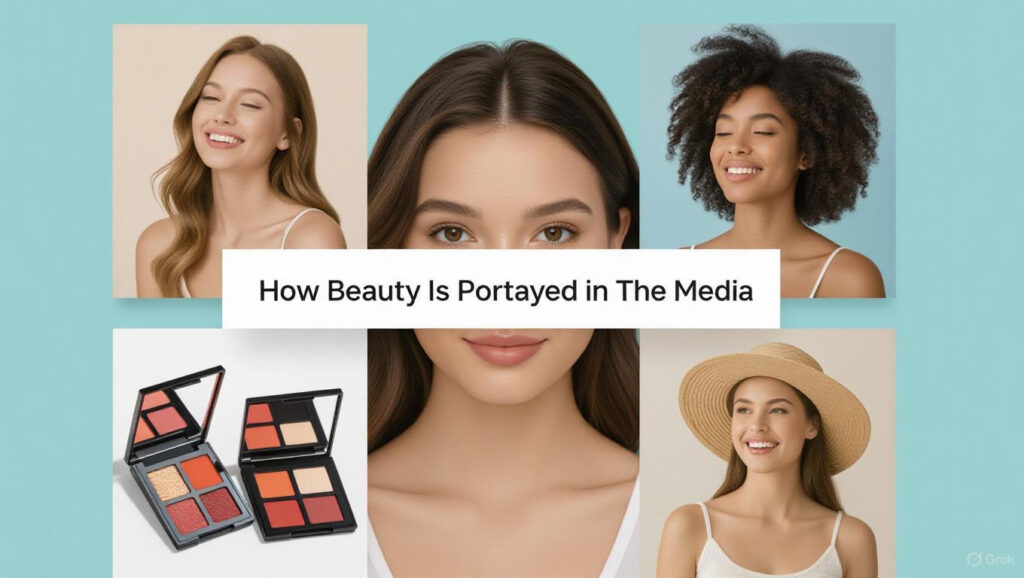
Ever wondered how beauty is portrayed in the media and how that affects what we see in the mirror? From
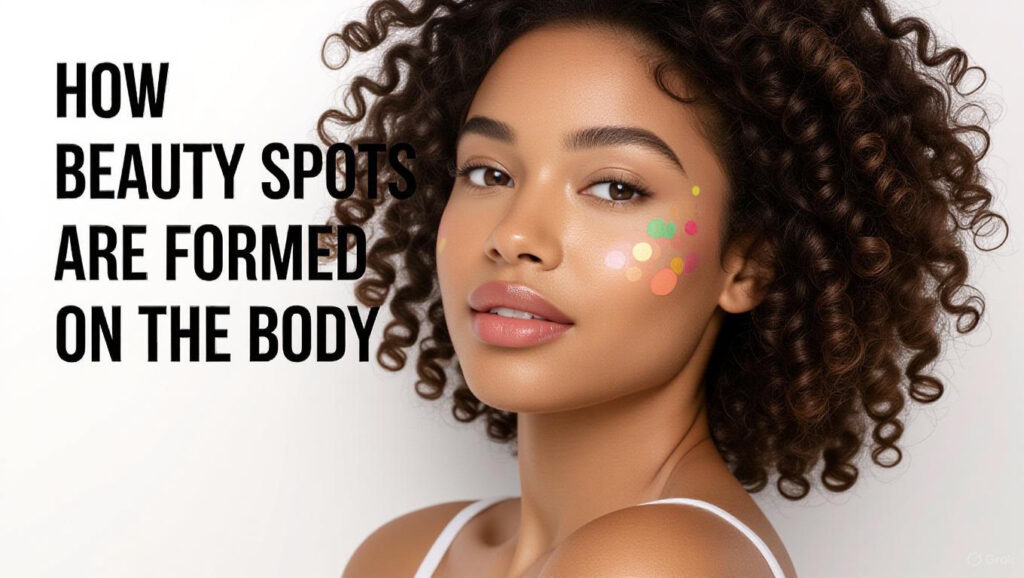
Ever wonder how beauty spots are formed on the body? You’re not alone. These tiny marks, sometimes called moles, freckles,

Ever wondered how beauty products are made safely before they land on store shelves? You use creams, lotions, or makeup
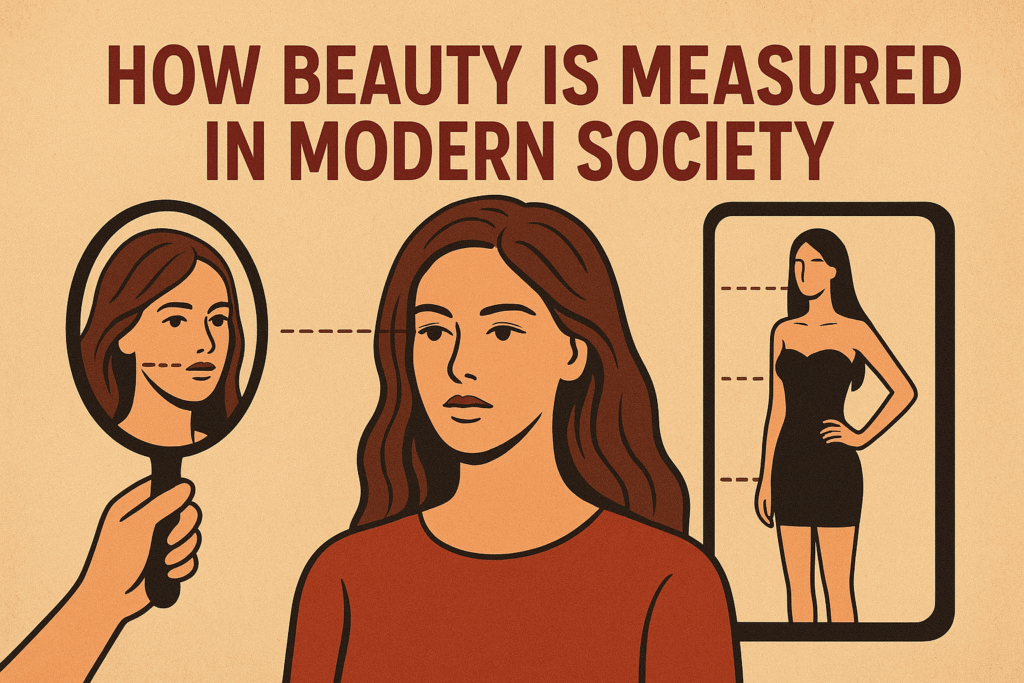
How beauty is measured in modern society isn’t as simple as it used to be. You live in a world
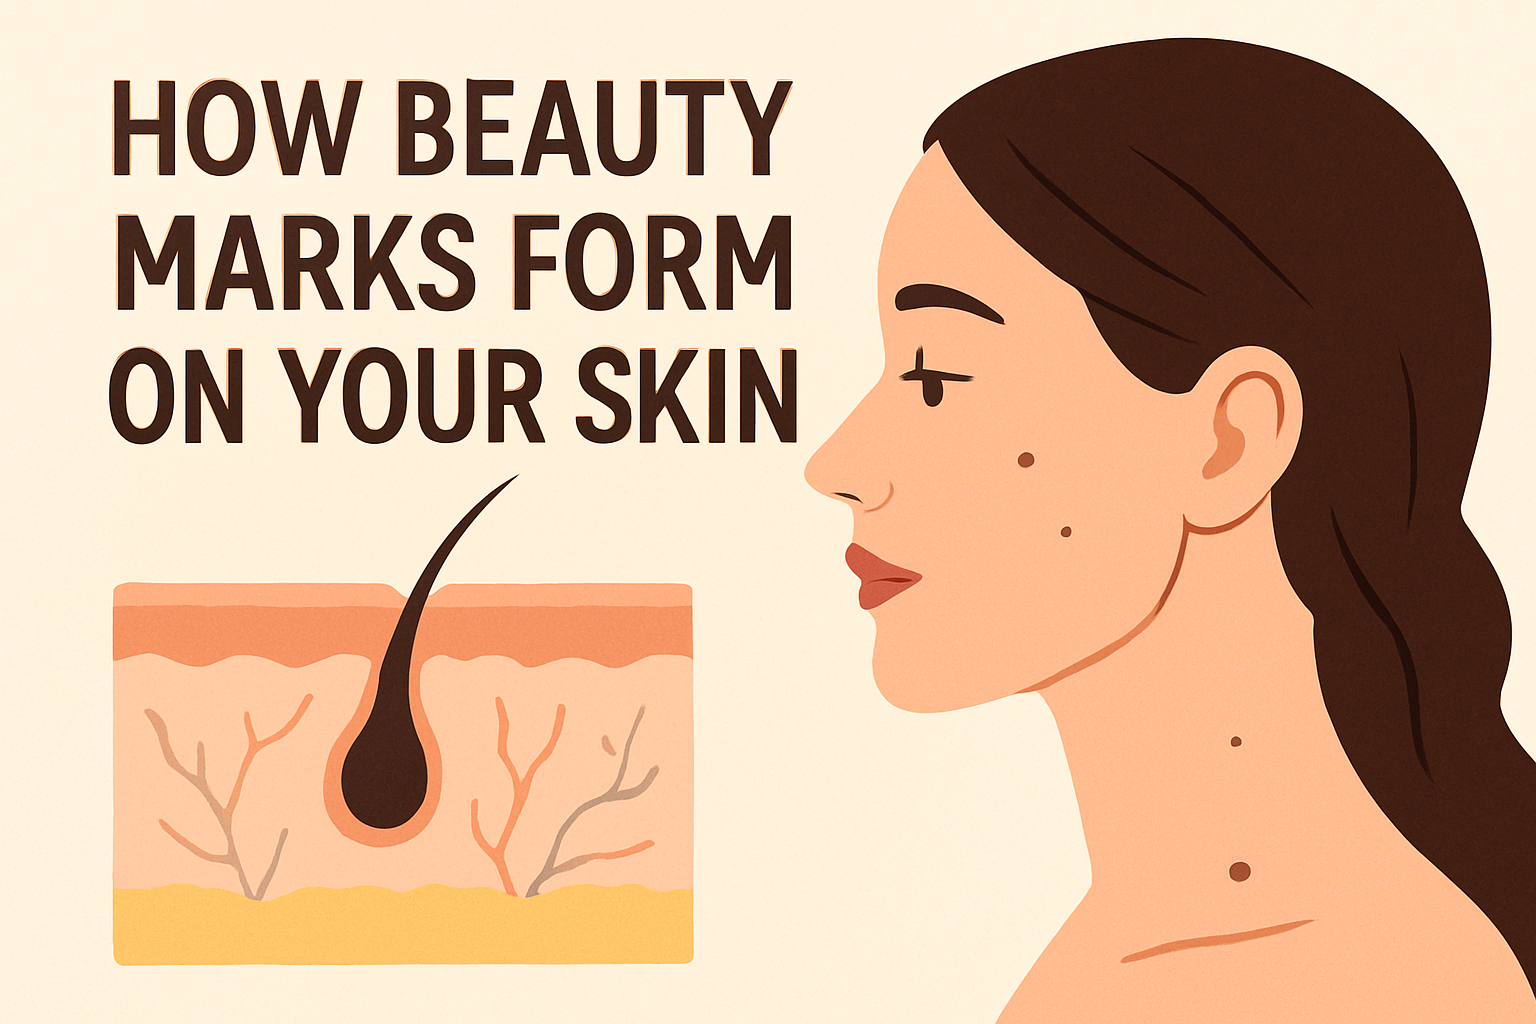
Ever noticed a small dark spot on your face or arm and wondered how beauty marks form on your skin?
You’ve seen it everywhere: magazines, social media, even the ads before a YouTube video. Perfect hair, glowing skin, flawless bodies.
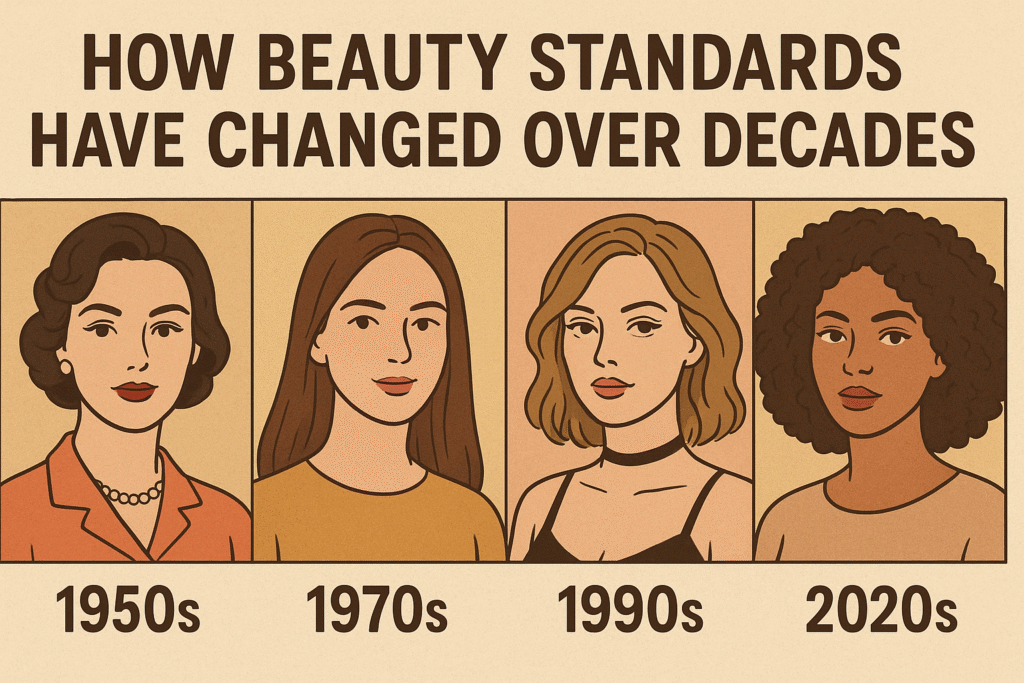
How beauty standards have changed over decades tells us more than just what people found attractive. It reveals how culture,
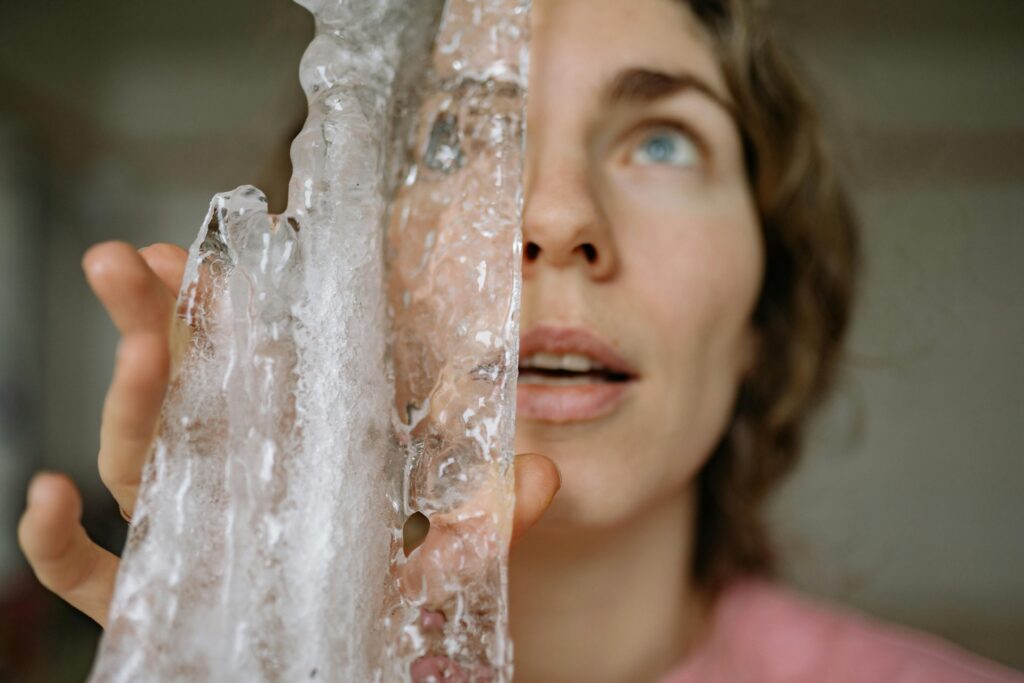
Ice globes are revolutionizing skincare routines with their ability to depuff and refresh the face. These chilled, handheld tools combine
Benefits of Using Ice Globes for Depuffing and Circulation Read More »

Surfing exposes your skin to harsh elements like the sun, salt water, and wind. Over time, these factors can cause
Best Skincare Tips for Surfers (Pre-Surf, During, Post-Surf) Read More »
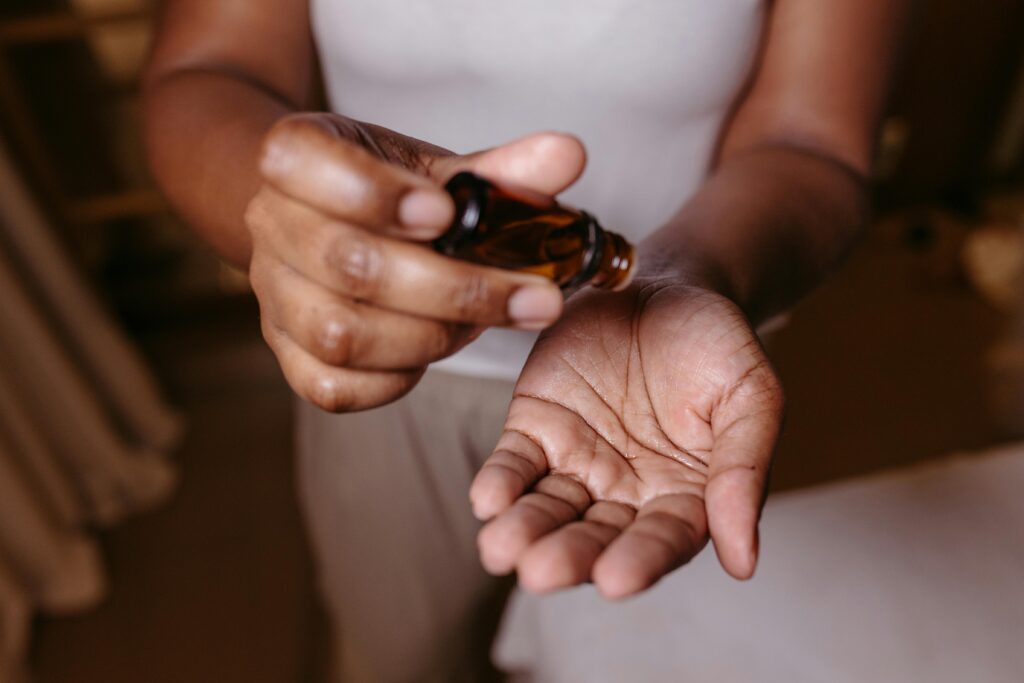
Evening primrose oil (EPO) is a natural supplement derived from the seeds of the evening primrose plant. Known for its
Benefits of Evening Primrose Oil for Hormonal Balance and Acne Read More »
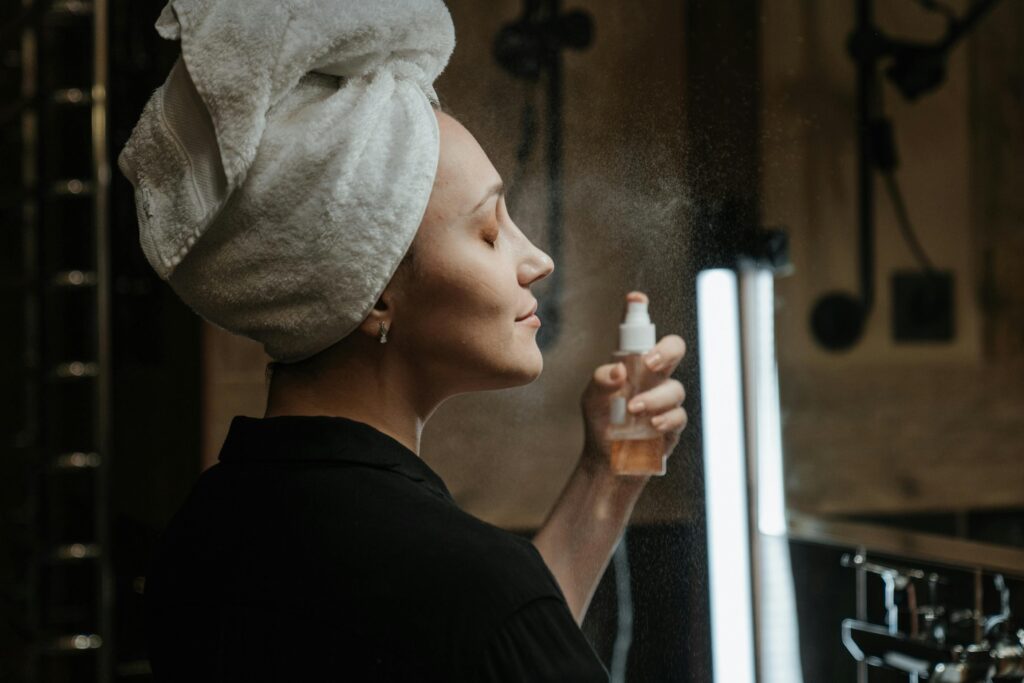
Illuminating setting sprays are a game-changer in the world of makeup. These sprays not only lock your look in place

Art Nouveau, a decorative art movement from the late 19th and early 20th centuries, continues to inspire modern aesthetics. Known