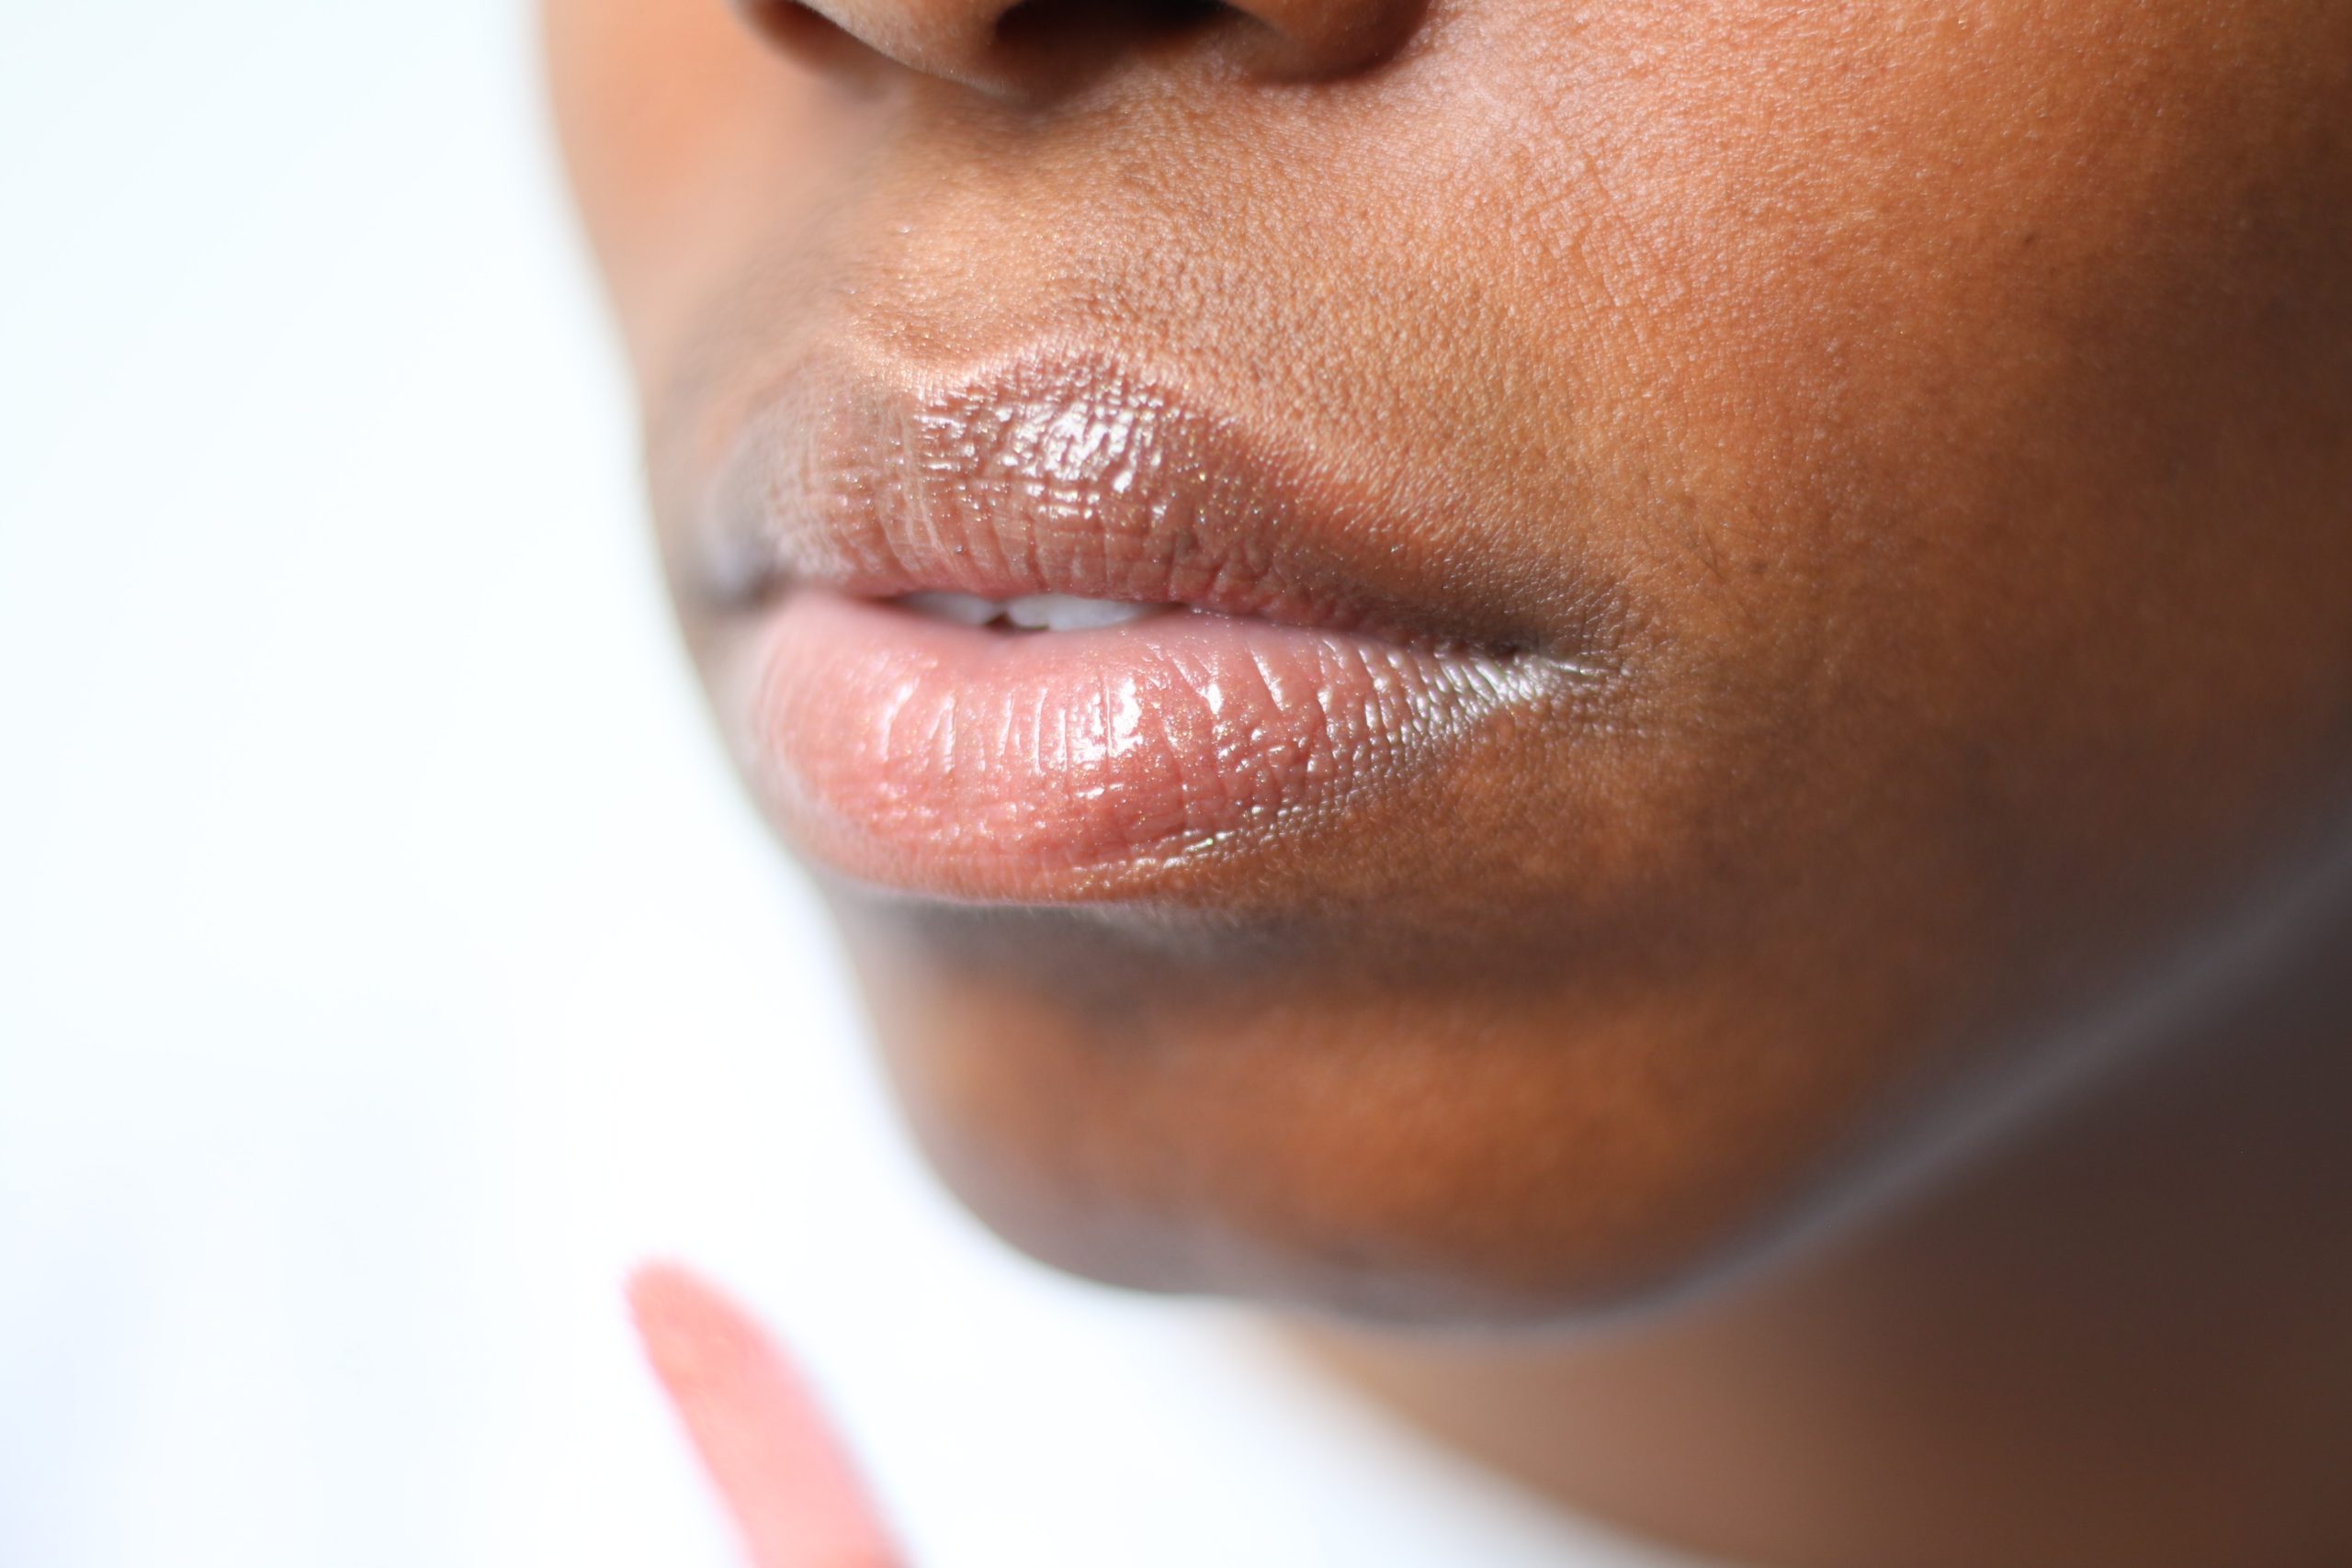
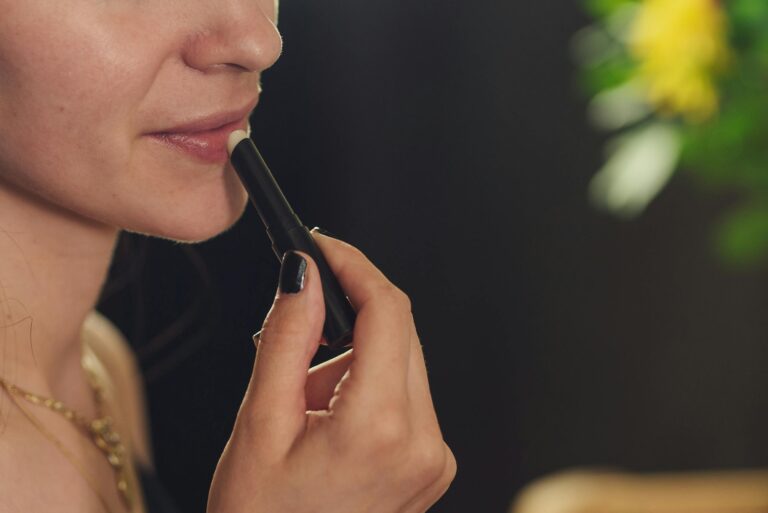
Do you ever find yourself constantly reaching for your lip balm throughout the day, only to find that you’ve run out? Instead of making yet another trip to the store to buy another tube, why not try making your own?
Not only is it a fun and creative project, but DIY lip balm also allows you to customize the ingredients and scents to your liking. Plus, it can be a more sustainable and cost-effective alternative to buying pre-packaged lip balm.
In this guide, we’ll walk you through the steps on how to make your very own DIY lip balm.
Ingredients and Supplies
When making your DIY lip balm, you’ll need some essential ingredients and supplies to get started. Common ingredients include beeswax, shea butter, coconut oil, and essential oils for fragrance.
As for supplies, you’ll need a double boiler, a heat-safe container, measuring spoons, and lip balm tubes or small jars for storage. Don’t worry if you don’t have all the supplies on hand – you can easily find them online or at a local craft store.
Just make sure to double-check that you have everything you need before getting started so you don’t have to make any last-minute trips to the store!
Recipe for Basic Lip Balm
Here’s an example of a recipe for a basic lip balm that you can easily make at home:
Ingredients:
- Two tablespoons of beeswax
- Two tablespoons of coconut oil
- One tablespoon of shea butter
- Optional: a few drops of essential oil for scent
Supplies:
- Double boiler or a heat-safe bowl and pot
- Lip balm tubes or small containers
- Stirring utensil
Instructions:
- Melt the beeswax, coconut oil, and shea butter in a double boiler or a heat-safe bowl placed over a pot of simmering water. Stir occasionally until fully melted and combined.
- Remove the mixture from the heat and add a few drops of essential oil if desired. Stir well.
- Pour the mixture into lip balm tubes or small containers. Fill up to the top, as the mixture will shrink slightly as it cools.
- Let the lip balm cool and solidify completely before using or covering it with the cap.
Tips and Tricks:
- Beeswax can be difficult to clean off utensils, so consider using disposable tools or dedicating a separate set for making lip balm.
- Shea butter can be substituted with cocoa butter or mango butter for a different texture and scent.
- Essential oils can provide a natural scent and offer various benefits. However, dilute them properly and avoid using photosensitive oils that may cause skin irritation when exposed to sunlight.
Variations and Customizations
When it comes to making your own DIY lip balm, the fun really starts with variations and customizations! One of my favorite things is adding different scents and flavors to my lip balm to create something truly unique. Some of my favorite scents include peppermint, vanilla, and citrus, but the options are endless!
Another fun customization is using natural colors to tint your lip balm. I like to use beetroot powder to create a natural pink tint, but you can also use other natural ingredients like cocoa powder or spirulina for different shades.
Overall, the variations and customizations you can make to your DIY lip balm are limited only by your imagination. It’s a great way to express your creativity and make something truly one-of-a-kind. Plus, it’s a fun way to experiment with different ingredients and find the perfect combination that works for you.
Packaging and Storage
When it comes to packaging and storage of DIY lip balm, it’s important to consider the environment you live in. In my case, I live in a dry climate, so I always make sure to store my lip balm in an airtight container to prevent it from drying out.
I also prefer using small, portable containers that fit easily in my pocket or purse, so I can easily access them throughout the day. Additionally, I like to label my lip balms with the date they were made so I know when they’re starting to expire. Overall, the right packaging and storage can help ensure that your DIY lip balm stays fresh and effective for as long as possible.
Conclusion
Making your own lip balm is a fun and rewarding DIY project that can provide you with a custom lip balm that suits your personal preferences and needs. With a few simple ingredients and supplies, you can create a natural and nourishing product to keep your lips moisturized and protected.
Whether you prefer a basic or a customized recipe, making your own lip balm is a great way to take control of your beauty routine and save money in the process. So, why not give it a try and see the difference it can make for your lips?


