Getting a professional-looking manicure at home is easier than you might think. With the right tools and techniques, you can achieve beautiful nails that look salon-fresh. This guide walks you through the steps needed for a perfect DIY manicure, ensuring your nails look their best.
Gather Your Supplies
Before you begin, gather all necessary supplies. Here’s what you’ll need:
- Nail polish remover
- Cotton balls or pads
- Nail clippers
- Nail file
- Buffing block
- Cuticle pusher or orange stick
- Cuticle oil
- Base coat
- Nail polish
- Top coat
- Hand lotion
Having everything ready will streamline your process and make it more enjoyable.
Step 1: Remove Old Nail Polish
Start by removing any old nail polish. Soak a cotton ball in nail polish remover, press it against your nail for a few seconds, and swipe it off. This ensures a clean base for your manicure.
Step 2: Shape Your Nails
Next, shape your nails with a nail clipper and file. Clip to your desired length, then use a file to smooth the edges. Choose a shape that complements your fingers, such as square, oval, or almond.
1. File Techniques
- For a square shape, file straight across.
- For an oval shape, round the edges slightly.
- For almond shape, file from the sides toward the center.
Ensure the file is gentle to avoid damaging your nails.
Step 3: Soak and Push Back Cuticles
Soak your hands in warm, soapy water for about 5-10 minutes. This softens the cuticles and makes them easier to manage.
1. Cuticle Care
After soaking, gently push back your cuticles with a cuticle pusher or an orange stick. Be careful not to push too hard, as this can cause injury.
Step 4: Moisturize
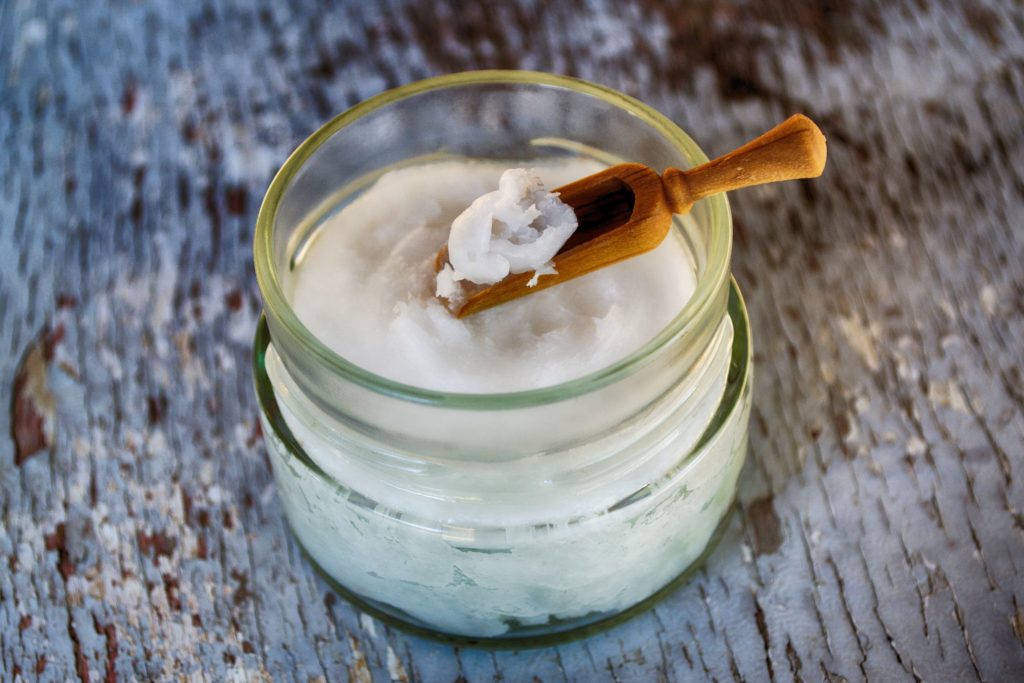
Apply cuticle oil to nourish the cuticles. Massage it in gently to hydrate the surrounding skin. Following this, use hand lotion to keep your hands moisturized and smooth.
Step 5: Buff the Nails
Using a buffing block, lightly buff the surface of your nails. This removes ridges and creates a smooth surface for the polish to adhere better. Be cautious not to over-buff, as this can weaken your nails.
Step 6: Apply Base Coat
Applying a base coat is crucial. It protects your nails from staining and provides a smooth surface for color application. Use a thin layer and allow it to dry completely.
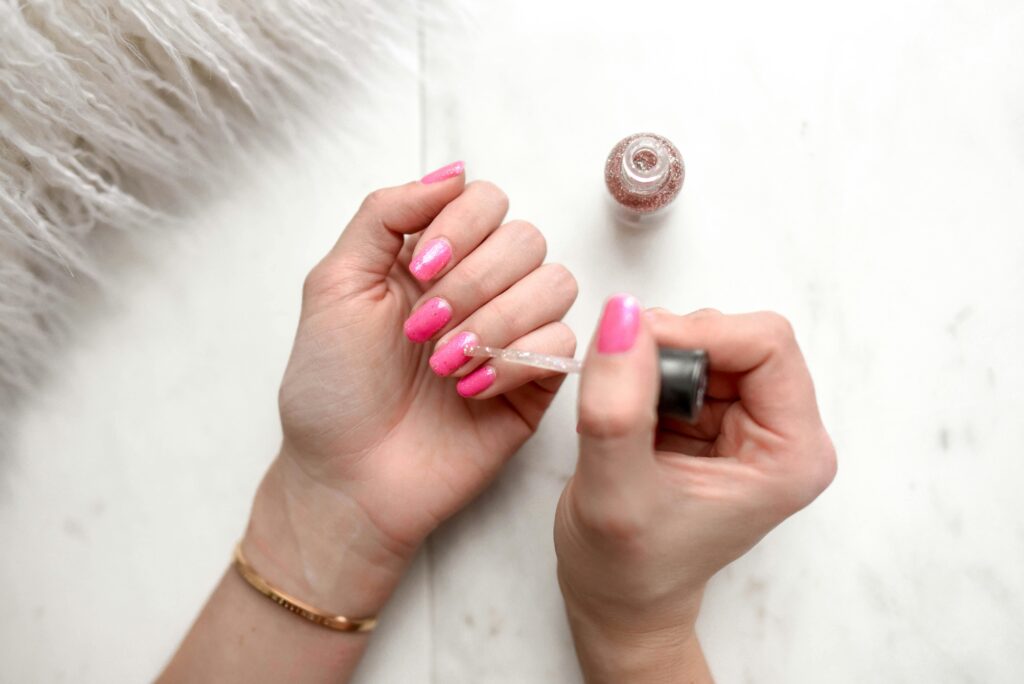
Step 7: Apply Nail Polish
Now for the fun part! Choose your favorite nail polish color.
1. Application Techniques
- Start with one stroke down the center of the nail.
- Follow with two strokes on each side for even coverage.
- Avoid thick layers; apply thin coats for a more polished look.
2. Drying Time
Allow each coat to dry completely before applying the next. Two to three coats may be needed for full opacity.
Step 8: Finish with Top Coat
Once the color is dry, apply a top coat. This adds shine and extends the life of your manicure. Use a thin layer and seal the tips of your nails to prevent chipping.
Step 9: Clean Up
Use a small brush or a cotton swab dipped in nail polish remover to clean any excess polish around your nails. This gives a neat and professional appearance.
Step 10: Allow to Dry
Be patient and allow your nails to dry completely. Avoid activities that may smudge your nails for at least 30 minutes.
Conclusion
With these steps, you can achieve a salon-quality manicure at home. Regular practice will enhance your skills, allowing you to enjoy beautiful nails anytime. Don’t forget to keep your nails and cuticles healthy for the best results.
FAQs
1. How often should I do a manicure at home?
Aim for a manicure every one to two weeks, depending on how quickly your nails grow and your personal preference.
2. What should I do if my nails are brittle?
Consider using a strengthening base coat or a nail treatment specifically designed for brittle nails. Ensure proper hydration with cuticle oil and hand lotion.
3. Can I use regular nail polish on artificial nails?
Yes, you can use regular nail polish on artificial nails, but ensure you choose one that is suitable for your nail type.
4. How can I make my manicure last longer?
To extend the life of your manicure, apply a fresh layer of top coat every few days and avoid exposing your nails to excessive moisture.
5. Is it necessary to use a base coat?
Yes, a base coat is important. It protects your nails from staining and helps the polish adhere better, enhancing longevity.
6. How do I remove gel nail polish at home?
To remove gel polish, soak a cotton ball in acetone, place it on the nail, wrap it in foil, and let it sit for 10-15 minutes. Then, gently scrape off the gel with a cuticle pusher.


