Lip makeup is a powerful tool in enhancing your overall look, adding both definition and allure to your lips. Whether you’re aiming for a fuller pout, crisp definition, or a trendy ombre effect, mastering these techniques can elevate your beauty routine.
In this guide, we’ll explore essential lip makeup techniques that help create fullness, achieve precise definition, and craft eye-catching ombre effects, providing you with the knowledge to perfect your lip look.
Creating Fullness
Achieving fuller-looking lips is a popular makeup goal, and several techniques can help you achieve this effect.
1. Exfoliate and Hydrate
Start by exfoliating your lips to remove dead skin cells, which helps create a smooth base. You can use a lip scrub or a DIY mixture of sugar and honey. Follow up with a hydrating lip balm to ensure your lips are plump and moisturized.
2. Use a Lip Liner
Choose a lip liner that matches your lip color or is slightly darker. Outline your lips just outside your natural lip line to create the illusion of fuller lips. Be careful not to overdo it; a subtle line can enhance volume without looking unnatural.
3. Apply a Light-Reflecting Lip Gloss
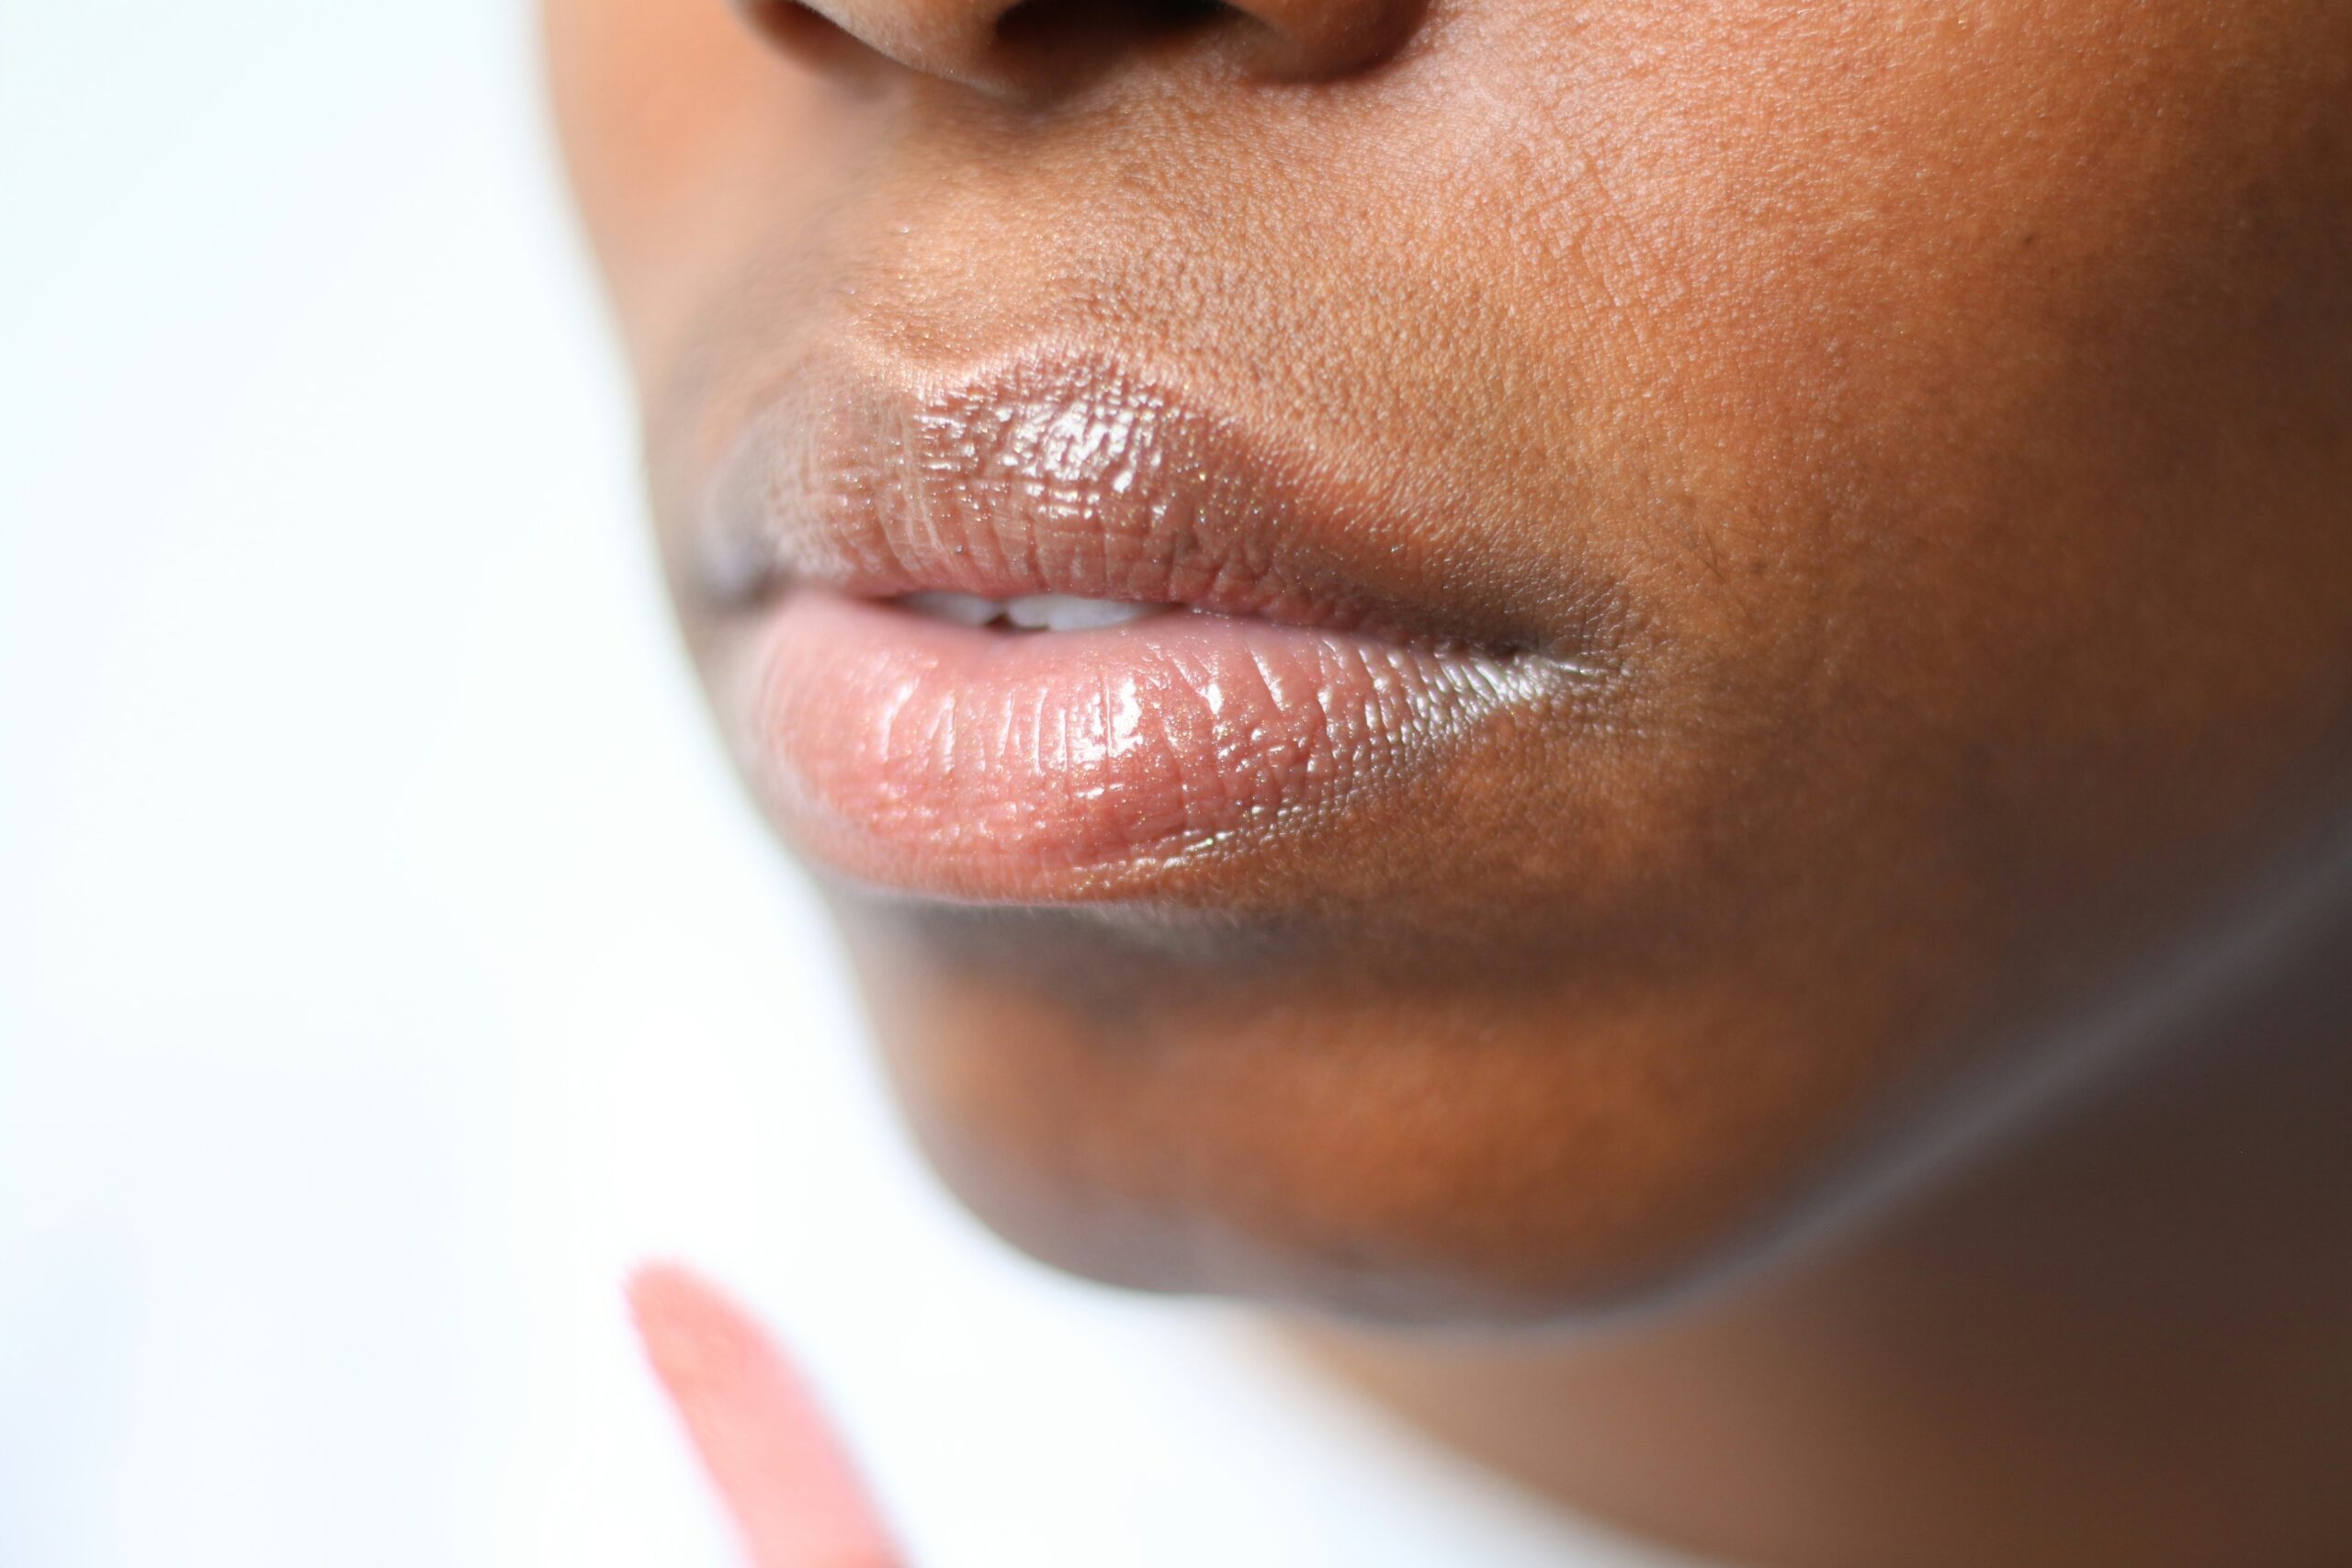
Opt for a lip gloss with light-reflecting properties. Applying a gloss to the center of your lips can create the appearance of fullness by reflecting light and adding dimension. Glosses with a bit of shimmer can enhance this effect.
4. Contour Your Lips
Use a slightly darker lip liner to contour your lips, focusing on the edges. This technique creates depth and makes your lips appear fuller. Blend the liner softly into your natural lip color to avoid harsh lines.
5. Try a Plumping Lip Product
There are many plumping lip products available that contain ingredients like hyaluronic acid or peptides. These ingredients can temporarily increase lip volume by hydrating and stimulating collagen production.
Defining Your Lips
Sharp, defined lips can make a significant impact on your overall makeup look. Here’s how to achieve precise lip definition.
1. Choose the Right Lip Liner
Select a lip liner that closely matches your lipstick color for a seamless look. For a more defined edge, choose a liner that’s a shade darker than your lipstick. This contrast can create a more striking definition.
2. Outline with Precision
Using a lip liner brush or pencil, carefully outline your lips. Start from the center of your lips and work outwards to maintain symmetry. Make sure to define both the upper and lower lips, following the natural contours.
3. Fill in with Lipstick
Apply your lipstick over the lip liner, using a lip brush for precision. This step helps to blend the liner with the lipstick, creating a smooth, defined look. Ensure that the color application is even and doesn’t leave any gaps.
4. Clean Up with Concealer
For an extra sharp definition, use a small brush and concealer to clean up the edges of your lips. This technique can help correct any mistakes and create a crisp, polished finish.
5. Set with Powder
Lightly dust a translucent setting powder around your lips to set the lip liner and lipstick in place. This helps to prevent feathering and ensures that your lip makeup stays defined throughout the day.
Creating Ombre Effects
Ombre lips are a trendy, eye-catching look that adds depth and dimension to your lips. Here’s how to achieve this gradient effect.
1. Choose Your Colors
Pick two or more complementary lip colors. A common ombre effect involves a lighter color in the center of your lips and a darker shade on the edges. This contrast creates a gradient effect.
2. Apply the Darker Shade
Start by applying the darker lip color to the outer edges of your lips. Use a lip brush for precision and to blend the color seamlessly towards the center.
3. Apply the Lighter Shade
Next, apply the lighter lip color to the center of your lips. Blend this color into the darker shade using a lip brush or your fingertip. The goal is to create a smooth gradient effect without any harsh lines.
4. Blend the Colors
To achieve a flawless ombre effect, blend the colors thoroughly where they meet. You can use a clean brush or your fingertip to softly blend the transition between the two shades, creating a seamless gradient.
5. Finish with Gloss
Apply a clear or matching gloss over your lips to enhance the ombre effect and add shine. The gloss will also help to further blend the colors and make your lips look fuller.
Conclusion
Mastering lip makeup techniques for creating fullness, definition, and ombre effects can dramatically enhance your overall look. By incorporating these methods into your routine, you can achieve a polished, professional finish that makes your lips stand out. Whether you’re preparing for a special occasion or simply want to elevate your everyday makeup, these techniques offer versatile options for a range of stunning lip looks.
Frequently Asked Questions (FAQs)
1. How can I make my lips look fuller without using fillers?
You can create the illusion of fuller lips by exfoliating and hydrating, using a lip liner to outline slightly outside your natural lip line, applying a light-reflecting gloss, and using contouring techniques with lip liner.
2. What’s the best way to ensure my lip definition stays sharp throughout the day?
To keep your lip definition sharp, use a lip liner that matches your lipstick color, apply your lipstick with a lip brush, clean up the edges with concealer, and set with a translucent powder to prevent feathering.
3. Can I achieve an ombre effect with just one lipstick?
Yes, you can create an ombre effect with just one lipstick by applying it in layers. Start with a base layer and then gradually build up the color in the center for a subtle gradient effect.
4. What types of glosses work best for enhancing lip fullness?
Glosses with light-reflecting properties or shimmer are ideal for enhancing lip fullness. They create a plumping effect by reflecting light and adding dimension to your lips.
5. How can I fix uneven lip color or mistakes in my lip makeup?
Use a small brush and concealer to clean up any mistakes or uneven color. This technique helps to correct errors and sharpen the edges of your lip makeup for a more polished look.


