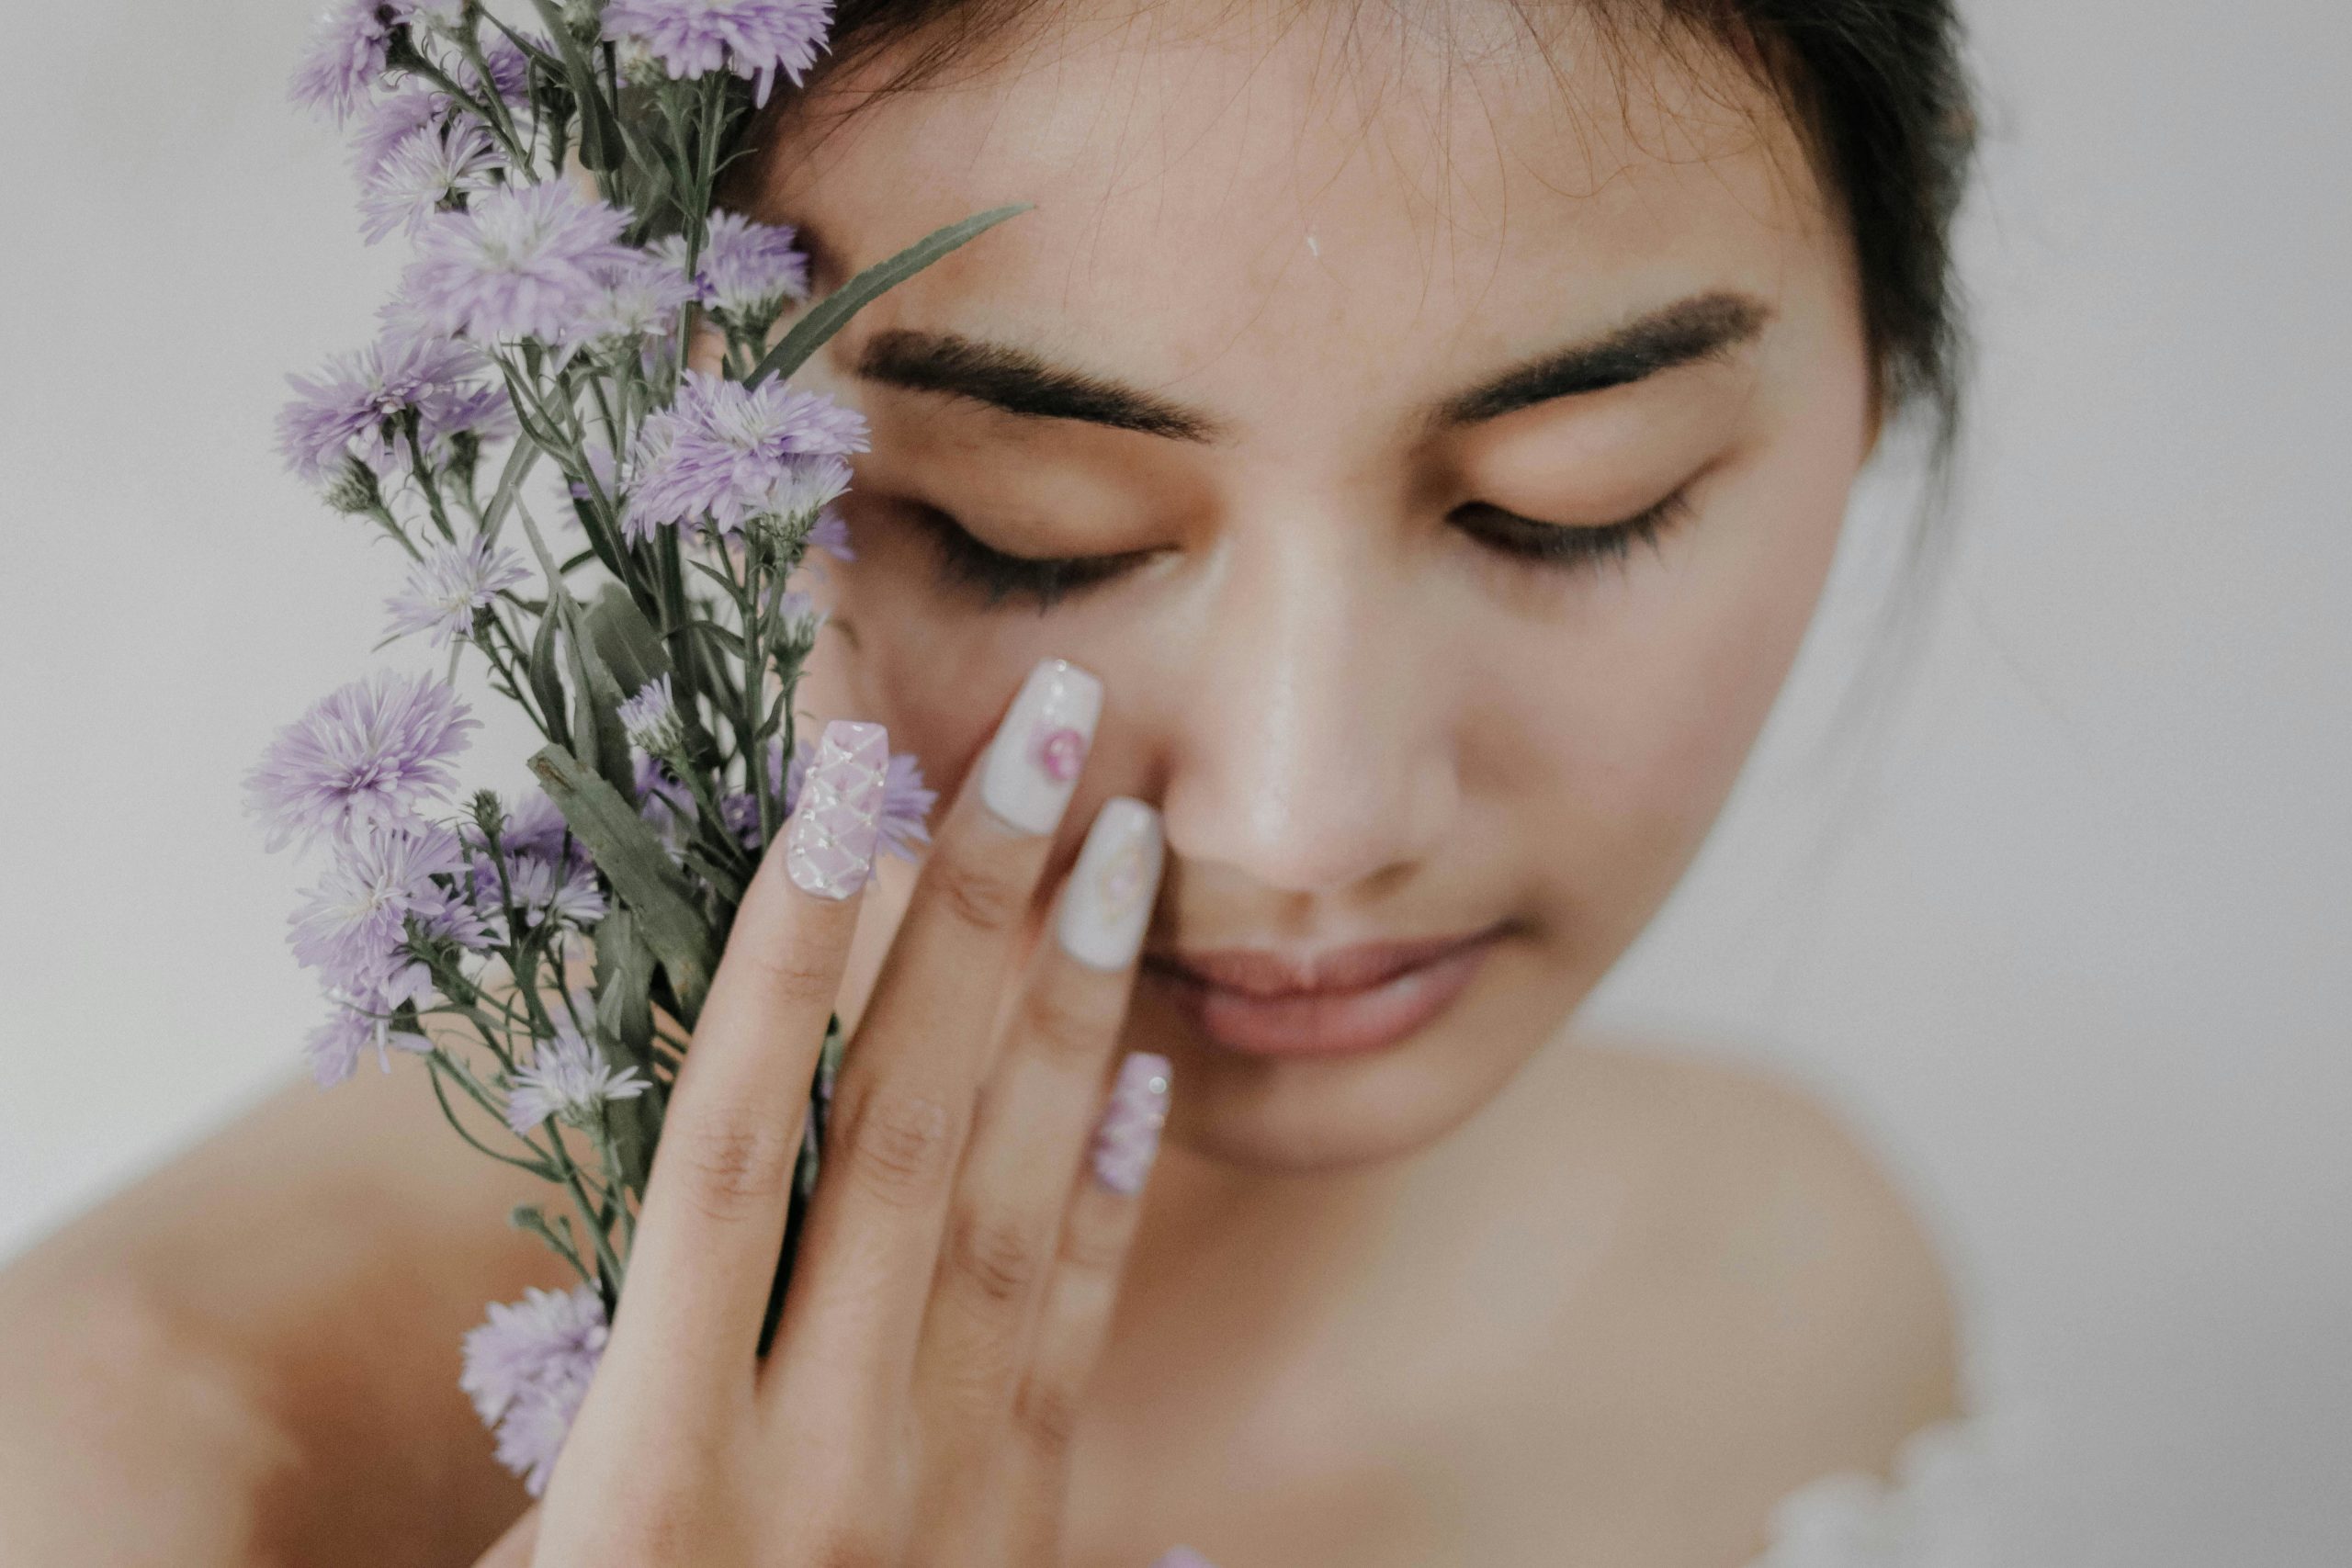
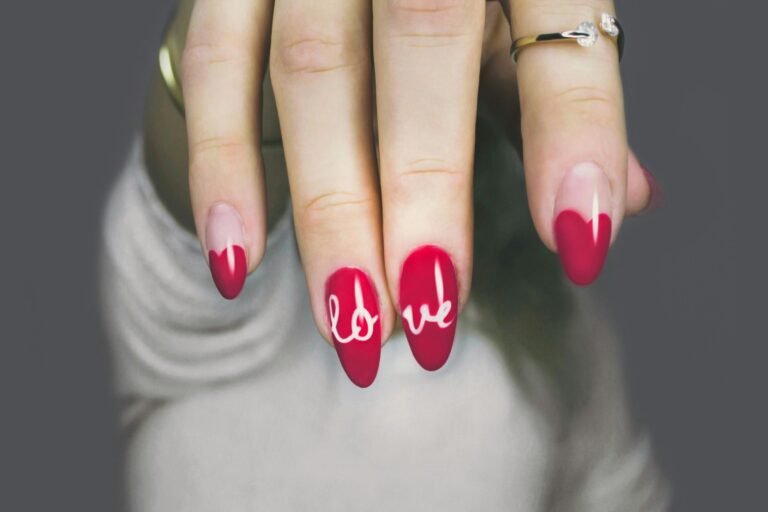
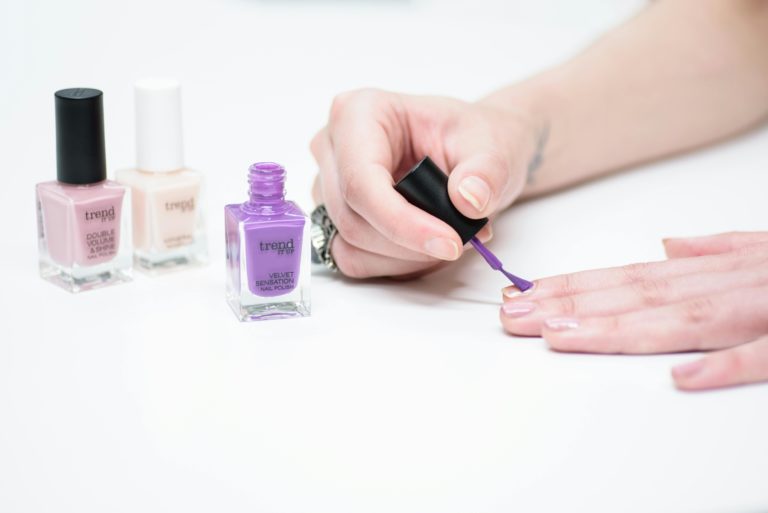
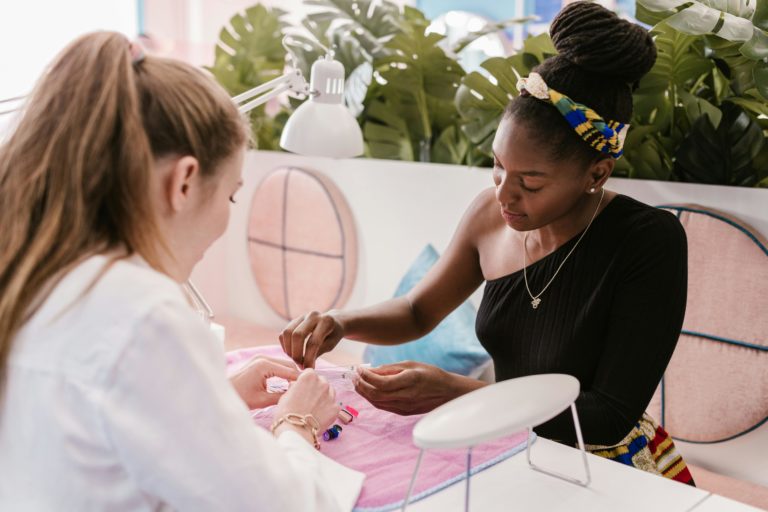
Nail art has advanced from a simple beauty trend to a form of self-expression and creativity. While visiting a nail salon is one option, creating your customized nail art designs at home can be both rewarding and empowering. With the right tools, techniques, and a bit of practice, you can become the master of your own nail art canvas.
In this comprehensive guide, we’ll explore everything you need to know to create your customized nail art designs. From essential tools and techniques to inspiration and troubleshooting tips, you’ll learn how to unleash your creativity and transform your nails into works of art.
1. Essential Tools and Supplies
Nail Polish
The foundation of any nail art design is, of course, nail polish. Build your collection with a variety of colors, finishes, and formulas to suit your preferences. Opt for high-quality nail polishes that offer good pigmentation and durability for long-lasting results. From classic neutrals to vibrant hues and trendy shades, the possibilities are endless.
Nail Art Brushes
Investing in a set of nail art brushes is essential for creating intricate designs with precision and detail. Look for brushes with fine tips and varying thickness to accommodate different designs and techniques. Flat brushes are ideal for creating straight lines and filling in large areas, while detail brushes are perfect for intricate patterns and delicate details.
Dotting Tools
Dotting tools are another must-have for nail art enthusiasts. These versatile tools feature rounded tips in various sizes, allowing you to create perfect dots of different diameters. Dotting tools are perfect for creating polka dots, floral designs, and other circular elements with ease.
Striping Tape
Striping tape is a handy tool for creating clean, straight lines and geometric designs on your nails. Simply apply the tape to your nails in the desired pattern before painting over it with nail polish. Once the polish is dry, carefully remove the tape to reveal crisp, precise lines underneath.
Nail Stamping Kit
For those who want to take their nail art to the next level, a nail stamping kit is a game-changer. These kits include stamping plates with intricate designs that can be transferred onto your nails with ease. Simply apply nail polish to the desired design on the stamping plate, use a scraper to remove excess polish, and then transfer the design onto your nails using a stamp.
2. Techniques for Creating Nail Art Designs
Basic Techniques
Start with simple techniques such as painting solid colors, creating gradients, or adding glitter accents to master the basics of nail art. Practice applying polish evenly and neatly to create a smooth base for your designs. Experiment with different color combinations and finishes to discover what you like best.
Freehand Nail Art
Once you feel comfortable with basic techniques, challenge yourself to try freehand nail art. Use nail art brushes to paint intricate designs directly onto your nails, from floral motifs to abstract patterns. Don’t be afraid to make mistakes—practice makes perfect, and every nail art journey starts with a single brushstroke.
Stamping Nail Art
Stamping nail art is a fun and easy way to create intricate designs with minimal effort. Begin by selecting a design from your stamping plate and transferring it onto a stamp using nail polish. Then, gently press the stamp onto your nail to transfer the design. Experiment with different stamping plates and color combinations to create unique looks.
Nail Decals and Stickers
For those who prefer a quick and easy nail art solution, nail decals and stickers are a convenient option. Simply peel the decals or stickers from their backing and apply them to your nails, pressing down firmly to ensure adhesion. Finish with a layer of topcoat to seal the design and prolong wear.
3. Finding Inspiration for Nail Art Designs
Social Media
Social media platforms such as Instagram, Pinterest, and TikTok are treasure troves of nail art inspiration. Follow nail artists and enthusiasts for ideas, tutorials, and step-by-step guides to recreate popular designs. Save your favorite nail art photos for future reference and inspiration.
Fashion and Trends
Draw inspiration from fashion trends, runway looks, and seasonal colors when planning your nail art designs. Incorporate elements from your favorite fashion trends, such as animal prints, metallic accents, or graphic patterns, into your nail art for a stylish and on-trend look.
Nature and Art
Take cues from nature, art, and everyday objects when brainstorming nail art ideas. Look to flowers, leaves, landscapes, and abstract art for inspiration. Experiment with different textures, shapes, and colors to create unique and eye-catching designs that reflect your personal style and interests.
4. Troubleshooting Tips
Smudges and Imperfections
If you accidentally smudge or mess up a nail art design, don’t panic. Use a clean nail art brush dipped in nail polish remover to carefully clean up any mistakes or imperfections. Alternatively, cover small mistakes with strategically placed rhinestones, studs, or glitter for a quick and stylish fix.
Chipping and Wear
To prolong the wear of your nail art designs, apply a layer of topcoat over the finished design to seal and protect it. Reapply topcoat every few days to refresh the shine and extend the lifespan of your manicure. Avoid exposing your nails to harsh chemicals or rough surfaces to prevent chipping and premature wear.
Conclusion
To conclude, creating your customized nail art designs is a fun and rewarding way to express your creativity and style. With the right tools, techniques, and inspiration, you can transform your nails into miniature works of art that reflect your personality and interests. Whether you’re a beginner or a seasoned nail art enthusiast, there’s always something new to learn and explore in the colorful world of DIY nail art.
Frequently Asked Questions (FAQs)
1. How can I prevent my nail art designs from smudging?
To prevent smudging, allow each layer of nail polish to dry completely before applying the next layer or adding additional designs. You can also use a fast-drying topcoat to speed up the drying process and seal your designs.
2. What should I do if my nail art brushes become stiff or damaged?
To keep your nail art brushes in top condition, clean them thoroughly after each use with nail polish remover or brush cleaner. Store them upright in a brush holder or container to prevent the bristles from becoming misshapen or damaged.
3. How can I remove nail art without damaging my nails?
To remove nail art without damaging your nails, soak a cotton pad in nail polish remover and hold it against your nail for a few seconds to loosen the polish. Gently wipe away the polish, repeating as necessary until all traces of nail art are removed. Follow up with a nourishing cuticle oil or hand cream to hydrate and protect your nails.
4. Can I use regular nail polish for nail art?
Yes, regular nail polish can be used for nail art designs. However, some nail artists prefer to use specialized nail art polishes or acrylic paints for more intricate designs, as they offer greater pigmentation and control.
5. How long does nail art last?
The longevity of nail art depends on various factors, including the quality of the products used, the application technique, and your daily activities. With proper application and care, nail art designs can last anywhere from a few days to two weeks before needing to be removed or touched up.


