The cut crease eye look has become a makeup staple, especially when aiming for a bold, dramatic effect. This technique defines the eyelid crease, creating a sharp contrast between the lid and crease, giving the eyes a lifted and glamorous appearance. While it may seem challenging at first, with the right tools and technique, you can master the cut crease like a pro. Whether you’re getting ready for a special occasion or just want to elevate your daily makeup, this guide will walk you through creating the perfect cut crease eye look.
What is a Cut Crease Eye Look?
A cut crease is a makeup technique where the crease of the eyelid is sharply defined with a contrasting shade of eyeshadow. This technique helps make the eyes look bigger and more defined. The key is in creating a clean separation between the lid and crease, giving the eyes a bold, structured look.
1. Gather Your Tools and Products
Before starting, make sure you have the right tools and products for the job. Here’s what you’ll need:
- Eyeshadow primer: To ensure your eyeshadow stays in place.
- Neutral base shade: A light eyeshadow that matches your skin tone.
- Darker crease shade: A bold, contrasting color for the crease.
- Flat eyeshadow brush: For precision and packing color onto the lid.
- Blending brush: To soften edges and blend colors.
- Concealer: To “cut” the crease and create a sharp line.
- Shimmer or matte lid color: A contrasting shade to fill in the lid.
- Eyeliner and mascara: For finishing touches.
2. Prime Your Eyelids
Start by priming your eyelids. This step is crucial for making sure your eyeshadow stays vibrant and crease-free all day long. Apply a thin layer of eyeshadow primer and blend it out evenly across the entire lid. Allow it to set for a few seconds before moving on to the next step.
3. Apply a Base Shade
Using a blending brush, apply a neutral base shade to your eyelids. This will create a smooth canvas for the crease color. Choose a shade close to your skin tone and blend it from the lash line to just above the crease.
4. Define the Crease
Now comes the star of the look—the cut crease! Take a darker eyeshadow shade and, using a small blending brush, apply it directly into the crease of your eyelid. Blend it out slightly to soften the edges, but keep the color concentrated in the crease area. To make the look more dramatic, you can use a deep matte shade like brown, burgundy, or even black.
Technique Tip: Create Depth with Gradation
For added depth, use a mid-tone shade between the neutral base and the dark crease color. This gradation makes the crease appear more dimensional and helps blend the shades smoothly.
5. Cut the Crease with Concealer
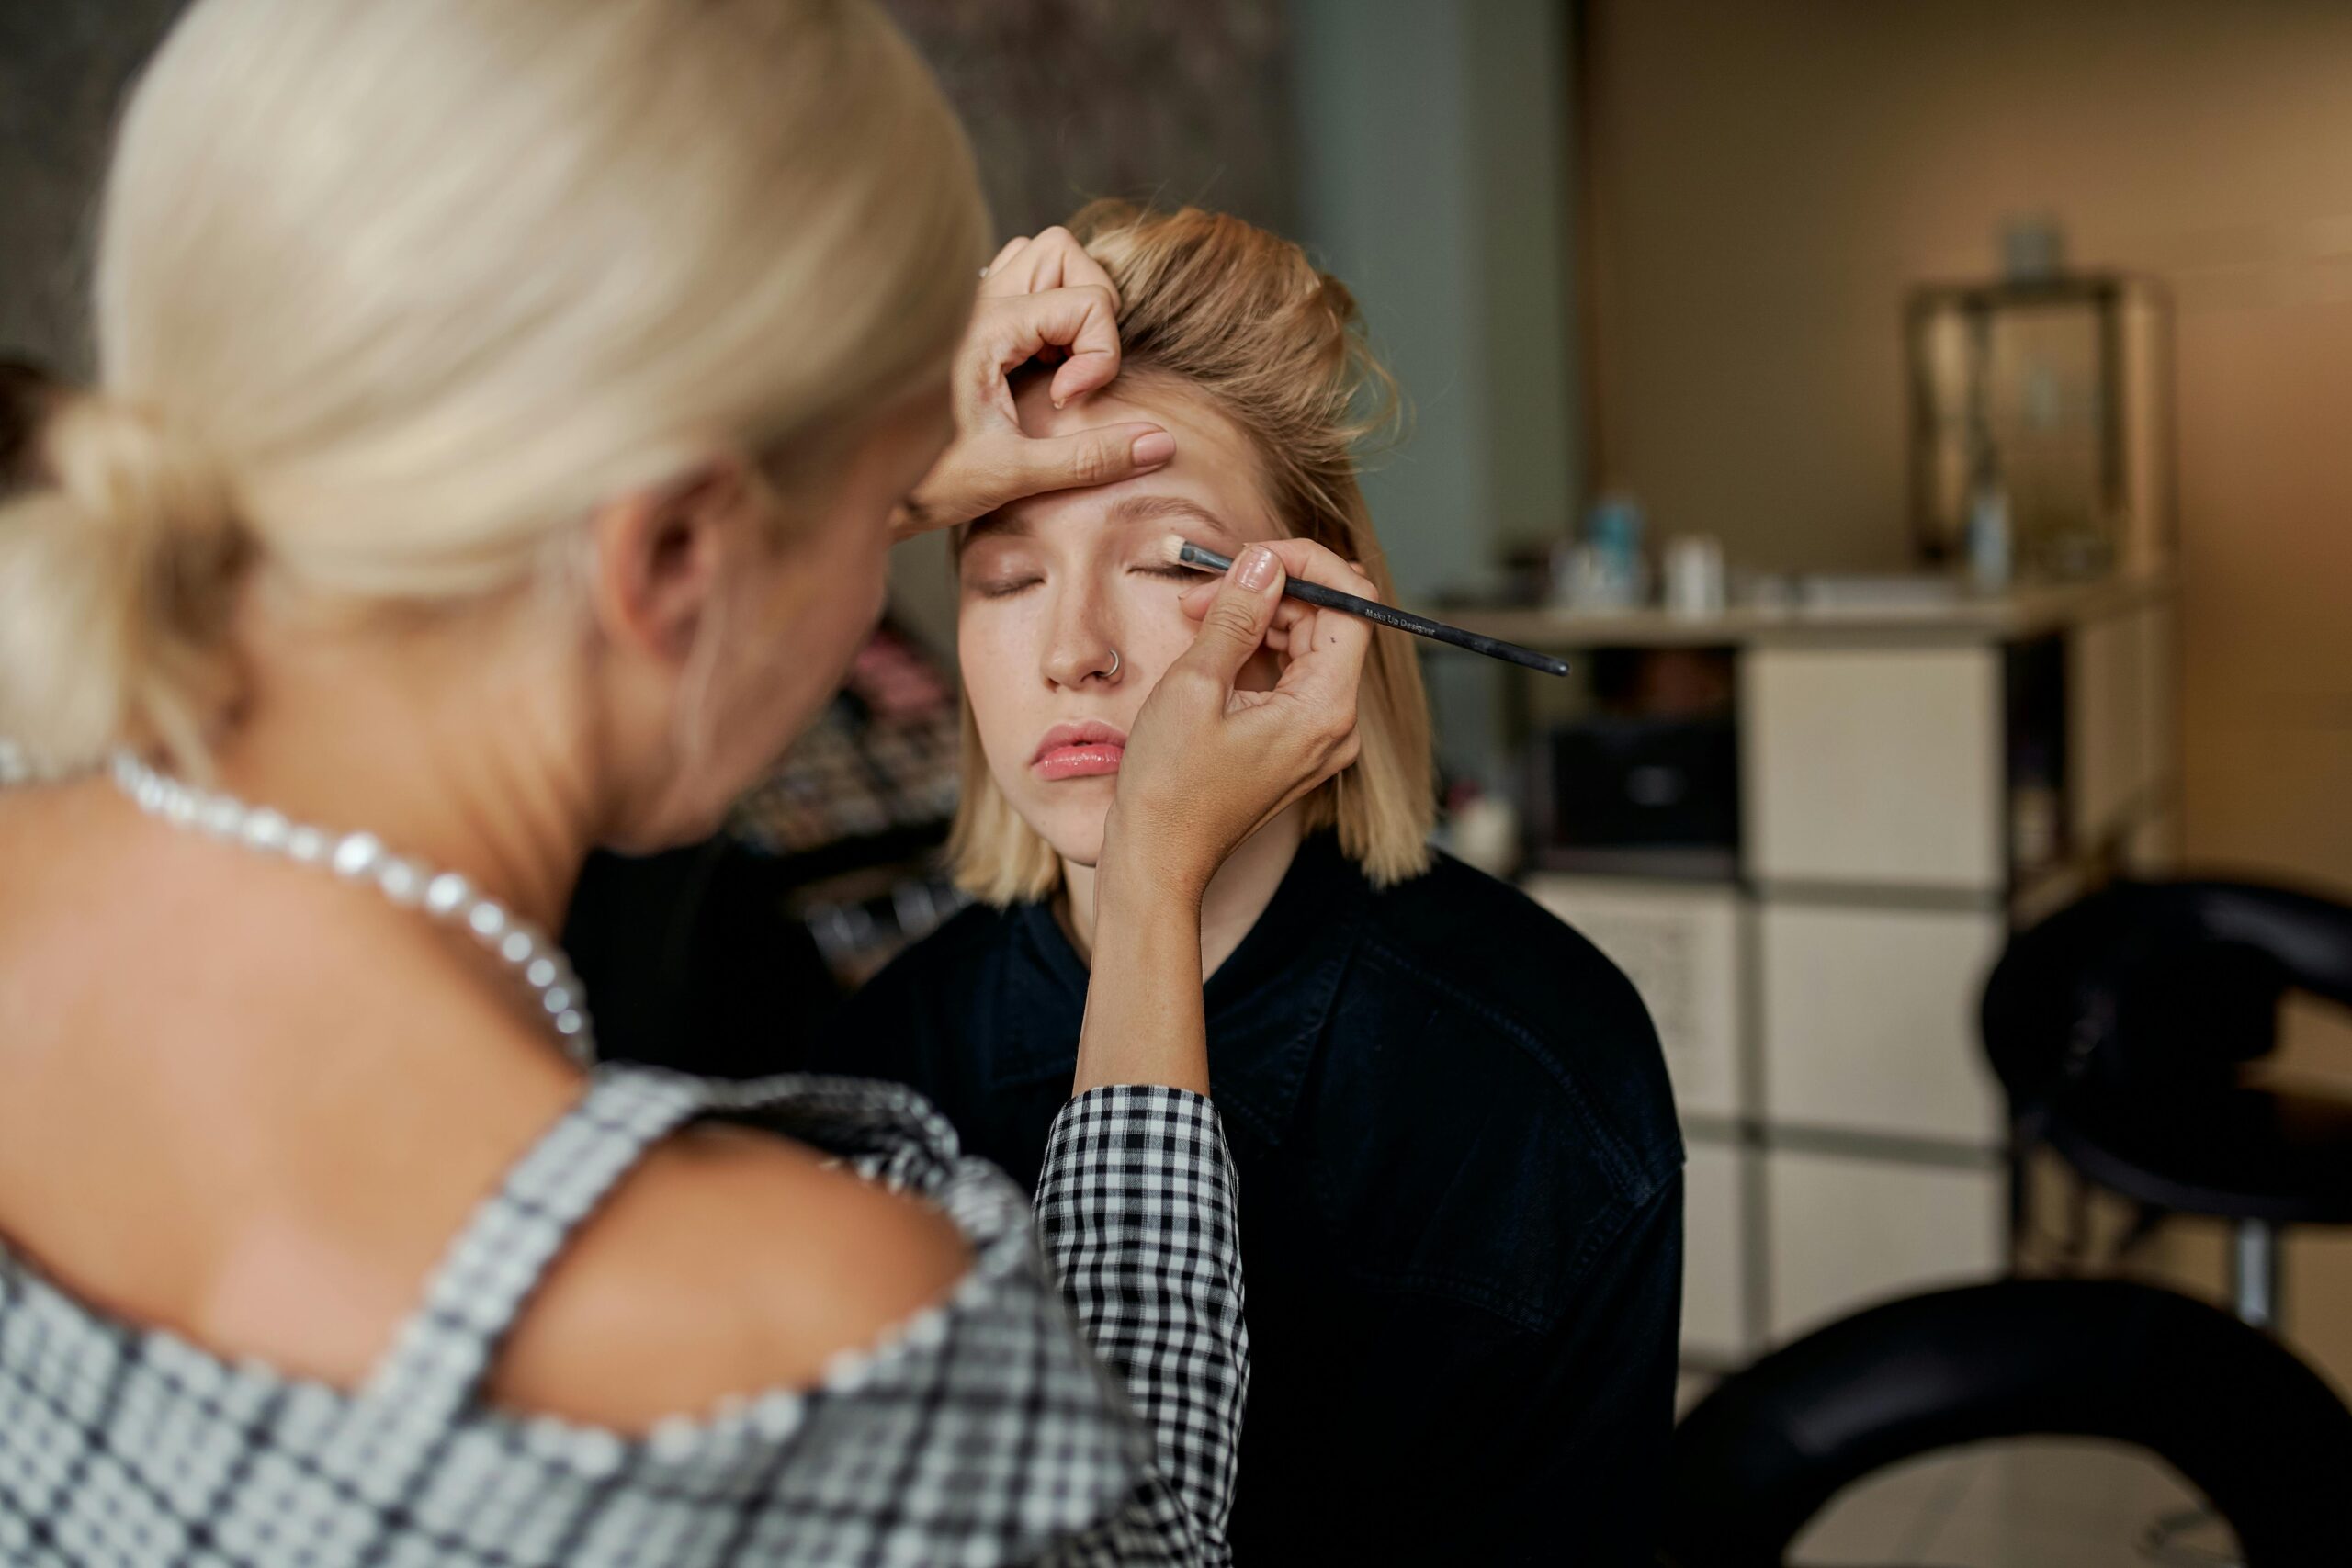
Here’s where the magic happens! Take a flat brush and apply concealer directly on your eyelid, just below the crease. The goal is to create a sharp line that separates the lid from the crease color. Use the shape of your natural crease as a guide, or make a higher crease for a more dramatic effect.
6. Set the Concealer with Eyeshadow
Once you’ve “cut” the crease, set the concealer with a contrasting eyeshadow shade. This is typically a lighter or shimmer shade to make the eyes pop. Gently pat the color onto the lid, ensuring the crease line remains sharp. Avoid blending too high into the crease to maintain the contrast.
7. Blend Out the Edges
To avoid harsh lines, softly blend the edges of the crease color with a clean blending brush. Focus on the outer corners of the eye, where the crease meets the lid color. This step helps achieve a seamless, professional look.
8. Add Eyeliner and Mascara
Finish off the look with a sharp winged eyeliner for an extra dramatic effect. Apply a few coats of mascara to your lashes to complete the look. You can also add false lashes for more volume and drama.
9. Highlight the Brow Bone
For the final touch, apply a light shimmer or matte highlight just below your eyebrows. This will lift the brow area and give your eyes a more defined look.
Tips for Perfecting Your Cut Crease
- Use tape or a makeup shield to create a sharp edge when applying eyeshadow.
- Don’t be afraid to practice! It takes time to master the technique.
- Use a small, precise brush for cutting the crease—this gives more control.
- Blend thoroughly to avoid harsh lines between shades.
- Clean up mistakes using a makeup wipe or a bit of concealer.
Conclusion
Creating the perfect cut crease eye look takes practice, but the results are worth it. This technique can elevate your makeup game, making your eyes appear bigger, brighter, and more defined. With the right tools and techniques, you’ll be able to achieve a dramatic, stunning look for any occasion. Keep practicing, experiment with colors, and enjoy the transformation!
FAQs
1. How long does it take to create a cut crease eye look?
The time depends on your skill level. Beginners may take 20-30 minutes, while experienced makeup users can finish in about 15 minutes.
2. What type of eyeshadow works best for a cut crease?
Matte eyeshadows are ideal for defining the crease, while shimmer or metallic shades work well for the lid. This contrast enhances the look.
3. Can I do a cut crease on hooded eyes?
Yes, you can! Apply the crease color slightly above your natural crease to make your eyes appear larger and more defined.
4. Should I use a shimmer or matte shade on the lid?
It depends on the look you’re going for. Shimmer shades create a dramatic effect, while matte shades offer a more subtle finish.
5. Do I need to use concealer for a cut crease?
Yes, concealer helps create a sharp, clean line between the crease and lid, making the contrast more dramatic.
6. Can I use eyeliner with a cut crease look?
Absolutely! A winged eyeliner complements the sharp lines of a cut crease and adds extra drama to the look.
7. What’s the best brush for cutting the crease?
A flat, small eyeshadow brush works best for applying concealer precisely to cut the crease.


