A professional facial can transform your skin, leaving it fresh and rejuvenated. However, frequent salon visits can be costly and time-consuming. With the right tools and techniques, you can easily achieve a spa-quality facial at home. This guide walks you through each step, helping you create a luxurious experience without stepping outside.
Essential Tools and Products
Before starting, gather the necessary tools and products:
- Cleanser: Choose a gentle cleanser suited to your skin type.
- Exfoliator: Look for a physical or chemical exfoliant.
- Steamer or warm towel: A facial steamer is ideal, but a warm towel works well too.
- Face masks: Select masks for hydration, detoxification, or brightening.
- Moisturizer: Use a lightweight moisturizer that absorbs easily.
- Serum: Incorporate serums targeting specific skin concerns, like hyaluronic acid or vitamin C.
- Facial tools: Optional tools like jade rollers or gua sha stones enhance the experience.
Step 1: Prepare Your Space
Create a relaxing environment. Dim the lights, play soft music, and ensure your area is clean and comfortable. This sets the mood for your facial.
Step 2: Cleanse
Start with a thorough cleanse to remove dirt, makeup, and impurities. Apply a small amount of cleanser to damp skin. Massage in circular motions for about 30 seconds. Rinse with warm water and pat dry with a clean towel.
Step 3: Exfoliate
Exfoliation removes dead skin cells, revealing a smoother surface. Apply an exfoliator and gently massage it into your skin for 1-2 minutes. Rinse thoroughly. Avoid over-exfoliating, especially if your skin is sensitive.
Step 4: Steam
Steaming opens up pores and enhances product absorption. If you have a facial steamer, use it for about 5-10 minutes. If not, place a warm, damp towel over your face for the same duration. Make sure the heat is comfortable and not too hot.
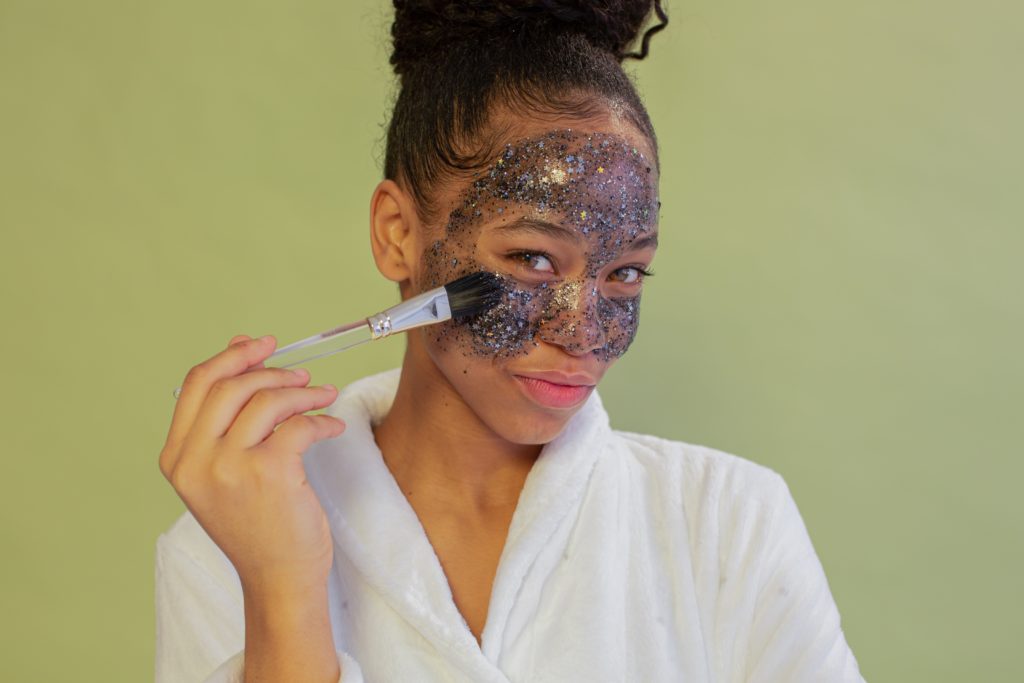
Step 5: Apply a Face Mask
Choose a face mask that suits your skin’s needs. Apply an even layer to your face and let it sit for the recommended time, usually 10-20 minutes. Relax during this time; it’s a great opportunity to practice mindfulness.
Types of Masks
- Hydrating Masks: Great for dry skin. Look for ingredients like aloe vera or hyaluronic acid.
- Clay Masks: Ideal for oily or acne-prone skin, helping to draw out impurities.
- Sheet Masks: Convenient and packed with serums for various skin concerns.
Step 6: Tone
After rinsing off the mask, apply a toner. Toners help balance the skin’s pH and prepare it for the next steps. Use a cotton pad to apply or mist it directly onto your face.
Step 7: Serum Application
Serums are concentrated treatments that address specific concerns. Apply a few drops to your fingertips and gently press into your skin. Focus on areas needing extra attention, like fine lines or dark spots.
Step 8: Moisturize
Lock in hydration with a good moisturizer. Apply a small amount to your face and neck using upward strokes. This keeps your skin hydrated and protected.
Step 9: Massage (Optional)
If you have a jade roller or gua sha tool, use it to massage your face. This improves circulation and helps reduce puffiness. Start at the center of your face and move outward, using gentle pressure.
Step 10: Final Touches
For an extra boost, apply eye cream and lip balm. This final touch helps keep these delicate areas hydrated and smooth.
Conclusion
Performing a professional-grade facial at home is simple and rewarding. By following these steps, you can enjoy the benefits of glowing skin and relaxation without the cost of a salon visit. Make this self-care routine a regular part of your schedule for optimal results.
FAQs
1. How often should I do a facial at home?
Aim for once every 2-4 weeks, depending on your skin type and needs. This allows your skin to recover and reap the benefits of treatment.
2. Can I use regular kitchen ingredients for a facial?
Yes, many kitchen ingredients can be beneficial, such as honey, yogurt, or oatmeal. However, ensure they are suitable for your skin type and free from allergens.
3. What if I have sensitive skin?
If you have sensitive skin, opt for gentle products and avoid harsh exfoliants. Always perform a patch test before trying new products.
4. Do I need to steam my face?
Steaming is not mandatory, but it can enhance product absorption and relaxation. If your skin is sensitive or prone to redness, consider skipping this step.
5. Can I skip any steps in the facial process?
You can adjust the steps based on your skin’s needs. If you’re short on time, focus on cleansing, masking, and moisturizing for a quick treatment.
6. Should I apply products in a specific order?
Yes, follow this general order: cleanse, exfoliate, steam, mask, tone, serum, moisturize. This sequence maximizes product effectiveness.


