A flawless makeup look always starts with the right base. Whether you’re going for a full glam look or a natural finish, the key is to prep and layer your products correctly. A well-prepared base ensures that your makeup lasts longer, looks smoother, and enhances your features without looking cakey. This guide will walk you through the essential steps to create the perfect makeup base for a flawless, long-lasting application.
Skin Prep: The Foundation for a Flawless Base
Before applying any makeup, prepping your skin is essential. Clean, hydrated skin provides the perfect canvas for makeup application.
- Cleanse Your SkinStart with a gentle cleanser to remove any dirt, oil, or makeup residue. This will help prevent clogged pores and ensure that your makeup goes on smoothly.
- ExfoliateExfoliating 1-2 times a week helps remove dead skin cells, leaving your skin soft and smooth. This step is key to avoiding a flaky or uneven foundation finish.
- Hydrate with MoisturizerApply a lightweight moisturizer suited to your skin type. Moisturized skin helps makeup blend seamlessly and prevents dry patches. Allow it to absorb fully before moving to the next step.
- Prime for LongevityA good primer helps fill in pores, smooth out texture, and keep your makeup in place all day. Choose a primer that matches your skin type—mattifying for oily skin, hydrating for dry skin, or color-correcting for redness.
Choosing the Right Foundation
Your foundation is the base layer that ties your entire makeup look together. The goal is to enhance your complexion, not mask it.
- Select the Right ShadeFinding the perfect foundation shade is critical. Test the color on your jawline and check it in natural light to ensure it matches your skin tone. It should seamlessly blend with your face and neck.
- Choose the Right FormulaThe formula you choose depends on your skin type and the finish you want. Oily skin types should opt for matte or oil-free foundations, while dry skin benefits from hydrating or dewy formulas. If you’re looking for long wear, a medium to full-coverage foundation might be your best bet.
- Apply Foundation ProperlyFor a natural look, apply foundation with a damp makeup sponge or brush. Start from the center of your face and blend outwards in light, tapping motions. Avoid dragging the product across your skin, as this can create streaks.
Conceal and Correct
Concealing is the step where you address any imperfections that your foundation didn’t cover.
- Brighten with ConcealerUse a lightweight concealer one to two shades lighter than your foundation to brighten your under-eye area. Apply it in an inverted triangle shape for a lifted effect.
- Spot ConcealFor blemishes or discoloration, use a concealer that matches your skin tone. Dab a small amount on the spot and gently blend the edges with a clean finger or brush.
- Color Correct as NeededIf you have redness, dark spots, or sallowness, color-correcting products can help. Green cancels out redness, peach brightens dark circles, and purple neutralizes yellow undertones.
Set the Base
Once your foundation and concealer are in place, it’s time to set your base to keep it from creasing or fading.
- Apply Translucent Setting PowderLightly dust translucent powder on areas prone to oiliness, like the T-zone (forehead, nose, and chin). For under the eyes, use a small brush or sponge to apply powder, locking in the concealer and preventing creases.
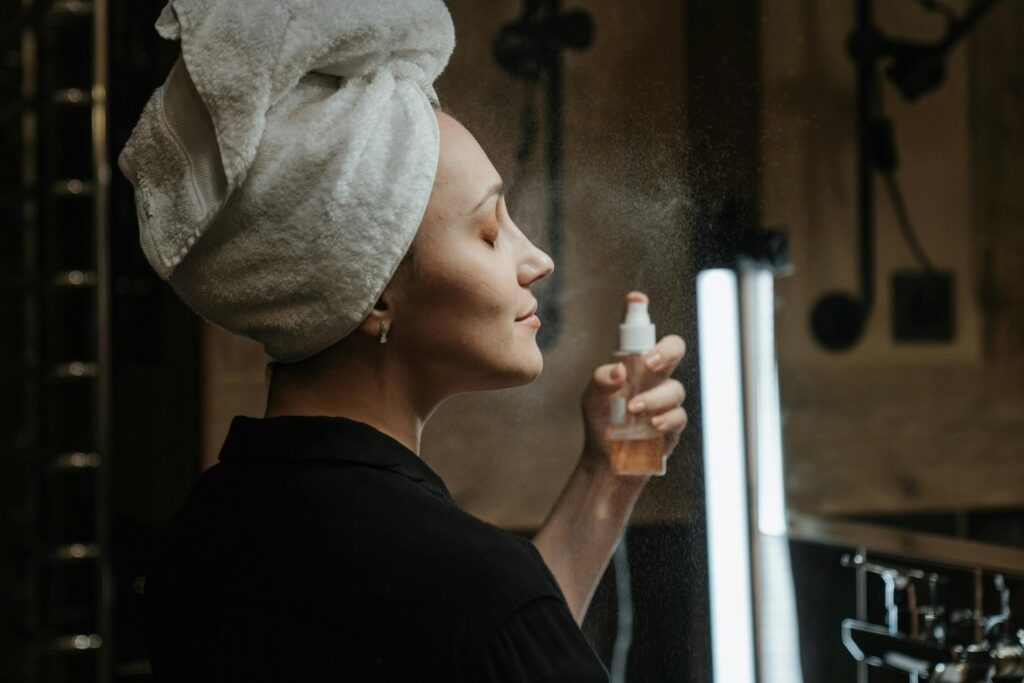
- Use Setting SprayA setting spray can help melt the powder into the skin and give your makeup a long-lasting finish. It adds a touch of hydration and reduces the powdery look, leaving your skin fresh.
Enhance with Bronzer, Blush, and Highlight
Once the base is flawless, you can bring life back to your face with bronzer, blush, and highlight.
- Bronze for WarmthApply bronzer to the high points of your face—forehead, cheeks, and jawline—to add warmth and dimension. Use a light hand to avoid harsh lines.
- Add a Flush of ColorA pop of blush on the apples of your cheeks brings a youthful glow. Choose a shade that complements your skin tone, and blend well for a natural flush.
- Highlight for GlowApply highlighter to the high points of your face—cheekbones, brow bones, and the bridge of your nose. This creates a radiant, glowing effect without looking greasy.
Conclusion
Creating the perfect makeup base is all about preparation, product selection, and proper application. By following these steps, you’ll ensure your makeup looks smooth, natural, and lasts all day. With the right techniques, your base can enhance your natural beauty and provide a flawless foundation for the rest of your makeup.
FAQs
1. How do I choose the right foundation shade?
The best way to choose the right foundation shade is by testing it on your jawline in natural light. It should blend seamlessly with both your face and neck without any visible lines.
2. What can I do to prevent my foundation from looking cakey?
To avoid a cakey look, always moisturize and prime your skin before applying foundation. Use a damp makeup sponge to blend the product, and avoid applying too much. Light layers work best.
3. How can I make my makeup last all day?
Use a primer before foundation and set your makeup with translucent powder and a setting spray. These steps will help lock your makeup in place and prevent it from fading or melting.
4. Should I use a brush or sponge for foundation application?
Both tools work, but it depends on your desired finish. A makeup sponge provides a natural, seamless look, while a brush can offer more coverage and precision.
5. How do I avoid my under-eye concealer from creasing?
Set your under-eye concealer with a small amount of translucent powder immediately after application. This helps lock the concealer in place and prevents creasing throughout the day.


