December 9, 2024

DIY Natural Beauty Treatments for Bridal Showers and Bachelorette Parties

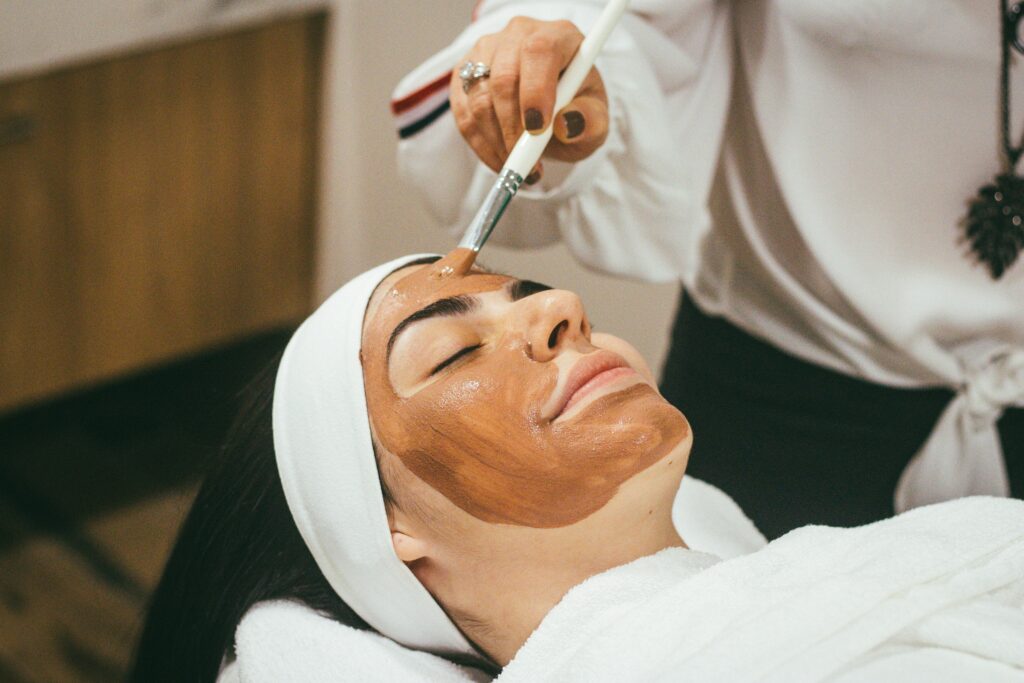
Hosting a bridal shower or bachelorette party celebrates love and friendship and creates unforgettable memories. Adding a DIY natural beauty treatment session can take the experience to the next level. These treatments are fun, budget-friendly, and allow everyone to relax and indulge. Plus, they’re simple to make with ingredients you likely already have at home! 1. Soothing Face Masks a. Avocado and Honey Glow Mask This mask is perfect for hydrating and nourishing the skin. Mash a ripe avocado, mix it with two tablespoons of honey, and apply it to the face for 15 minutes. The avocado deeply moisturizes, while honey provides antibacterial benefits, leaving the skin glowing. b. Oatmeal and Yogurt Gentle Exfoliating Mask For those looking for a natural exfoliant, this mask is ideal. Blend two tablespoons of oatmeal with one tablespoon of plain yogurt and a teaspoon of honey. The oatmeal gently removes dead skin cells, while yogurt softens the skin. 2. DIY Body Scrubs a. Coconut Oil and Sugar Body Scrub Create an invigorating scrub by mixing half a cup of coconut oil with a quarter cup of granulated sugar. Add a few drops of your favorite essential oil for a luxurious scent. Massage onto damp skin to reveal soft, smooth skin. b. Coffee Grounds and Olive Oil Revitalizing Scrub Recycle used coffee grounds to make this revitalizing scrub. Mix half a cup of coffee grounds with a quarter cup of olive oil. This scrub reduces the appearance of cellulite while leaving the skin soft and radiant. 3. Nourishing Hair Masks a. Coconut Milk and Aloe Vera Hair Mask For silky, manageable hair, combine half a cup of coconut milk with two tablespoons of aloe vera gel. Apply it from the scalp to the tips and leave it on for 30 minutes before rinsing. b. Banana and Olive Oil Repairing Mask This treatment works wonders for dry or damaged hair. Blend one ripe banana with two tablespoons of olive oil. Apply the mixture evenly and let it sit for 20 minutes before washing off. 4. Hand and Foot Care a. Lemon and Baking Soda Hand Brightener For brighter, softer hands, mix a tablespoon of lemon juice with a teaspoon of baking soda. Massage gently and rinse off after 5 minutes. b. Epsom Salt Foot Soak Prepare a relaxing foot soak by dissolving half a cup of Epsom salt in warm water. Add a few drops of lavender essential oil for extra relaxation. 5. Lip Care Treatments a. Brown Sugar and Honey Lip Scrub Exfoliate dry lips by mixing a teaspoon of brown sugar with a teaspoon of honey. Gently rub onto your lips for soft, kissable results. b. Beetroot Stain for Natural Tint Create a natural lip tint by blending fresh beetroot juice with a drop of coconut oil. Dab onto your lips for a subtle, rosy hue. 6. Spa-Like Finishing Touches a. Cucumber Eye Pads Classic cucumber slices work wonders for tired eyes. Chill slices and place them over closed eyelids for 10 minutes to reduce puffiness. b. DIY Rose Water Facial Mist Boil fresh rose petals in water and let it cool. Pour the liquid into a spray bottle for a refreshing mist to spritz throughout the party. Conclusion DIY natural beauty treatments add an interactive and pampering element to bridal showers and bachelorette parties. These simple, wholesome recipes allow everyone to unwind and bond while enjoying spa-quality care. With minimal effort, you can create an experience that’s as memorable as it is rejuvenating. Frequently Asked Questions (FAQs) 1. Can I prepare the treatments in advance? Yes, most treatments can be prepared a few hours ahead. Store them in airtight containers and refrigerate if they contain perishable ingredients. 2. Are these treatments safe for sensitive skin? While the ingredients are natural, always do a patch test beforehand to ensure no allergic reactions occur. 3. Can I customize the recipes? Absolutely! Feel free to substitute ingredients based on preferences or availability, such as using almond oil instead of olive oil. 4. How long do the treatments last? Most treatments should be used within 24 hours to ensure freshness and effectiveness. 5. What can I do with leftover products? If stored properly, some scrubs or mists can last a few days in the fridge. For perishable items like masks, it’s best to discard any leftovers after use.

DIY Natural Beauty Treatments for Bridal Showers and Bachelorette Parties Read More »

How to Create a DIY Eyelash Lift at Home

If you’re looking for a way to enhance your lashes without the hassle of daily curling or extensions, a DIY eyelash lift might be just what you need. This at-home treatment can give your lashes a natural, long-lasting curl that lifts your eyes and adds volume. With the right tools and careful application, you can achieve salon-quality results from the comfort of your own home. What You’ll Need for a DIY Eyelash Lift Before starting, gather all the necessary tools and products to ensure a smooth process. With these items, you’ll be ready to lift your lashes safely and effectively. Preparing Your Lashes for the Lift Start by thoroughly cleansing your lashes to remove any makeup, oils, or dirt. This step is crucial for ensuring that the perming solution can work effectively. This step ensures that your lashes are clean and ready for the lifting process. Step-by-Step Guide to Lifting Your Lashes 1. Applying the Silicone Rods 2. Applying the Perm Solution This solution will break down the bonds in your lashes, allowing them to take the shape of the silicone rods. 3. Setting the Curl with the Setting Solution The setting solution will fix the lashes in place, ensuring the curl lasts for weeks. 4. Removing the Lashes and Rods You should now see beautifully lifted lashes that have a natural curl. Aftercare for Your Eyelash Lift To maintain your eyelash lift, follow these aftercare tips: Proper aftercare ensures the longevity of your lift and keeps your lashes looking their best. How Long Will the Lift Last? An eyelash lift typically lasts anywhere from 6 to 8 weeks, depending on your lash growth cycle. As your natural lashes grow and shed, the lift will gradually fade. You can schedule regular lifts to keep your lashes curled and voluminous. Conclusion Creating a DIY eyelash lift at home can be a game-changer for busy professionals or anyone looking for a low-maintenance beauty routine. By following the steps carefully and using the right tools, you can achieve a salon-quality lash lift that lasts for weeks. With proper aftercare and maintenance, your lashes will stay lifted and beautiful with minimal effort. Frequently Asked Questions (FAQs) 1. Is it safe to do an eyelash lift at home? Yes, when done correctly and with the right products, a DIY eyelash lift is safe. However, it’s important to follow the instructions carefully to avoid irritation or damage to your lashes. 2. How long does a DIY eyelash lift last? A DIY eyelash lift typically lasts 6-8 weeks, depending on your natural lash growth cycle. After this period, your lashes will gradually return to their natural state. 3. Can I apply mascara after an eyelash lift? It’s best to avoid applying mascara for the first 24 hours after your lift to allow the curl to set. After that, you can apply mascara as usual, but be gentle to avoid pulling on your lashes. 4. Will the lift damage my lashes? If the instructions are followed properly, the lift should not damage your lashes. However, overuse of the perming solution or improper application can cause damage, so it’s important to be cautious and not over-process your lashes. 5. How can I maintain the curl after the lift? To maintain the curl, avoid getting your lashes wet for the first 24-48 hours, and apply nourishing oils to keep them hydrated. Also, try to avoid rubbing your eyes, as this can affect the lift.

How to Create a DIY Eyelash Lift at Home Read More »

Benefits of Tongue Scraping for Fresher Breath and Oral Hygiene

Benefits of Tongue Scraping for Fresher Breath and Oral Hygiene

Tongue scraping is a simple yet powerful oral hygiene practice that removes bacteria, food debris, and dead cells from the surface of the tongue. This often-overlooked step in oral care can lead to fresher breath, improved taste, and better oral health. Let’s dive into how tongue scraping works and why it should be a part of your daily routine. What is Tongue Scraping? Tongue scraping is the process of using a specially designed tool to clean the surface of the tongue. Typically made of stainless steel or plastic, these tools are designed to gently remove buildup without harming the tongue’s delicate tissue. Over time, bacteria and debris accumulate on the tongue. This buildup, often referred to as the “tongue coating,” can contribute to bad breath and other oral health issues. Tongue scraping effectively eliminates this coating, leaving the mouth cleaner and fresher. Benefits of Tongue Scraping Fresher Breath One of the primary reasons people turn to tongue scraping is its ability to combat bad breath. The bacteria and debris on the tongue are a major source of unpleasant odors. By removing this buildup, tongue scraping helps you maintain a fresher, more pleasant breath throughout the day. Improves Sense of Taste A coated tongue can dull your taste buds, making food and drinks less enjoyable. Tongue scraping clears away this coating, allowing your taste buds to function optimally. This can enhance your ability to detect flavors and enjoy your meals more fully. Reduces Bacteria in the Mouth The tongue can harbor a significant amount of bacteria, some of which may contribute to tooth decay and gum disease. Tongue scraping reduces this bacterial load, supporting healthier teeth and gums. Enhances Overall Oral Hygiene Incorporating tongue scraping into your routine complements brushing and flossing, creating a more comprehensive approach to oral care. It’s a quick and easy step that can make a significant difference in your overall oral health. Prevents Tongue Discoloration Buildup on the tongue can sometimes lead to discoloration, giving it a white or yellowish appearance. Regular scraping helps maintain a healthy, pink tongue. Promotes a Cleaner Feeling Mouth Beyond the tangible health benefits, tongue scraping leaves your mouth feeling noticeably cleaner. This can boost your confidence and encourage better oral hygiene habits. How to Use a Tongue Scraper Effectively Using a tongue scraper is straightforward, but proper technique ensures the best results: Is Tongue Scraping Safe for Everyone? Tongue scraping is generally safe for most people when performed correctly. However, there are a few considerations: If you’re unsure about incorporating tongue scraping into your routine, consult your dentist for guidance. Conclusion Tongue scraping is a quick, easy, and effective way to improve oral hygiene and maintain fresher breath. By removing bacteria and debris from the tongue, this simple practice can enhance your overall oral health and boost your confidence. Add tongue scraping to your daily routine for a healthier, cleaner mouth. Frequently Asked Questions (FAQs) 1. How often should I scrape my tongue? It’s best to scrape your tongue once or twice a day, typically after brushing your teeth in the morning and evening. 2. Can I use a toothbrush instead of a tongue scraper? While you can use a toothbrush to clean your tongue, a tongue scraper is more effective at removing bacteria and debris without spreading it around. 3. Does tongue scraping help with bad breath? Yes, tongue scraping removes the bacteria and buildup responsible for bad breath, leaving your mouth fresher. 4. Is tongue scraping painful? No, tongue scraping should not be painful. Use gentle pressure to avoid discomfort or irritation. 5. Can tongue scraping prevent oral health issues? Tongue scraping supports better oral hygiene by reducing bacteria in the mouth. While it’s not a cure-all, it complements brushing and flossing to help prevent issues like bad breath, tooth decay, and gum disease.

Benefits of Tongue Scraping for Fresher Breath and Oral Hygiene Read More »